
MLS-ready photography is defined as listing imagery that meets the technical specifications, format standards, and legal disclosure rules required by a Multiple Listing Service for a property to be published and displayed correctly. Getting these requirements right is not optional. Platforms like CRMLS, Bright MLS, and Stellar MLS each enforce their own rules, and a single non-compliant photo can delay your listing or trigger a rejection. This guide covers every layer of compliance you need: pixel dimensions, file formats, permitted edits, virtual staging disclosures under California AB 723, and upload sequencing. Follow it and your photos go live without friction.
What are the standard technical specifications for MLS listing photos?
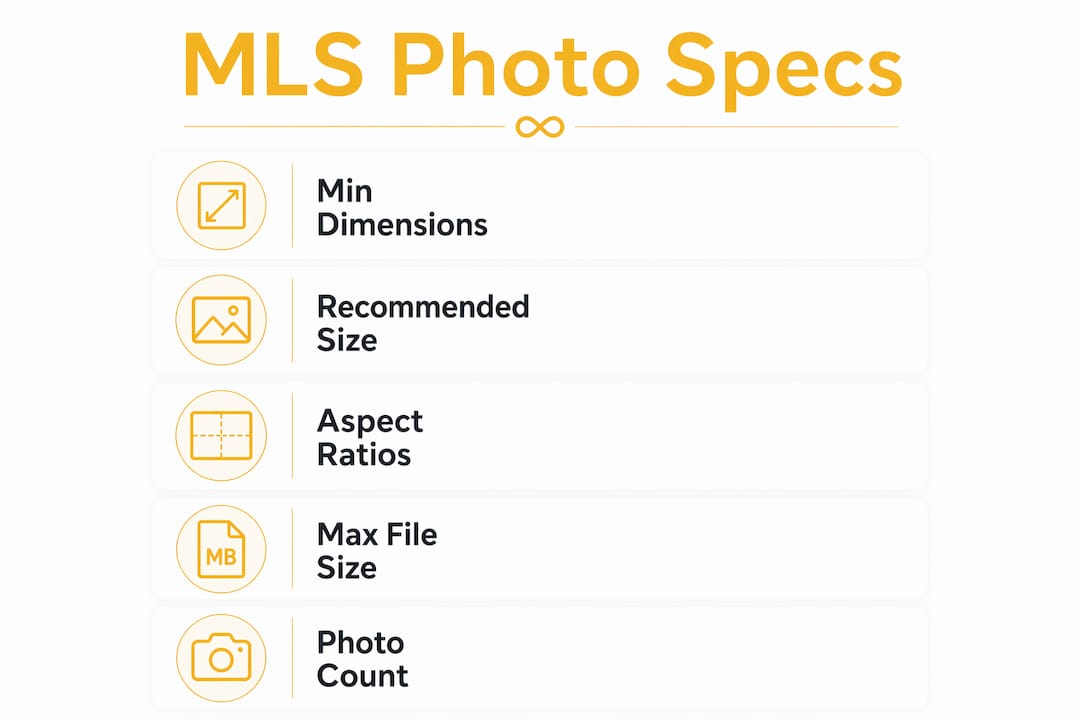
MLS photo requirements set a minimum dimension of 1024x768 pixels, with 2048x1536 pixels recommended for sharper display on high-resolution screens. The preferred file format across nearly all major MLS platforms is JPEG with an embedded sRGB color profile. PNG is occasionally accepted for floor plans, but JPEG remains the standard for property photos. Submitting images in the wrong color profile or format is one of the most common causes of upload errors agents never see coming.
Dimensions, aspect ratios, and orientation
Landscape orientation with a 3:2 or 4:3 aspect ratio is the accepted standard across MLS platforms. Vertical photos crop awkwardly on portal thumbnails and should never be used as the primary exterior image. This matters because the primary photo is the first thing a buyer sees in search results. A vertically oriented front exterior shot will be cut off on Zillow, Realtor.com, and most MLS portals, making the property look unprofessional before a buyer even clicks through.

File size limits and compression
Maximum upload file size for most MLS systems falls between 5 MB and 10 MB per image, though some platforms allow up to 20 MB for higher resolution submissions. Uploading files that exceed the limit causes upload errors or silent failures where the image simply does not appear. Compress your images before uploading using tools like Adobe Lightroom, ImageOptim, or Squoosh. Compression reduces file size without visible quality loss when done correctly.
Photo count per listing
MLS listings typically allow between 25 and 50 photos per property. Luxury boards sometimes permit up to 75 images, and Zillow occasionally accepts more. That range gives you enough room to cover every key room, outdoor space, and detail shot without padding the gallery with redundant angles. Aim for quality over quantity: 30 strong, well-lit photos outperform 50 mediocre ones every time.
Here is a quick reference for the core technical standards:
| Specification | Standard requirement |
|---|---|
| Minimum dimensions | 1024x768 pixels |
| Recommended dimensions | 2048x1536 pixels |
| Aspect ratio | 3:2 or 4:3, landscape orientation |
| File format | JPEG (PNG for floor plans only) |
| Color profile | sRGB embedded |
| Max file size | 5–10 MB (up to 20 MB on some platforms) |
| Photo count per listing | 25–50 images (up to 75 for luxury boards) |
Pro Tip: Always export your final images at 72 DPI for web display, but keep a master file at full resolution. MLS platforms compress images on their end, and you will want the originals for print marketing or future relisting.
How to prepare and edit photos for MLS compliance and visual quality
Strong MLS photos start before you pick up a camera. Home preparation is the single most cost-effective investment you can make in listing photography. Declutter every room, remove personal items from countertops, and open all blinds to maximize natural light. A clean, staged space photographs dramatically better than a lived-in one, and no amount of post-processing fixes a cluttered kitchen counter.
Shooting for the best results
Shoot from a corner of each room at roughly chest height, pointing slightly downward. This angle captures the full depth of a space and makes rooms appear larger. Use a wide-angle lens or your phone's 0.5x ultra-wide setting, but avoid going so wide that walls appear to bow. Shoot in RAW format if your camera supports it, since RAW files give you far more flexibility in editing without quality degradation.
For exterior shots, aim for the golden hour: the 30 to 60 minutes after sunrise or before sunset. The warm, directional light eliminates harsh shadows and gives the facade a polished, inviting look. Overcast days also work well for exteriors because the diffused light is even and flattering.
Editing: what is permitted and what requires disclosure
Minor edits including brightness adjustment, color correction, sharpening, cropping, and exposure correction are permitted without any disclosure requirement, as long as they do not misrepresent the property. Only material alterations, such as adding virtual furniture, replacing the sky, or removing physical features, require disclosure and must be paired with the original unaltered image. This distinction is the most misunderstood rule in real estate photo compliance, and getting it wrong exposes you to MLS violations.
Here is a step-by-step editing workflow that keeps you compliant:
- Import and sort. Separate your RAW or JPEG files into folders: "originals" and "to edit." Never overwrite originals.
- Apply basic corrections. Adjust exposure, white balance, and contrast in Adobe Lightroom, Capture One, or a mobile tool like Snapseed. These edits are always disclosure-free.
- Identify material alterations. Flag any image where you plan to add virtual furniture, replace a sky, or remove objects. These require the original to be uploaded alongside the enhanced version.
- Resize and compress. Export at 2048x1536 pixels, JPEG quality 80 to 85, sRGB color profile. This hits the quality target while staying within file size limits.
- Strip GPS metadata. Use a tool like ExifTool or the metadata removal option in Lightroom to remove location data before uploading. Some MLS platforms flag embedded GPS data as a privacy concern.
- Name files logically. Use a consistent naming pattern such as "123MainSt_01_exterior.jpg" so images upload in the correct sequence and are easy to manage.
Pro Tip: Keep your editing workflow split into two clear tracks: standard corrections and material alterations. This separation makes labeling and sequencing for disclosure compliance almost automatic, rather than something you have to reconstruct at upload time.
What are the disclosure rules for digitally altered MLS photos in 2026?
California AB 723 mandates that real estate listings containing significantly altered images must provide the unaltered originals and include clear, conspicuous disclosure wherever those images appear. This law covers MLS listings, agent websites, social media posts, and third-party portals. The reach of this rule is broader than most agents realize. Posting a virtually staged photo on Instagram without a disclosure label is a violation, even if the MLS version is fully compliant.
CRMLS requires that as of January 1, 2026, the original unaltered image must appear immediately before or after the digitally enhanced version in the MLS gallery, with appropriate labeling on the enhanced photo. The label must be clear and visible, typically a caption reading "virtually staged" or "digitally altered." Burying the disclosure in the listing description does not satisfy this requirement.
Here is what the disclosure rules cover in practice:
- Virtual staging: Adding digital furniture to an empty room requires the unfurnished original to appear adjacent in the gallery, labeled "virtually staged."
- Sky replacement: Swapping a gray sky for a blue one is a material alteration. The original must accompany the enhanced version.
- Object removal: Digitally removing a car from the driveway or a trampoline from the backyard requires disclosure.
- Landscaping additions: Adding trees, flowers, or green grass that do not exist is prohibited outright, not just subject to disclosure.
- Minor corrections: Brightness, contrast, color balance, and sharpening do not require disclosure as long as they do not change what physically exists in the property.
"Compliance focuses on truthfulness and clear disclosure rather than prohibiting any digital editing, allowing trusted virtual staging if originals and labels accompany enhanced photos." — CRMLS Digitally Altered Image Guidance
Disclosures must be consistent across every platform the agent controls, not just the MLS upload. This end-to-end transparency requirement means your compliance workflow needs to extend to your website and social media, not stop at the MLS portal.
Pro Tip: Create a simple two-column spreadsheet for each listing: one column for the original file name, one for the enhanced version. This makes it easy to verify pairing before upload and gives you a compliance record if questions arise later.
How to sequence and upload MLS photos for approval
Photo order matters more than most agents acknowledge. The primary photo, always the front exterior, is the image buyers see in every search result thumbnail. It sets the first impression and determines whether a buyer clicks through. After the exterior, the recommended sequence is: kitchen, main living area, primary bedroom, additional bedrooms, bathrooms, outdoor spaces, and then any special features like a home office or finished basement.
Follow these steps for a clean, compliant upload:
- Place the front exterior first. Use a landscape-oriented shot at 3:2 or 4:3 ratio. Never use a vertical image in the primary slot.
- Pair originals with enhanced images sequentially. CRMLS recommends placing the original immediately before or after the digitally altered version. Slot 5 original, slot 6 enhanced, for example.
- Check file names before batch upload. Most MLS systems upload in alphabetical or numerical order by file name. Name files with leading zeros (01, 02, 03) to control sequence.
- Verify dimensions and file size before uploading. A quick check in your file browser or Lightroom export dialog prevents the most common rejection errors.
- Confirm the primary photo after upload. Log into the MLS portal and verify that the correct exterior shot displays as the primary image. Portals occasionally default to the first uploaded file, which may not be the one you intended.
| Common upload error | Fix |
|---|---|
| Vertical image in primary slot | Re-export in landscape orientation (3:2 or 4:3) |
| File exceeds size limit | Compress to JPEG quality 80, target under 8 MB |
| Wrong color profile | Re-export with sRGB profile embedded |
| Images out of sequence | Rename files with leading zeros before batch upload |
| Enhanced photo without original | Add original to adjacent slot with correct label |
Key takeaways
MLS-ready listing photos require correct dimensions, JPEG format with sRGB color profile, proper disclosure pairing for digitally altered images, and a sequenced upload that places the front exterior first.
| Point | Details |
|---|---|
| Technical specifications | Submit JPEG images at 2048x1536 px with sRGB profile and file size under 10 MB. |
| Photo count | Aim for 25 to 50 images per listing; luxury boards allow up to 75. |
| Disclosure compliance | Pair every digitally altered image with its original in adjacent gallery slots, labeled clearly. |
| AB 723 scope | Disclosure rules apply to MLS, agent websites, and social media, not just the MLS portal. |
| Upload sequencing | Lead with the front exterior in landscape orientation and name files with leading zeros to control order. |
Why I think most agents underestimate the prep work
Most of the MLS photo problems I see are not technical failures. They are preparation failures. An agent rushes the shoot, skips the staging checklist, and then spends twice as long in post-processing trying to fix what a 20-minute declutter would have prevented. The editing workflow should be the easy part. If it feels hard, the shoot was not ready.
The 2026 disclosure rules around digital alterations have added a layer of process that genuinely catches people off guard. I have seen agents use virtual staging on three or four photos in a listing and then forget to upload the originals, which is a direct CRMLS violation. The fix is not complicated: build the pairing step into your upload checklist and it becomes automatic. But you have to build the checklist first.
The other thing worth saying plainly: do not let compliance anxiety stop you from using the tools available. Virtual staging, sky replacement, and AI enhancement are all legal and effective when done correctly. The rules exist to protect buyers from being misled, not to prevent you from presenting a property at its best. Use the tools, follow the disclosure workflow, and your listings will stand out without putting your license at risk.
Keep backup master files for every listing. MLS portals compress images on their end, and you will want the originals for print, social, or a future relisting. A folder structure organized by address and date takes five minutes to set up and saves hours later.
— Richard
Get MLS-ready photos faster with Proofe
If the technical side of MLS photo compliance feels like a lot to manage on top of everything else in a transaction, Proofe makes it straightforward. The Proofe real estate photo app lets you shoot listing photos directly from your smartphone and receive AI-enhanced, MLS-ready files the same day. No expensive camera gear, no waiting on a photographer's schedule.
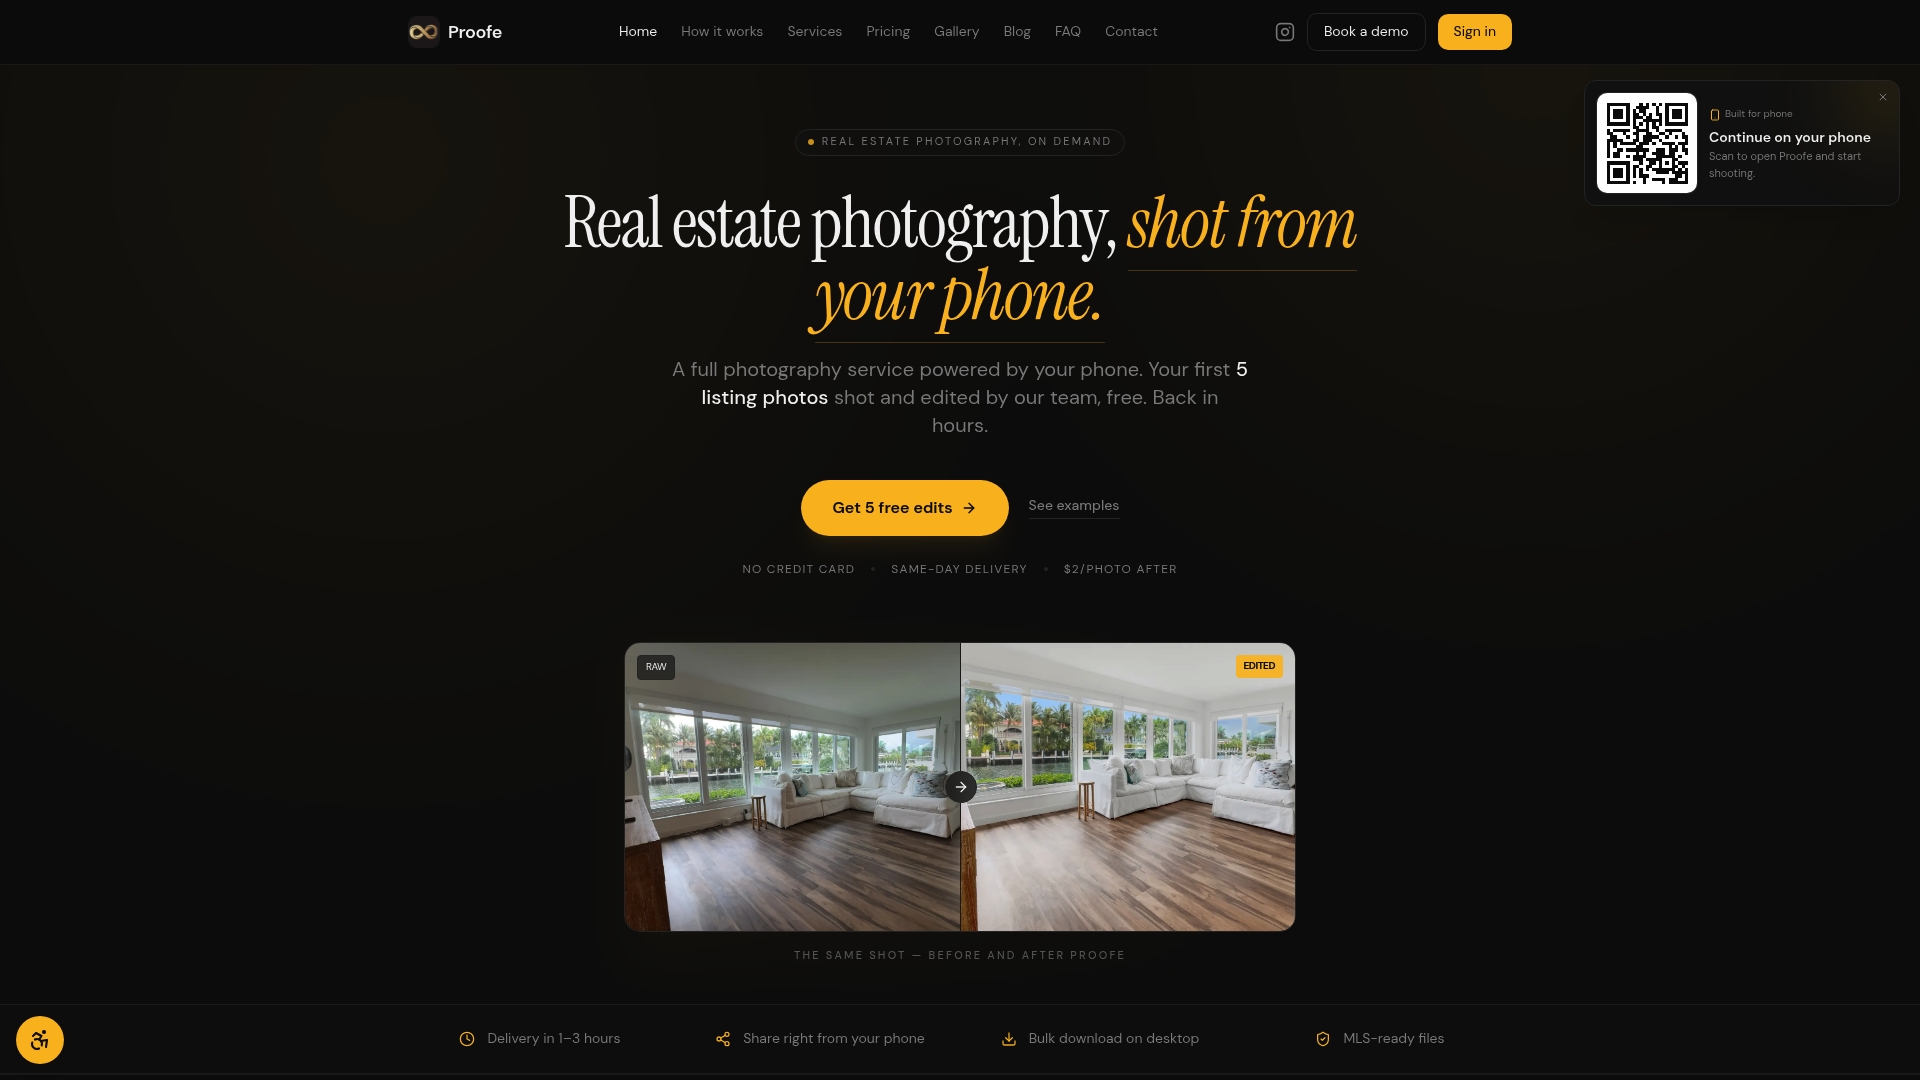
Proofe's listing photo editing service handles resizing, compression, color correction, and sRGB export so your files meet platform specs out of the box. Virtual staging is available with full disclosure support, meaning your enhanced and original images are paired and labeled correctly before you ever open the MLS upload portal. The first five photos are free, so you can test the workflow on a live listing before committing. Visit Proofe to get started.
FAQ
What is the minimum photo size for MLS listings?
Most MLS platforms require a minimum of 1024x768 pixels, with 2048x1536 pixels recommended for better display quality. Always export in JPEG format with an embedded sRGB color profile.
Do I need to disclose virtual staging on MLS photos?
Yes. Under CRMLS rules effective January 1, 2026, and California AB 723, virtually staged photos must be labeled clearly and paired with the original unaltered image in an adjacent gallery slot.
How many photos should I upload to an MLS listing?
The standard range is 25 to 50 photos per listing. Luxury boards may allow up to 75. Focus on covering every key room and outdoor space without repeating similar angles.
What edits can I make without disclosure?
Brightness, contrast, color correction, sharpening, cropping, and exposure adjustment are all permitted without disclosure. Only material alterations, such as adding furniture, replacing skies, or removing objects, require the original image and a disclosure label.
Does the disclosure rule apply outside the MLS?
Yes. California AB 723 requires consistent disclosure across all platforms the agent controls, including personal websites, social media, and third-party portals like Zillow and Realtor.com.