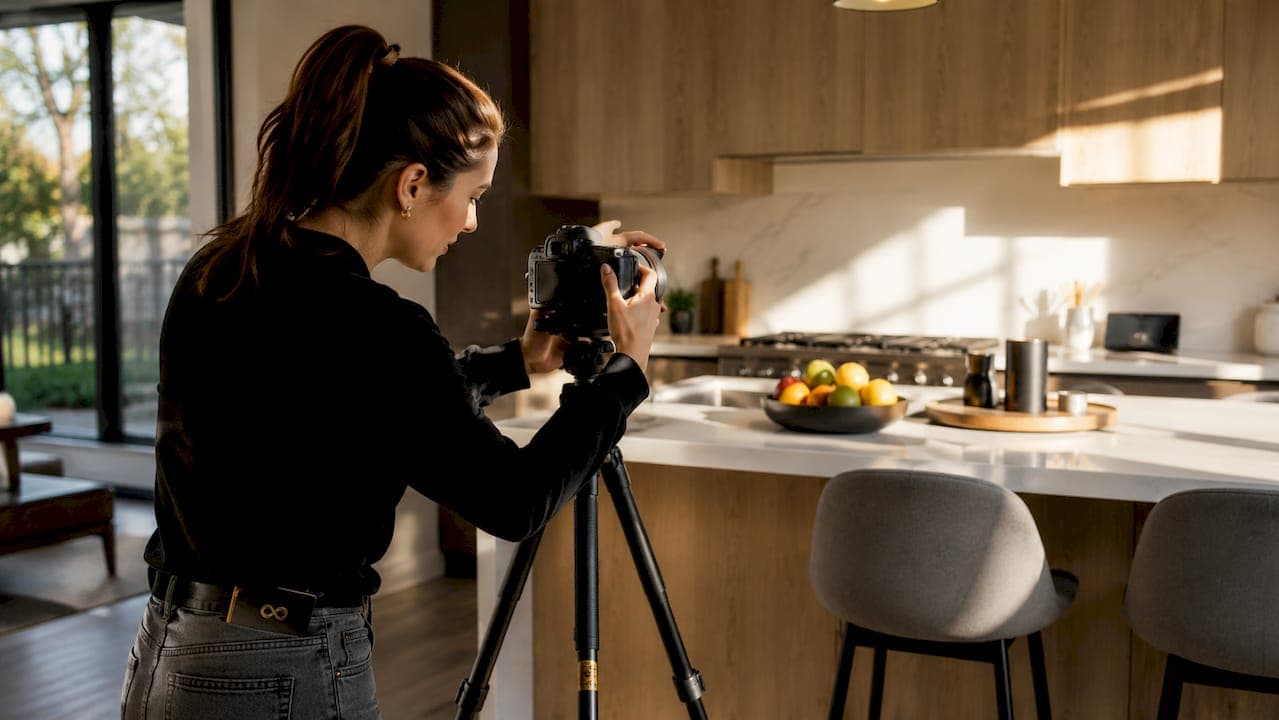
Real estate photo composition is the deliberate arrangement of angles, lighting, vertical lines, and image sequencing within a frame to clearly communicate a property's size, layout, and key features to potential buyers. It is the single most controllable factor in how a listing photo performs. A technically sharp image with poor composition still loses buyers. Get composition right, and even a modest room looks inviting, spacious, and worth a showing.
The industry term photographers use is framing and spatial composition, but most agents and homeowners know it simply as "how the photo is set up." Both matter. Real estate photo composition intentionally arranges angles, spacing, balance, light, and sequencing so buyers can immediately answer two questions: "What is this room?" and "How does it connect to the rest of the home?" When a photo fails that test, it costs you interest before a buyer ever schedules a visit.
What is real estate photo composition and why does it matter?
Composition in real estate photography is not about artistic expression. It is about speed-to-understanding. The optimal angle helps buyers immediately grasp room function and layout, not just dramatic wideness. That distinction separates professional listing photography from snapshots.
Poor composition distorts and devalues space. A tilted camera makes walls look like they are falling inward. A flat, one-wall shot makes a generous living room look like a narrow corridor. A cluttered frame buries the features buyers are paying for. None of these problems require expensive gear to fix. They require understanding the rules.
Composition also affects perceived property value. Buyers form opinions within seconds of seeing a listing photo. A well-composed image signals that the seller is serious, the property is cared for, and the space is worth exploring. That psychological response starts before a buyer reads a single word of the listing description.
Tools like adjustable tripods, bubble levels, and post-processing software such as Adobe Lightroom or Capture One support good composition. But tools only help when you already understand what you are trying to achieve in the frame.
What are the fundamental rules of real estate photo composition?
The foundation of strong real estate photography rests on a short list of repeatable principles. Follow these consistently and your photos will look professional every time.
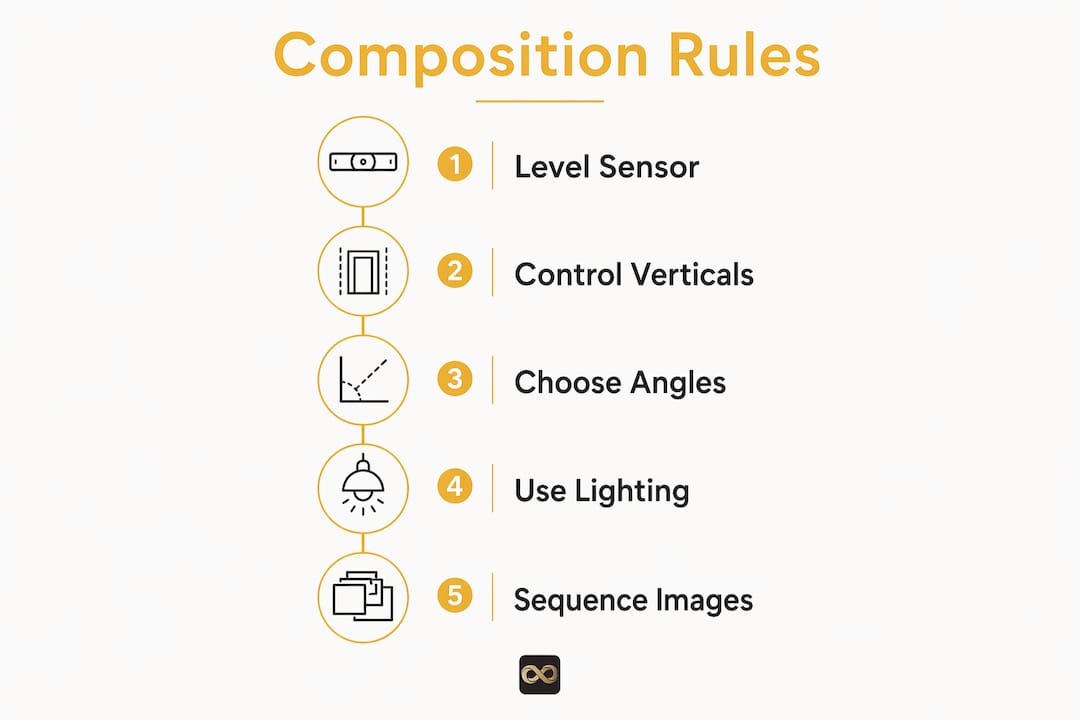
- Keep vertical lines straight. Vertical lines should stay straight by keeping the camera sensor level. Tilting the camera causes converging lines that look amateurish and make walls appear unstable. Straight verticals signal stability to buyer brains, making this a psychological trigger, not just an aesthetic preference.
- Shoot at chest height. Shooting at chest height (roughly 4 to 4.5 feet) mimics natural eye level and keeps perspective proportional. Shooting too low exaggerates ceilings. Shooting too high shrinks the room. A tripod with an adjustable center column makes this repeatable across every room.
- Use corners and doorways. Position the camera in a corner or doorway to show two walls plus the floor. This creates depth and perceived volume. Flat, single-wall shots look cramped regardless of actual room size.
- Balance your lighting. Avoid shooting directly into bright windows without adjusting exposure. Blown-out windows and dark interiors in the same frame confuse buyers and hide features. Use natural light supplemented by interior lights, and bracket exposures when needed.
- Remove distractions before you shoot. Clutter, personal items, and stray cords pull the eye away from the room itself. Clean framing, straight verticals, and balanced lighting form the professional composition checklist that separates listings that get clicks from those that get scrolled past.
Pro Tip: Control vertical lines during capture by leveling the camera sensor first. Post-processing corrections are useful as refinement, but aggressive post edits to fix a tilted camera cause cropping and loss of image quality at the edges.
The capture-first approach to vertical control preserves image integrity better than any editing fix. Build the habit of leveling before every shot and you will spend far less time correcting in post.
How do angles and perspectives affect real estate photos?
Angle selection is where composition decisions have the most visible impact. The wrong viewpoint can make a 400-square-foot studio look like a closet. The right viewpoint makes the same space feel open and livable.
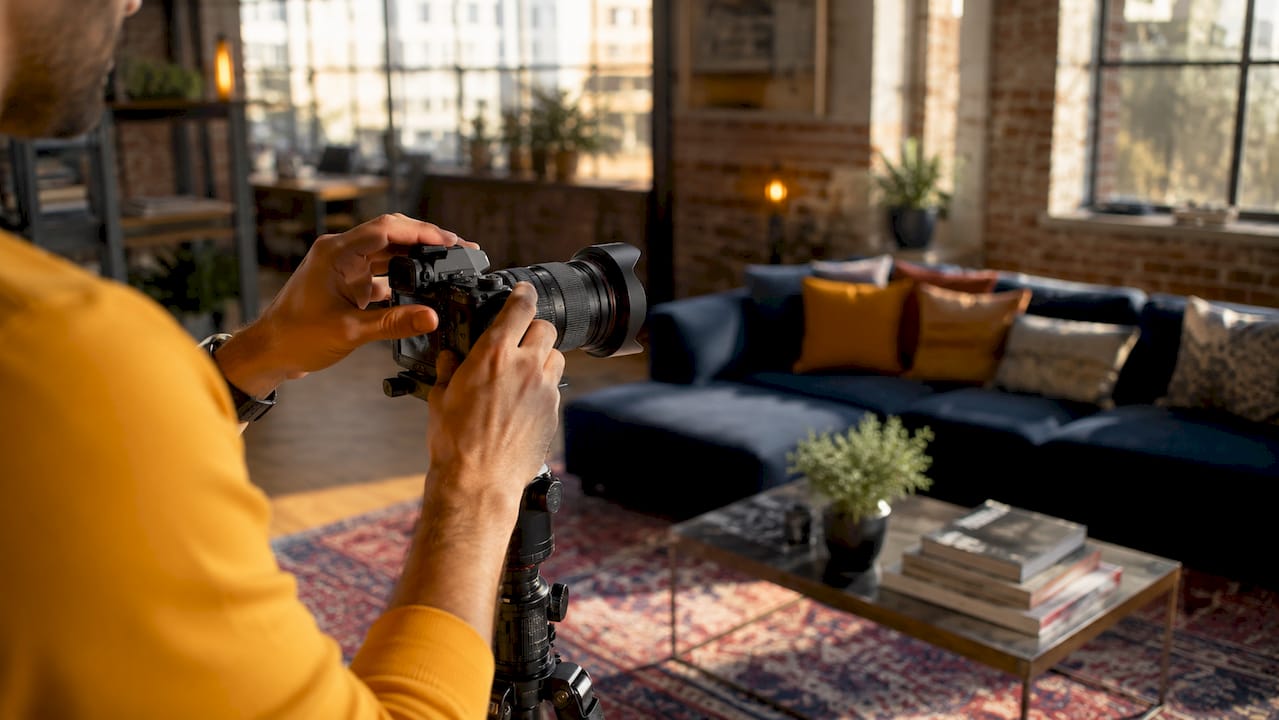
Shooting from corners or doorways to show two walls plus the floor creates depth and perceived volume. Flat one-wall shots look like cramped hallways regardless of actual room dimensions. This is the single most common mistake agents and homeowners make when photographing a property themselves.
A slight rotation from the corner position captures what photographers call the "two-wall story." Small positioning shifts significantly affect room perception. Moving the camera six inches to the left or right of a corner can change whether a room reads as generous or tight. Experiment with small adjustments before committing to a shot.
Leading lines are another powerful tool in your angle selection. Countertops, windows, beams, and hallways guide the viewer's eye through the photo, create depth, and emphasize focal points. A kitchen island that runs parallel to the frame edge pulls the eye toward the back of the room, making the space feel longer. A hallway shot from the entry door uses the corridor itself as a leading line toward the living area.
Here are the angles that consistently perform best in real estate listings:
- Corner shots for bedrooms, living rooms, and dining areas to show volume
- Doorway shots for smaller rooms like bathrooms and offices to frame the space naturally
- Diagonal kitchen shots that capture both the island and the cabinetry run in one frame
- Low exterior angles (from ground level, slightly upward) to make the facade look substantial without distortion
- Straight-on bathroom shots from the doorway to show the full layout without wide-angle barrel distortion
Avoid ultra-wide-angle lenses set below 16mm equivalent on full-frame sensors. They stretch walls and furniture into shapes that do not match what buyers see in person. That mismatch creates distrust, not excitement.
What role does photo sequencing play in real estate listings?
Photo sequencing is the gallery-level version of composition. Individual images can be technically perfect, but if they appear in random order, buyers lose their sense of the property's layout and flow. Logical sequencing tells a visual narrative that moves buyers through the home the way a showing would.
The standard sequence that works across most residential listings follows this order:
- Exterior front (daytime, curb appeal shot)
- Exterior back or side yard if it adds value
- Entry or foyer to orient the buyer
- Main living area (living room or great room)
- Dining area
- Kitchen (two to three angles)
- Primary bedroom
- Primary bathroom
- Secondary bedrooms
- Secondary bathrooms
- Bonus spaces (office, basement, laundry)
- Outdoor living spaces (deck, patio, pool)
This sequence mirrors a natural walk-through. Buyers who follow it mentally map the home as they scroll. That orientation increases engagement and reduces the "I can't tell how this flows" objection that kills showings.
Pro Tip: When preparing images for AI-generated virtual tours or video slideshows, cross-photo continuity matters as much as individual composition. Consistent camera height, color temperature, and exposure across the gallery makes AI-assembled tours look polished rather than patched together.
Consistent composition across the gallery also supports platforms like Zillow and Realtor.com, where buyers swipe through photos rapidly. A gallery where every image uses the same height, white balance, and framing style reads as professional and trustworthy. A gallery that jumps between styles reads as rushed.
If you are shooting rental listings, the same sequencing logic applies. You can find detailed guidance on rental listing photo order that adapts this framework for tenant-facing galleries.
Common composition mistakes vs. best practices
The gap between a listing that generates calls and one that sits on the market often comes down to a handful of correctable errors. This comparison shows what to avoid and what to do instead.
| Mistake | Best Practice |
|---|---|
| Tilted verticals from a handheld camera | Level the tripod and sensor before every shot |
| Flat one-wall shots that hide room depth | Shoot from corners or doorways to show two walls |
| Wrong camera height (too low or too high) | Set camera at 4 to 4.5 feet for natural eye-level perspective |
| Cluttered frames with personal items visible | Stage and declutter before shooting, not after |
| Random photo order in the gallery | Follow exterior-to-interior sequencing to guide buyers |
| Relying on post-processing to fix tilt | Capture correctly first; use editing only for refinement |
| Blown-out windows from single exposure | Bracket exposures or use window pull editing to balance light |
Common mistakes including crooked verticals, cluttered frames, and poor sequencing directly reduce property appeal and buyer comprehension. Each error on that list is fixable before you press the shutter. The best real estate photographers treat the checklist as a pre-shoot ritual, not an afterthought.
Post-processing tools like Adobe Lightroom, Photoshop, and dedicated real estate editing services handle color correction, exposure balancing, and sky replacement. But post-processing corrections should refine a well-composed image, not rescue a poorly composed one. Heavy editing to fix structural composition errors degrades image quality and takes significantly more time than getting it right at capture.
For agents and homeowners shooting with smartphones, apps like Proofe's real estate photo app include AI-powered enhancement that works best when the underlying composition is already solid. AI can brighten a room and replace a gray sky. It cannot fix a tilted frame or a cluttered counter.
What I've learned about composition after years of watching listings succeed and fail
What I've learned about composition after years of watching listings succeed and fail
I have reviewed thousands of listing photo galleries, and the pattern is consistent. The photos that generate the most buyer interest are rarely the most dramatic. They are the most clear. Buyers do not linger on a wide-angle hero shot of a living room. They pause on the photo that finally shows them how the kitchen connects to the dining area.
Most photographers, especially those new to real estate, prioritize making rooms look as large as possible. That instinct leads to ultra-wide shots from the lowest possible angle, which distorts furniture, bows walls, and creates a fish-eye effect that looks nothing like the actual space. Buyers notice. They show up to viewings feeling misled, and that erodes trust before the agent says a word.
The better instinct is to prioritize buyer orientation over dramatic scale. Ask yourself: does this photo answer "what room is this and how does it connect to the next one?" If yes, you have a good composition. If you are not sure, you probably do not.
The other thing I would tell anyone starting out: build a repeatable workflow. Set your tripod height before you enter each room. Level it before you frame the shot. Choose your corner or doorway position before you touch the zoom. Consistent habits produce consistent results, and consistent results build a reputation. That is true whether you are a professional photographer, an agent shooting your own listings, or a homeowner preparing to sell.
— Richard Lopez
Get professional-quality listing photos with Proofe
Strong composition is the foundation. Professional editing is what makes it shine.

Proofe makes it easy to go from a well-composed smartphone shot to a MLS-ready listing photo in the same day. You shoot using the principles in this guide, Proofe's AI enhancement handles color correction, exposure balancing, and sky replacement, and you download polished, gallery-ready files without waiting for a photographer's schedule. The first five photos are free, so you can test the results on a real listing before committing. For agents who want to take full control of their listing photography without sacrificing quality, Proofe's AI photo editing service is built exactly for that workflow.
FAQ
What is real estate photo composition?
Real estate photo composition is the intentional arrangement of camera angles, vertical lines, lighting, and image sequencing within a frame to accurately represent a property's size, layout, and features to buyers. The goal is speed-to-understanding: a buyer should immediately know what room they are looking at and how it connects to the rest of the home.
What is the best camera height for real estate photos?
Shooting at chest height, roughly 4 to 4.5 feet, is the standard for interior real estate photography. This height mimics natural eye level, keeps vertical lines proportional, and avoids the distortion caused by shooting too low or too high.
Why do real estate photographers shoot from corners?
Corner and doorway positions show two walls plus the floor, which creates depth and perceived volume. Flat one-wall shots make rooms look smaller and fail to communicate how the space is actually shaped.
How should listing photos be ordered in a gallery?
The standard sequence starts with exterior shots, moves through the entry and main living areas, continues to the kitchen, bedrooms, and bathrooms, and ends with outdoor spaces. This order mirrors a natural walk-through and helps buyers mentally map the property as they scroll.
Can you fix bad composition in post-processing?
Post-processing tools like Adobe Lightroom can correct minor vertical distortion and exposure issues, but they cannot fully recover a poorly composed image. Aggressive corrections cause cropping and quality loss at the edges. Capturing a well-composed image at the time of shooting always produces better results than editing fixes applied afterward.