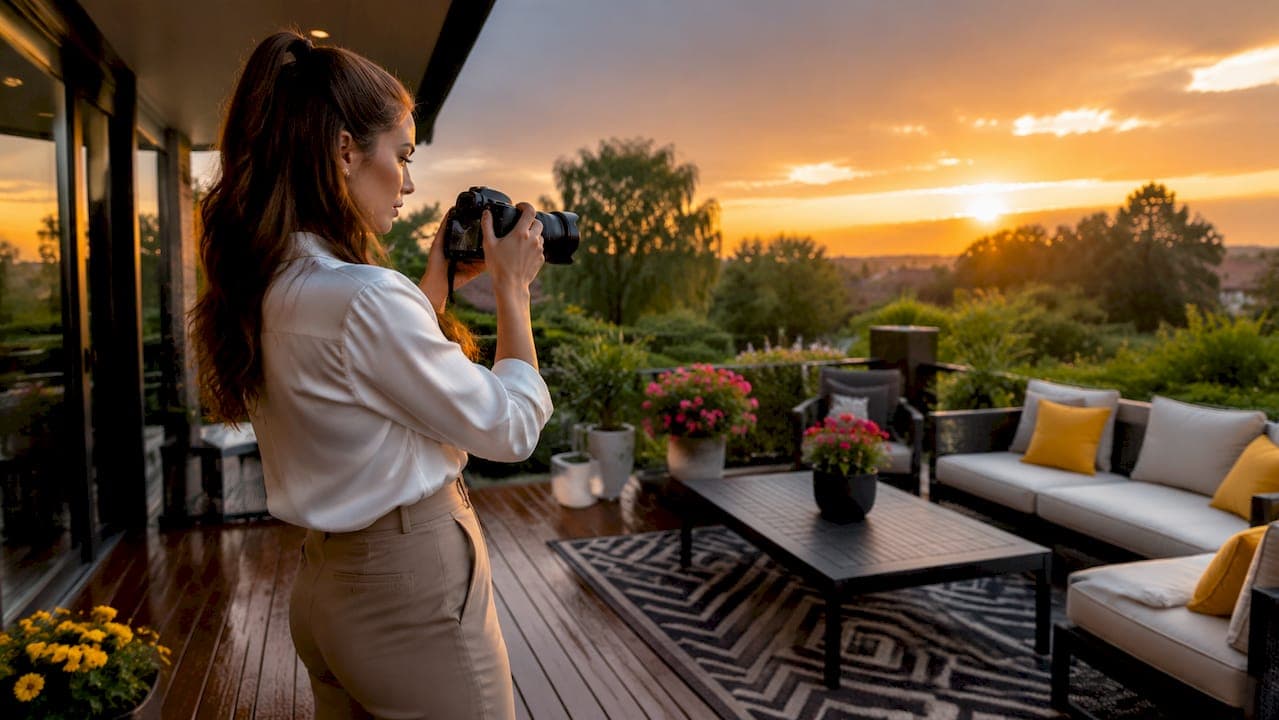
Rental listing photo best practices are defined as the combination of professional-grade imagery, optimal photo count, strategic sequencing, and seasonal updates that together reduce vacancy time and attract higher-quality tenants. Listings with professional photos receive up to 61% more views and lease 11% to 32% faster than those without. That gap translates directly to Net Operating Income. For property managers and agents competing in 2026, photography is not a finishing touch. It is the first and most powerful marketing tool you have.
1. Rental listing photo best practices start with professional quality
Professional-grade photography is the single biggest lever you can pull to improve listing performance. The standard industry term for this discipline is real estate photography, and it covers everything from lighting and resolution to perspective and post-processing. When done right, it signals to prospective tenants that the property is well-maintained and worth their attention.

The financial case is clear. Professional photos save roughly 4 to 8 days on market per turnover, which equates to more than $1,000 in avoided vacancy costs. Multiply that across a portfolio of 20 units and the ROI of investing in quality photography becomes undeniable.
Quality hallmarks to prioritize in every shoot:
- Lighting: Natural light is preferred. Shoot during the golden hour or mid-morning when sunlight is soft and even.
- Resolution: Deliver images at a minimum of 2,000 pixels on the long edge for MLS-ready files.
- Perspective: Use a wide-angle lens or the equivalent smartphone setting to show the full depth of a room.
- Clarity: Every image should be sharp, color-corrected, and free of motion blur or lens distortion.
Photography also carries a compliance dimension that many agents overlook. California AB 2801, for example, requires landlords to document property condition with photos at move-in and move-out. Reviewing your MLS photo requirements before every shoot keeps you compliant and protects you in disputes.
Pro Tip: If hiring a professional photographer is not in the budget for every unit, use a real estate photo app with built-in AI enhancement. You get consistent, professional results without scheduling a shoot or renting equipment.
"The first 3 seconds of viewing a listing determine tenant interest. A compelling, well-lit hero image is the difference between a click and a scroll-past." — Professional photography for rental listings
2. The right photo count and sequence drive conversions
The number of photos in your listing and the order in which they appear are not arbitrary decisions. Both have measurable effects on how tenants engage with your listing.
The optimal gallery size for rental listings is 25 to 35 photos. Fewer than 20 photos reduce booking confidence, while more than 40 dilute impact by overwhelming the viewer. Listings with 20 or more photos generate 9 times higher conversion rates, and galleries with at least 8 quality images produce twice as many inquiries.
| Photo count | Conversion impact |
|---|---|
| Fewer than 8 photos | Significantly reduced inquiries; tenants assume property is hiding flaws |
| 8 to 19 photos | Moderate interest; still below confidence threshold for most renters |
| 20 to 35 photos | Highest conversion rates; 9x improvement over minimal galleries |
| 36 to 40 photos | Slight drop-off begins; still effective if images are high quality |
| More than 40 photos | Viewer fatigue sets in; click-through rates decline |
Sequence matters just as much as quantity. Bathroom photos placed early in the gallery, ideally in the fourth position, reduce listing abandonment. Tenants have concerns about bathrooms, and delaying those images causes them to leave before they see the rest of the property.
A proven sequence to follow:
- Position 1: Hero image. One compelling subject, natural light, aspirational framing.
- Position 2: Living area. Shows scale and livability.
- Position 3: Kitchen. A top decision driver for most renters.
- Position 4: Bathroom. Address the concern early.
- Positions 5 to 10: Bedrooms, additional bathrooms, and secondary living spaces.
- Positions 11 onward: Outdoor spaces, building amenities, neighborhood context, and detail shots.
Wide-angle 2-point perspective photography creates depth and makes rooms appear larger. Align your camera with room corners and shoot from chest height to avoid the distorted, fisheye look that amateur photos often produce.
3. Seasonal photo updates keep your listing competitive year-round
A listing that looked great in March can feel stale by October. Seasonal rental photo updates are one of the most underused strategies in property management, yet they produce fast, measurable results.
Quarterly photo updates aligned with seasonal themes can increase inquiry volume within 14 days of the update going live. Swapping 8 to 10 photos per season to reflect the current time of year drives a meaningful lift in click-through rate. This is especially true for short term rental listing photo tips, where platforms like Airbnb and Vrbo reward active, frequently updated listings with better search placement.
Here is a practical seasonal photo update schedule:
- Winter (December to February): Feature the fireplace lit, warm lighting throughout, and cozy throw blankets on the sofa. If the property has a hot tub, this is its season to lead.
- Spring (March to May): Swap in photos of blooming landscaping, open windows with natural light, and fresh staging with lighter colors.
- Summer (June to August): Lead with outdoor dining setups, pool or patio shots, and bright, airy interiors. This is the peak leasing season for most markets.
- Fall (September to November): Highlight warm tones, a well-staged kitchen for entertaining, and any outdoor fire features.
Managing a seasonal photo library does not require a complex system. Create four labeled folders in Google Drive or Dropbox, one per season, and pre-shoot all four sets during a single professional session. You can then swap images on a schedule without scrambling for new content each quarter.
Pro Tip: Rotate your hero image with every seasonal update. The cover photo is the single most-viewed image in your listing. Keeping it fresh signals to repeat visitors that the property is actively managed and well-maintained.
4. Hero images and detail shots that close the deal
The hero image is your listing's handshake. Cover photos featuring distinctive elements like pools, fireplaces, or panoramic views consistently outperform generic interior shots. The goal is to focus on one aspirational subject, not to show the entire property at once. A wide shot of a cluttered living room tells tenants nothing. A perfectly staged reading nook bathed in afternoon light tells a story.
Beyond the hero, specific photo categories determine whether a prospective tenant submits an inquiry or moves on.
Room-specific photos to include in every listing:
- Living area from two angles to show scale
- Kitchen with counters cleared and appliances visible
- Each bedroom with made bed, good lighting, and closet door open
- Every bathroom, including close-ups of fixtures if they are upgraded
- Outdoor spaces: balcony, patio, yard, or rooftop
Detail shots that build trust and reduce pre-booking questions:
- A coffee station or espresso machine signals a thoughtful host
- A welcome basket with local items creates an emotional connection
- Smart home features like a keypad lock or smart thermostat signal modernity
- A well-organized pantry or linen closet shows the property is genuinely move-in ready
Detail shots like coffee setups and smart home features close bookings by confirming the lifestyle promises made in the listing description. They also reduce the volume of pre-booking questions, which saves you time on every inquiry.
One technical note: 3-exposure bracketed shots are the professional standard for interior photography. Bracketing captures one underexposed, one correctly exposed, and one overexposed frame, which are then merged in editing to balance bright windows against dark interior corners. Without this technique, you either blow out the windows or lose detail in the shadows.
5. Building a rental property photo upgrade checklist
A photo upgrade checklist keeps your process consistent across every unit and every turnover. Without one, it is easy to miss shots that matter or publish a gallery with outdated seasonal staging.
Use this as your baseline rental property photo upgrade checklist before every listing goes live:
- Hero image selected and optimized for the current season
- Gallery contains 25 to 35 total images
- Bathroom photo appears in position 4 or earlier
- All rooms staged: surfaces cleared, beds made, toilets closed, lights on
- Wide-angle perspective used for all room shots
- Exterior shot included showing curb appeal
- At least 3 detail shots included (coffee setup, welcome feature, or smart home element)
- All images color-corrected and at MLS-ready resolution
- Seasonal photos swapped if last update was more than 90 days ago
- Compliance photos taken for move-in documentation if required by state law
Listings with premium photos attract higher-caliber tenants and generate fewer deposit disputes. A checklist is how you make that outcome repeatable rather than accidental.
Key takeaways
Professional photography, optimal photo count, strategic sequencing, and quarterly seasonal updates are the four pillars that determine whether a rental listing attracts quality tenants fast or sits vacant.
| Point | Details |
|---|---|
| Professional quality drives views | Listings with professional photos receive up to 61% more views and lease significantly faster. |
| Optimal count is 25 to 35 photos | This range maximizes conversion; fewer than 20 photos reduces tenant confidence. |
| Sequence bathroom photos early | Place bathroom images in position 4 to reduce listing abandonment and address tenant concerns. |
| Seasonal updates lift click-through | Swapping 8 to 10 photos per quarter can increase inquiries within 14 days of the update. |
| Detail shots reduce pre-booking friction | Coffee setups, smart home features, and welcome baskets build trust and cut inquiry volume. |
What I've learned about photos that most property managers ignore
I have reviewed hundreds of rental listings over the years, and the pattern is consistent. Agents spend significant time writing the perfect description and pricing the unit competitively, then publish six dark, poorly framed photos taken on a phone with no editing. The photos undo everything else.
The insight most property managers miss is that photo strategy is not a one-time task. It is an ongoing operational discipline. The listings that consistently outperform in their markets are not necessarily the nicest properties. They are the ones with the most intentional photo programs: a strong hero image, a logical sequence, and a quarterly refresh that keeps the gallery feeling current.
I am also skeptical of the idea that professional photography requires a professional photographer. The technology gap has closed significantly. A smartphone with a good camera app, proper staging, and AI-assisted editing now produces results that would have required a DSLR and a Lightroom subscription just five years ago. The barrier is not equipment. It is knowing what to shoot, in what order, and how to present it.
The one thing I would push every property manager to do this quarter: pull up your top three listings and count the photos. If any of them have fewer than 20, or if the hero image is a wide shot of the entire living room, fix that before you do anything else. That single change will move the needle faster than any other marketing adjustment you can make.
— Richard
Get professional rental listing photos with Proofe
Your listing photos set the tone for every tenant interaction that follows. Proofe makes it straightforward to get professional-quality rental photos directly from your smartphone, with no expensive equipment or photography background required.
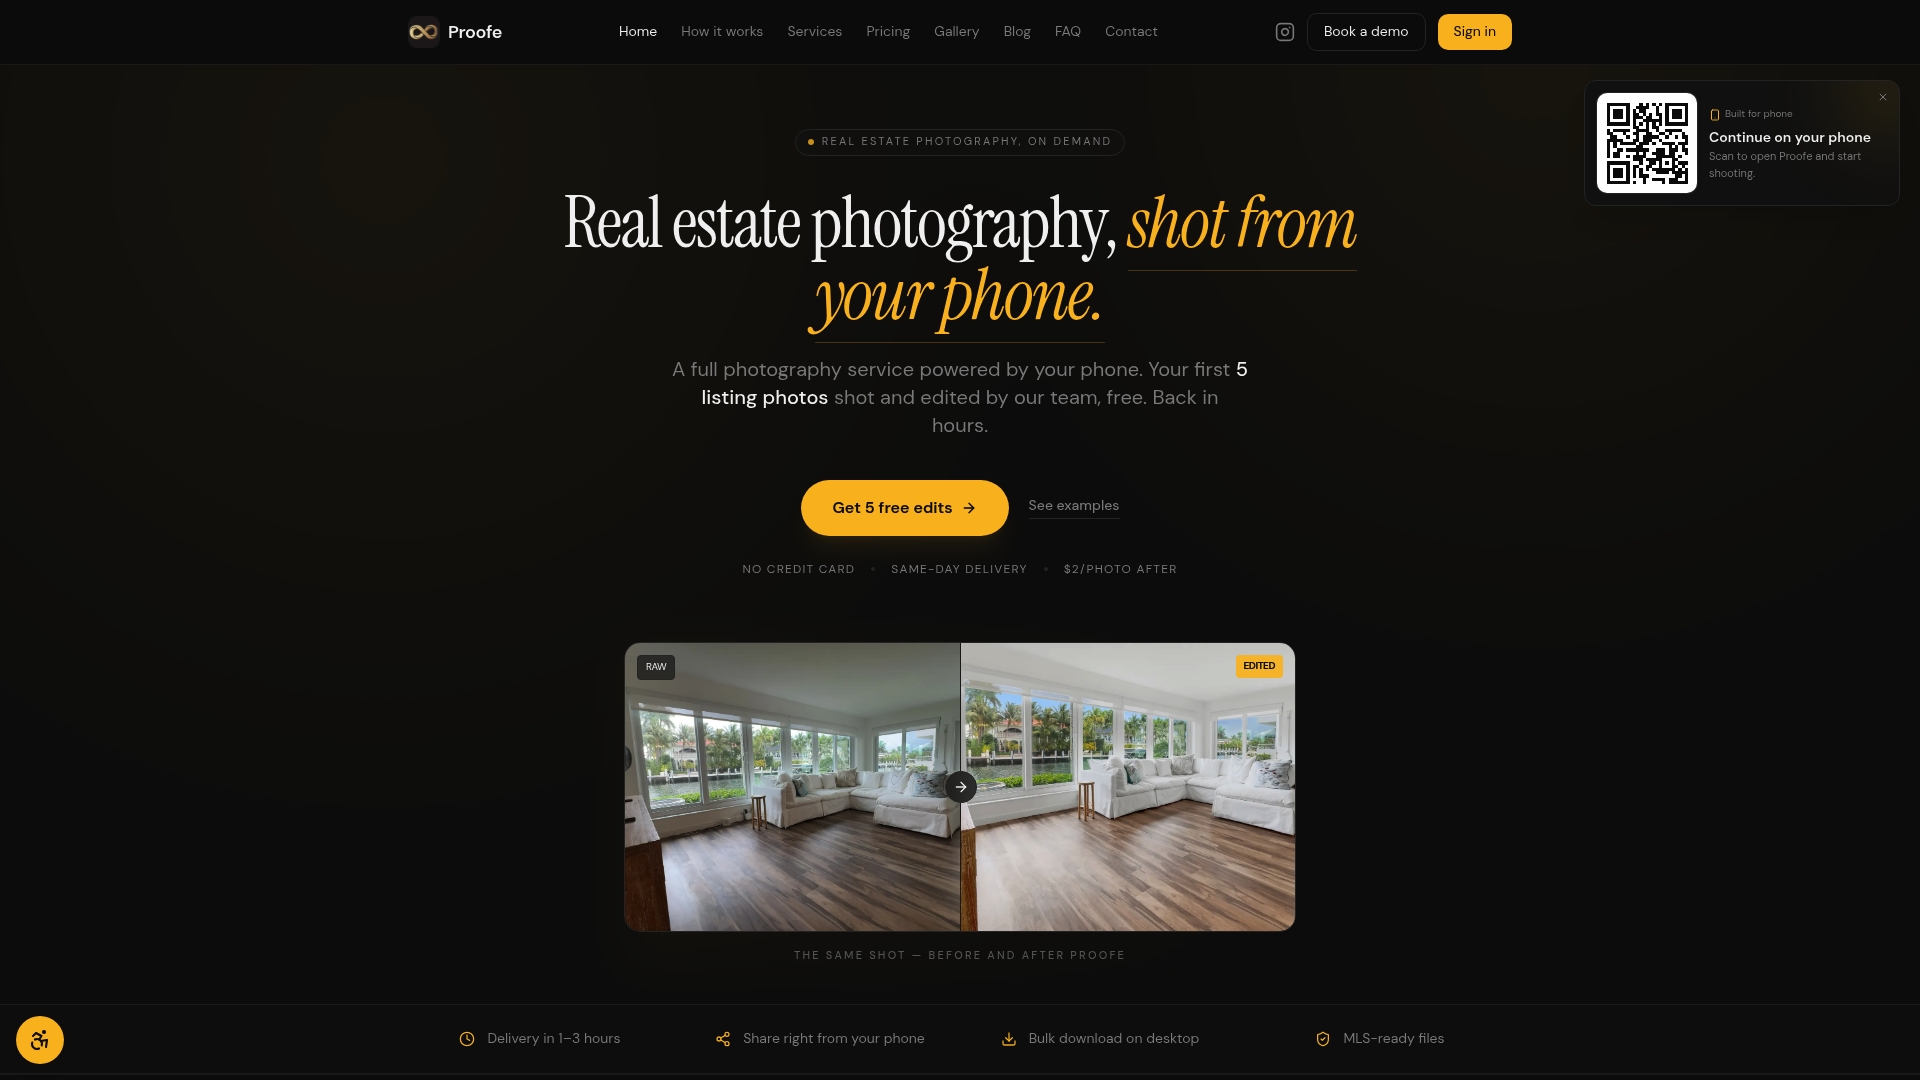
Shoot, AI-enhance, and download. Proofe delivers MLS-ready files the same day, with AI enhancements that handle lighting correction, sky replacement, and color balancing automatically. The real estate photo app is built for busy agents and property managers who need consistent, high-quality results across every unit in their portfolio. Your first five photos are free. Start there, and see the difference professional imagery makes on your next listing.
FAQ
How many photos should a rental listing have?
The ideal range is 25 to 35 photos. Galleries with 20 or more images generate 9 times higher conversion rates compared to minimal listings, while more than 40 photos can cause viewer fatigue.
Do professional photos actually reduce vacancy time?
Yes. Listings with professional-grade imagery lease 11% to 32% faster than those without, saving property managers an average of 4 to 8 days on market per turnover.
How often should I update rental listing photos?
Quarterly updates are the standard for competitive listings. Swapping 8 to 10 photos per season to reflect current conditions can increase inquiry volume within 14 days of the update.
What photo should appear first in a rental listing?
The hero image should feature one compelling, aspirational subject with natural light. Pools, fireplaces, and panoramic views outperform generic interior shots as cover photos.
Are there legal requirements for rental listing photos?
Requirements vary by state. California AB 2801, for example, mandates photo documentation of property condition at move-in and move-out. Always check your local regulations and MLS compliance standards before publishing a listing.