
Real estate photo file formats are defined by one clear industry standard: JPEG is the required format for 100% of major MLS platforms, with HEIC, RAW, TIFF, and WebP widely incompatible and requiring conversion before upload. Choosing the wrong format costs you time, causes listing delays, and can make your photos look washed out or get rejected entirely. This guide covers every format you'll encounter, the exact settings that matter, and a practical workflow to get your photos MLS-ready without the guesswork.
Why JPEG dominates real estate photo file formats
JPEG is the universal language of MLS photo submissions. Every major platform, including Bright MLS, CRMLS, and Stellar MLS, accepts JPEG and only JPEG for listing photo uploads. No other format comes close to that level of compatibility.
The reason JPEG wins comes down to three things: file size, image quality, and universal browser support. A properly compressed JPEG at 80–90% quality with an embedded sRGB color profile produces files under 2MB. That size balances sharp, attractive visuals with fast upload speeds and no timeout errors.

Other formats each have a specific problem for MLS use:
| Format | Pros | Cons | MLS Accepted? |
|---|---|---|---|
| JPEG | Small size, universal support, color-accurate | Lossy compression | Yes |
| RAW | Maximum detail, editable | Huge file size, no MLS support | No |
| HEIC | Efficient compression, high quality | Limited browser and MLS support | No |
| PNG | Lossless quality | Very large files, slow uploads | Rarely |
| TIFF | Professional quality | Enormous file size | No |
| WebP | Efficient for web | Poor MLS platform compatibility | No |
PNG files are lossless, which sounds appealing, but a single PNG of a living room can exceed 10MB. That size creates upload timeouts and gets rejected before it even processes. RAW files from cameras like Canon EOS R5 or Sony A7 series are meant for editing, not delivery. They carry no color profile that MLS systems can read.
Pro Tip: Always export your final listing photos as JPEG at 85% quality with sRGB embedded. This single setting prevents 90% of MLS upload rejections before they happen.
What resolution and color profile do MLS listings require?
Resolution is where most agents make avoidable mistakes. Real estate photos should be exported at 2048 pixels on the long edge. That dimension hits the sweet spot between sharp display on high-resolution screens and fast upload performance.
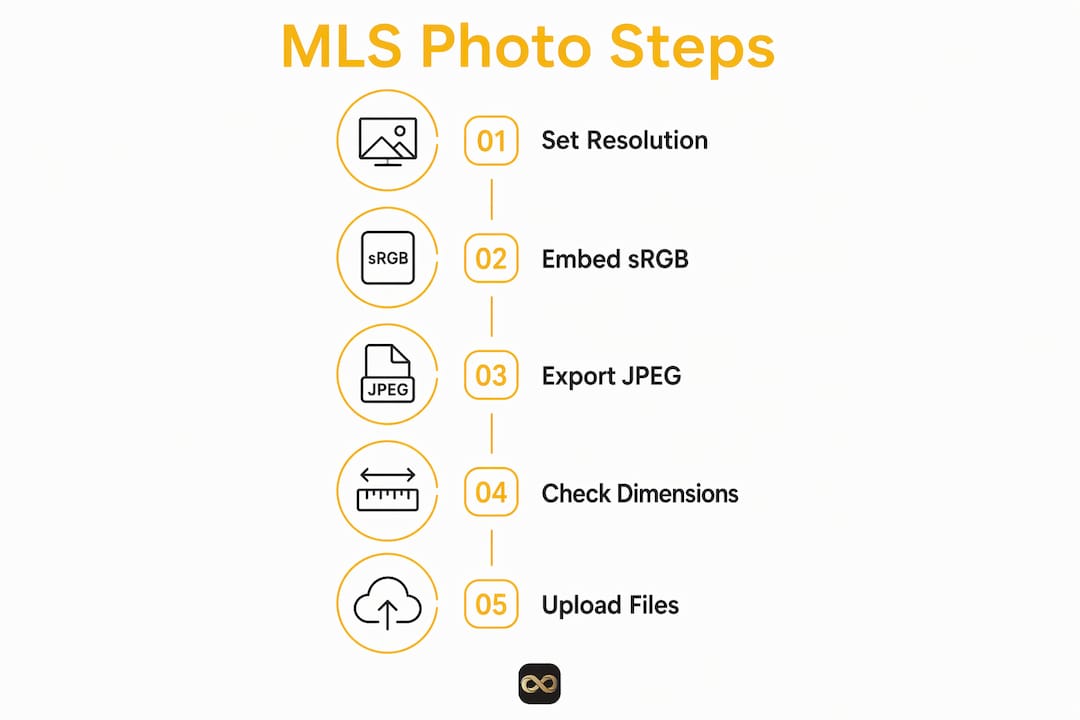
The minimum threshold most MLS platforms accept is 1024 pixels on the long edge. Going below that produces visibly soft images that hurt your listing presentation. Going above 4000 pixels adds file size without any visible benefit on a listing page.
Here is a quick reference for the numbers that matter:
| Setting | Recommended Value | Minimum Acceptable |
|---|---|---|
| Long edge pixels | 2048 px | 1024 px |
| Aspect ratio | 4:3 or 3:2 | Horizontal only |
| Color profile | sRGB | sRGB |
| File size | Under 2MB | Under 5MB |
| DPI | Irrelevant | Irrelevant |
That last row surprises most agents. MLS platforms ignore DPI entirely for digital display. A photo set at 72 DPI and one set at 300 DPI look identical on a listing page if the pixel dimensions are the same. Pixel count is the only metric that matters for screen display.
Aspect ratio affects how your photos appear in listing carousels. The preferred ratios are 4:3 or 3:2 horizontal. These fill the listing photo slot cleanly without awkward cropping or black bars on the sides.
Color profile is equally critical. Embedding sRGB prevents browser desaturation. If you shoot in Adobe RGB or leave the color profile untagged, MLS platforms and browsers will render your photos with flat, washed-out colors. That beautiful golden-hour kitchen shot turns gray and lifeless. Always embed sRGB at export.
Pro Tip: If you shoot with a mirrorless camera set to Adobe RGB, switch your export color space to sRGB in Lightroom Classic or Capture One before saving your final JPEGs. The in-camera setting does not override the export profile.
How to prepare and convert photos to mls-ready jpegs
Most real estate agents receive photos from multiple sources: their own phone, a professional photographer shooting RAW, a drone operator delivering DNG files, and a virtual staging vendor sending PNG files. Getting all of those into compliant JPEGs requires a clear workflow.
Follow these steps to normalize any batch of listing photos:
- Collect all files into one folder. Group RAW, HEIC, PNG, WebP, and TIFF files together before you start. Mixing formats mid-workflow causes errors.
- Open your batch conversion tool. Tools like Adobe Lightroom, Capture One, or the dedicated app Contenta Converter handle multi-format batches efficiently. Select all files.
- Set export format to JPEG, quality 85%. This setting produces files under 2MB for most property photos at 2048 pixels on the long edge.
- Embed sRGB color space. In Lightroom, this is under File Settings > Color Space > sRGB. In Capture One, set the ICC profile in the Process Recipe.
- Resize to 2048 pixels on the long edge. Set the long edge constraint and let the tool calculate the short edge automatically to preserve the original aspect ratio.
- Rename files with a consistent convention. Use a format like PropertyAddress_01.jpg through PropertyAddress_25.jpg. Consistent naming prevents upload confusion on platforms like Matrix or Paragon.
- Strip sensitive metadata. GPS coordinates embedded in phone photos reveal the exact property location before listing goes live. Use ExifTool or the metadata removal option in Lightroom to strip location data.
- Verify orientation before upload. MLS photo slots reject vertical images or crop them unpredictably. Rotate any portrait-oriented shots to landscape before the final export.
After conversion, spot-check three to five photos by opening them in a browser tab. If the colors look accurate and the images are sharp, your batch is ready.
Here are the most common file sources you will encounter and how to handle each:
- HEIC from iPhones: Convert using Lightroom, Preview on Mac, or a free tool like iMazing Converter. HEIC files from iPhone 14 and later are high quality but universally rejected by MLS systems.
- RAW from DSLRs or mirrorless cameras: Requires a RAW-capable editor. Lightroom and Capture One both process Canon CR3, Sony ARW, and Nikon NEF files. Export directly to JPEG from the editor.
- PNG from virtual staging vendors: Open in Photoshop or GIMP and export as JPEG at 85% with sRGB. PNG files from staging companies like BoxBrownie often exceed 8MB and need resizing.
- WebP from web-based tools: Download and convert using Squoosh, XnConvert, or Lightroom. WebP is common from browser-based editing tools but is not accepted on MLS platforms.
- Drone DNG files: Treat these like RAW. Process in Lightroom or Adobe Bridge, correct exposure, and export as JPEG. Check the drone photo workflow for additional format considerations specific to aerial shots.
How do you fix common MLS photo upload errors?
Upload errors fall into a short list of repeatable causes. Knowing them saves you from re-uploading entire batches.
- Wrong format rejection: The MLS system returns an error like "unsupported file type." The fix is simple: confirm your file extension is .jpg or .jpeg, not .png, .heic, or .raw. Some systems reject files even if you manually rename the extension without actually converting the format.
- File too large: Most MLS platforms cap individual photos at 5MB, with some capping at 2MB. Uploading high-resolution files directly from a camera or phone causes timeouts and rejections. Resize to 2048 pixels and compress to 85% JPEG quality before upload.
- Washed-out colors after upload: This is almost always an Adobe RGB or untagged color profile. Re-export with sRGB embedded and re-upload. The difference is immediate and dramatic.
- Vertical image cropping: Portrait-oriented photos get auto-cropped or displayed incorrectly. Rotate to landscape in your editing software and re-export. This is especially common with phone photos taken in portrait mode.
- Inconsistent appearance across photos: When photos come from multiple vendors, color temperature and brightness vary widely. A quick batch edit in Lightroom to normalize white balance and exposure creates a uniform look across your listing.
Standardizing all images from different sources into compliant sRGB JPEGs before MLS upload avoids errors and maintains a uniform listing appearance. Agents who skip this step spend more time fixing rejections than the conversion workflow would have taken.
For agents managing multiple listings at once, a batch workflow is the only practical solution. Tools like XnConvert and Lightroom's Export with Presets feature let you process 50 photos in under two minutes once your settings are saved. That time investment pays off on every listing you publish. You can also review the MLS photo requirements guide for a full breakdown of platform-specific specs.
Key takeaways
The best real estate photo file format is JPEG at 2048 pixels on the long edge, exported at 85% quality with sRGB color space embedded, meeting MLS standards on every major platform.
| Point | Details |
|---|---|
| JPEG is the only MLS format | All major MLS platforms require JPEG; convert RAW, HEIC, PNG, and WebP before upload. |
| 2048 pixels on the long edge | This resolution balances sharp display quality with fast, reliable upload performance. |
| DPI does not matter | MLS platforms use pixel dimensions for display quality, not DPI values. |
| Embed sRGB color profile | Adobe RGB or untagged files render with washed-out colors on MLS and browser displays. |
| Batch convert multi-vendor files | Use Lightroom, Capture One, or XnConvert to normalize all formats into compliant JPEGs. |
File format mastery is simpler than most agents think
I have reviewed hundreds of listing photo batches over the years, and the same problems show up repeatedly. An agent gets beautiful photos from a photographer, uploads them to the MLS, and then wonders why the colors look flat or why three photos got rejected. Nine times out of ten, the issue is not the photo quality. It is the file format or color profile.
The real estate industry has made meaningful progress here. MLS platforms in 2026 are more descriptive with their error messages than they were five years ago. Bright MLS and CRMLS now tell you exactly why a file was rejected rather than returning a generic error. That transparency helps, but it does not replace knowing the right settings before you upload.
What I have found actually works is building a saved export preset in Lightroom or Capture One that you use for every single listing. JPEG, 85% quality, 2048 pixels long edge, sRGB embedded, GPS stripped. Set it once and forget it. The agents who struggle most are the ones who adjust settings listing by listing and introduce inconsistency.
There is also a reputation angle here that does not get discussed enough. Listings with consistent, well-formatted photos look more professional in the MLS search results. Buyers and buyer's agents notice. A listing where every photo is sharp, correctly oriented, and color-accurate signals that the agent is detail-oriented. That perception matters in a competitive market. You can also check how many photos an MLS listing needs to make sure your format work is applied to the right quantity of images.
File format compliance is not glamorous work. But getting it right is one of the fastest ways to improve your listing presentation without spending more money on photography.
— Richard Lopez
Get mls-ready photos without the format headaches
Dealing with file conversions, color profiles, and upload errors takes time you could spend closing deals. Proofe removes that friction entirely.
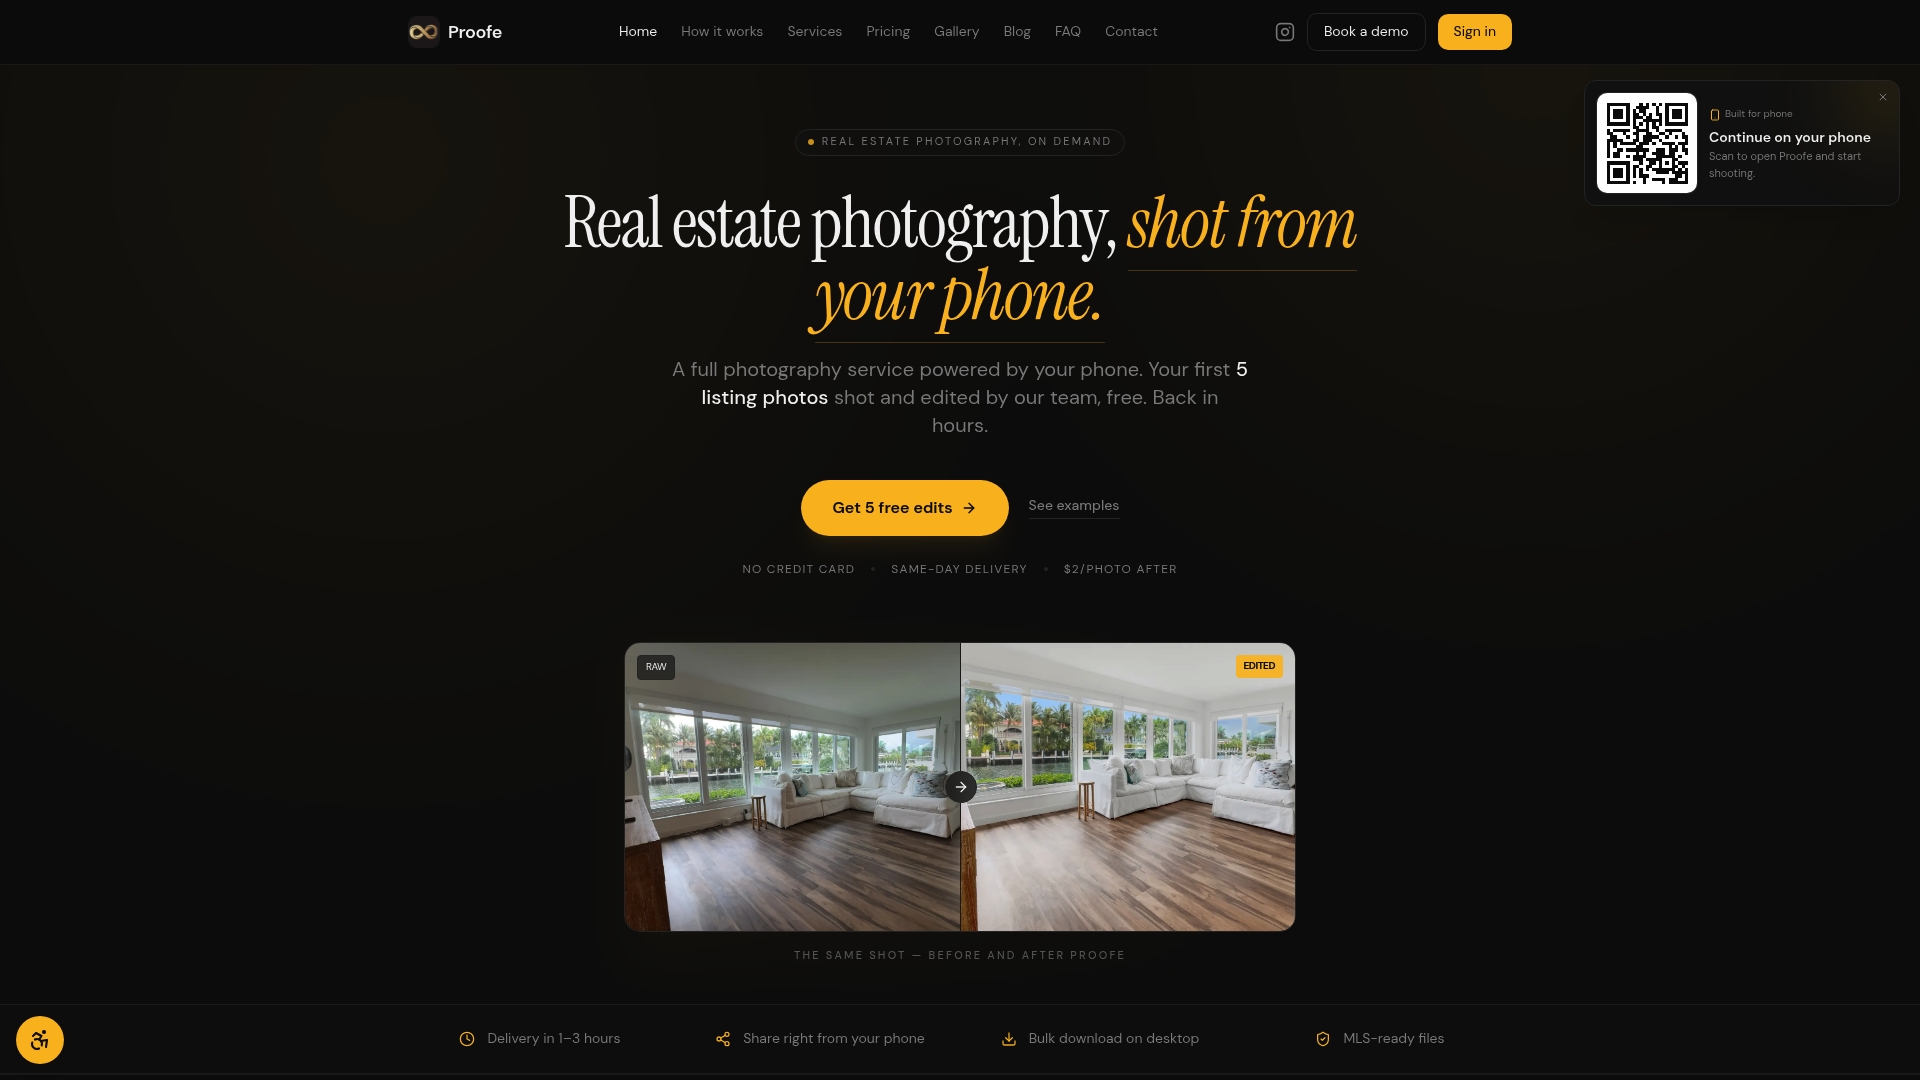
With the Proofe real estate photo app, you shoot listing photos directly from your smartphone and receive AI-enhanced, MLS-ready JPEGs the same day. Every file comes out at the right resolution, in sRGB color space, and sized for fast upload. No batch conversion. No format guesswork. Proofe also offers professional photo editing services for agents who want expert-level results on every listing. Your first five photos are free. Try it on your next listing and see the difference a clean, compliant workflow makes.
FAQ
What is the best image format for MLS listings?
JPEG is the required format for all major MLS platforms. Export at 85% quality with sRGB color space embedded and 2048 pixels on the long edge for best results.
Does DPI matter for real estate listing photos?
No. MLS platforms and digital displays use pixel dimensions, not DPI, to determine image quality. A photo at 72 DPI and 300 DPI look identical on screen if the pixel count is the same.
Why do my photos look washed out after MLS upload?
Washed-out colors after upload are caused by an Adobe RGB or untagged color profile. Re-export your photos with sRGB embedded and re-upload to restore accurate, vibrant colors.
Can i upload HEIC photos from my iPhone directly to the MLS?
No. HEIC is not accepted by MLS platforms and must be converted to JPEG before upload. Use Lightroom, iMazing Converter, or a batch conversion tool to convert HEIC files quickly.
What aspect ratio should real estate photos be?
The preferred aspect ratios for MLS listings are 4:3 or 3:2 in horizontal (landscape) orientation. Vertical photos are rejected or cropped unpredictably by most MLS photo slots.