
Photographing your home for sale is the process of capturing bright, clear, and inviting images that showcase its best features to potential buyers. Done right, listing photos are your strongest marketing tool. Listings with professional-grade images can sell for $7,000–$15,000 more than those with low-quality photos and sell three times faster. You do not need expensive equipment or a hired photographer to get there. This guide walks you through every step, from staging and timing to shooting and editing, so your listing stands out online.
How to photograph your home for sale: preparation first
The best camera in the world cannot fix a cluttered room. Preparation is where great listing photos are won or lost, and it starts well before you pick up your phone.
Declutter and depersonalize
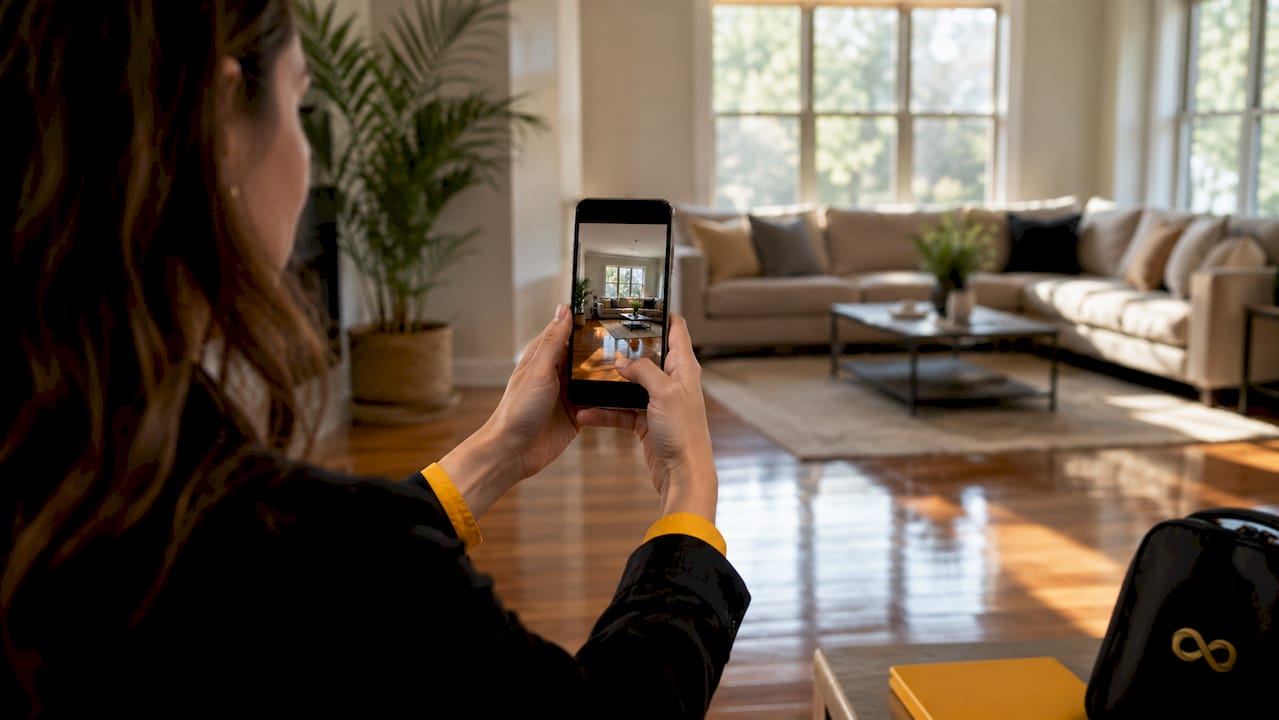
Effective home staging involves removing roughly 30% of your belongings to open up space and depersonalize each room. That number is higher than most sellers expect. Go room by room and pull out anything that makes the space feel crowded, personal, or dated. Family photos, excess throw pillows, countertop appliances, and stacks of mail all need to go. Buyers need to picture themselves living there, not you.
Deep clean beyond the obvious
A surface wipe-down is not enough. Focus your cleaning on baseboards, light fixtures, grout lines, and window glass. These are the details that show up in photos and signal whether a home has been maintained. A smudged window or grimy grout line can make an otherwise beautiful kitchen look neglected.
Stage the rooms that matter most
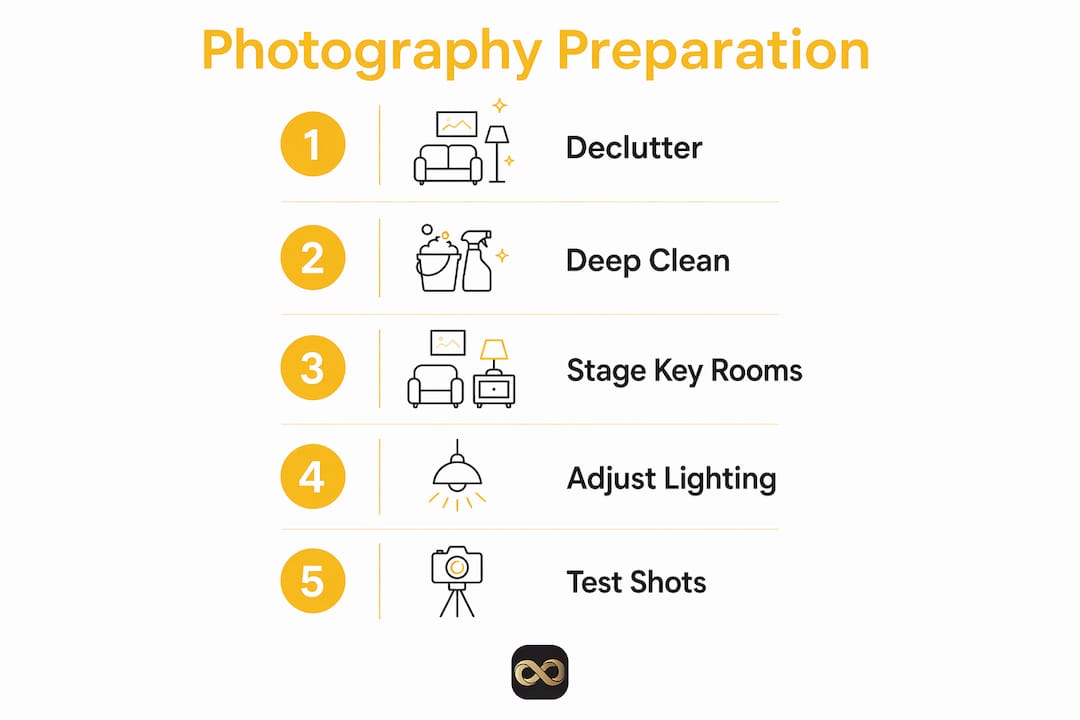
NAR research confirms that staging is most effective when focused on the living room, primary bedroom, and kitchen. If your time or budget is limited, put your energy into those three spaces first, then move to the entry and curb appeal. A well-arranged living room with clear sightlines and a styled kitchen counter will do more for your listing than a perfectly decorated guest bathroom.
Adjust your lighting before you shoot
Open every curtain and blind to maximize natural light. Add floor lamps or table lamps in darker corners. Turn on all overhead lights, even during the day, to eliminate shadows. Consistent, warm light makes rooms feel larger and more welcoming in photos.
Pro Tip: Walk through each room and take a quick test photo on your phone before your main shoot. You will spot problems like a visible power strip, a crooked picture frame, or a dark corner that needs a lamp, before they ruin your final images.
What is the best time to photograph a house?
Timing your shoot correctly makes a bigger difference than most sellers realize. Light quality changes dramatically throughout the day, and the wrong conditions can flatten even a well-staged room.
The best time to photograph a house is during natural daylight, with overcast days offering the most balanced and flattering light. Direct midday sun creates harsh shadows and blows out windows. Overcast skies act as a natural diffuser, spreading soft, even light through every room. If you are shooting the exterior, late afternoon on a partly cloudy day gives you warm tones without the glare.
Shoot your entire home in a single organized session. Photographing the whole property in one time window keeps lighting consistent and your staging cohesive across every image. Multi-day shoots cause noticeable mismatches in color temperature and room arrangement that erode buyer trust in the gallery.
Here is a proven shooting sequence to follow:
- Start with the exterior front. Shoot from the street at a slight angle to show depth and dimension. Include the driveway, landscaping, and any architectural details.
- Move to the entry and foyer. This sets the tone for the entire gallery. Make sure it is clean, bright, and welcoming.
- Shoot the living room next. Position yourself in a corner to capture the full width of the room. Aim for chest height to avoid distortion.
- Photograph the kitchen. Shoot from the doorway or a corner. Clear the counters except for one or two styled items.
- Cover the primary bedroom and bathroom. These are high-priority rooms for buyers. Take your time with composition.
- Finish with secondary rooms, outdoor spaces, and detail shots. Capture 3–5 close-up shots of upgraded hardware, hardwood textures, or high-end appliances. Detail shots signal quality and maintenance to buyers who are scanning quickly.
Pro Tip: Shoot from chest height rather than eye level. This prevents the room distortion that makes ceilings look low and walls look warped. It also creates a natural, comfortable perspective that mirrors how buyers experience a space in person.
Step-by-step guide to capturing and editing your listing photos
A structured approach to capture and editing separates polished listing photos from amateur ones. Follow this process room by room.
Building your shot list
Create a written shot list before you start. List every room and the specific angles you want to capture. A typical home needs 20–30 photos for a complete MLS gallery. Having a list keeps you from missing rooms and prevents the disorganized reshooting that breaks lighting consistency.
Camera settings and composition
Use your smartphone's grid overlay to keep lines straight. Horizontal lines, like countertops and window sills, should run parallel to the bottom of the frame. Avoid shooting directly at windows unless you are using HDR mode, which balances interior and exterior exposure. For tight spaces like bathrooms, stand in the doorway and shoot straight in rather than trying to cram yourself inside.
Editing your photos
Editing is not optional. Basic editing with tools like Snapseed or Lightroom Mobile to adjust brightness, straighten images, and enhance contrast significantly improves listing presentation. Apply these adjustments in order:
- Straighten the image so all vertical lines are perfectly upright.
- Brighten the exposure until the room looks naturally lit, not washed out.
- Adjust contrast to add depth without making shadows too dark.
- Correct white balance so walls appear their true color, not yellow or blue.
- Remove distractions by cropping out visible cords, trash cans, or staging props that crept into the frame.
After editing, rename your files logically, such as "01-exterior-front," "02-living-room-wide," and so on. This makes uploading to the MLS faster and keeps your gallery in the right order.
| Editing step | What it fixes | Recommended tool |
|---|---|---|
| Straighten | Tilted horizons and warped walls | Snapseed, Lightroom Mobile |
| Brightness | Dark rooms that look smaller | Snapseed, Lightroom Mobile |
| Contrast | Flat, lifeless images | Lightroom Mobile |
| White balance | Yellow or blue color casts | Lightroom Mobile |
| Crop and clean | Distracting objects in frame | Snapseed |
Check every photo on a laptop or desktop screen before uploading. Phone screens are small and forgiving. A photo that looks sharp on your phone may show blur or color issues on a larger display.
What are the most common mistakes when photographing a home?
Even well-prepared sellers make avoidable errors. Knowing what to watch for saves you a reshoot.
- Overusing flash. On-camera flash creates flat, harsh light and red-eye reflections on shiny surfaces. Use natural light and lamps instead.
- Shooting with a cluttered background. A single visible item, like a dog bowl or a pile of shoes, pulls the buyer's eye away from the room. Do a final sweep before each shot.
- Inconsistent lighting across the gallery. Mixing daylight shots with evening shots makes the gallery look disjointed. Stick to your single-session rule.
- Extreme wide-angle distortion. Avoid using extreme wide-angle shots on every room. They stretch walls and make furniture look warped. Use a moderate wide angle and supplement with detail shots.
- Ignoring the exterior. Buyers see the exterior photo first. A dark, flat, or poorly framed front shot kills click-through before anyone sees the interior.
- Uploading without reviewing on a large screen. Always check your final edits on a monitor before the listing goes live.
Pro Tip: If a room feels too dark even with all lights on, place a white foam board just outside the frame to bounce natural light back into the space. This is a trick used in product photography and works just as well for interiors.
Airbnb hosts face the same challenges, especially between seasons when a refresh of listing photos can directly lift booking rates. The same preparation and shooting principles apply whether you are selling or renting.
Key takeaways
Listing photos are your most powerful sales tool, and the quality of those images directly determines how fast your home sells and for how much.
| Point | Details |
|---|---|
| Preparation drives results | Remove 30% of belongings and deep clean before shooting to open up space. |
| Stage the right rooms first | Focus on the living room, primary bedroom, and kitchen for maximum buyer impact. |
| Shoot in one session | A single shoot window keeps lighting and staging consistent across your gallery. |
| Chest height is the standard | Shooting from chest level prevents distortion and creates a natural buyer perspective. |
| Edit every photo | Straighten, brighten, and correct white balance before uploading to the MLS. |
What I have learned about listing photos after years of watching sellers get it wrong
The most common mistake I see is sellers treating photography as the last step. They rush it after weeks of preparation, shoot on a cloudy evening with their phone held at eye level, and wonder why buyers are not calling. The photos are the first impression. They are not a formality.
Buyers view images before reading descriptions. Clear, well-lit, level photos convince buyers of home value, while weak images make even well-priced homes appear neglected. That is not an opinion. That is buyer behavior, and it does not change regardless of your price point.
The second thing I have learned is that listing photography is an ongoing process, not a one-time event. Sellers who monitor their listing analytics and refresh photos when engagement drops see faster sales and better offers. If your home has been on the market for three weeks without traction, the photos are the first thing to revisit, not the price.
My honest advice: aim for clarity and consistency, not drama. The goal of listing photos is to build buyer trust, not to win a photography award. Bright, honest, well-composed images do that better than any filter or staging trick.
— Richard Lopez
Proofe makes professional listing photos accessible for every homeowner
Getting your listing photos right does not require hiring a photographer or buying expensive gear. Proofe lets you shoot and enhance listing photos directly from your smartphone, with AI enhancement that delivers MLS-ready files the same day.
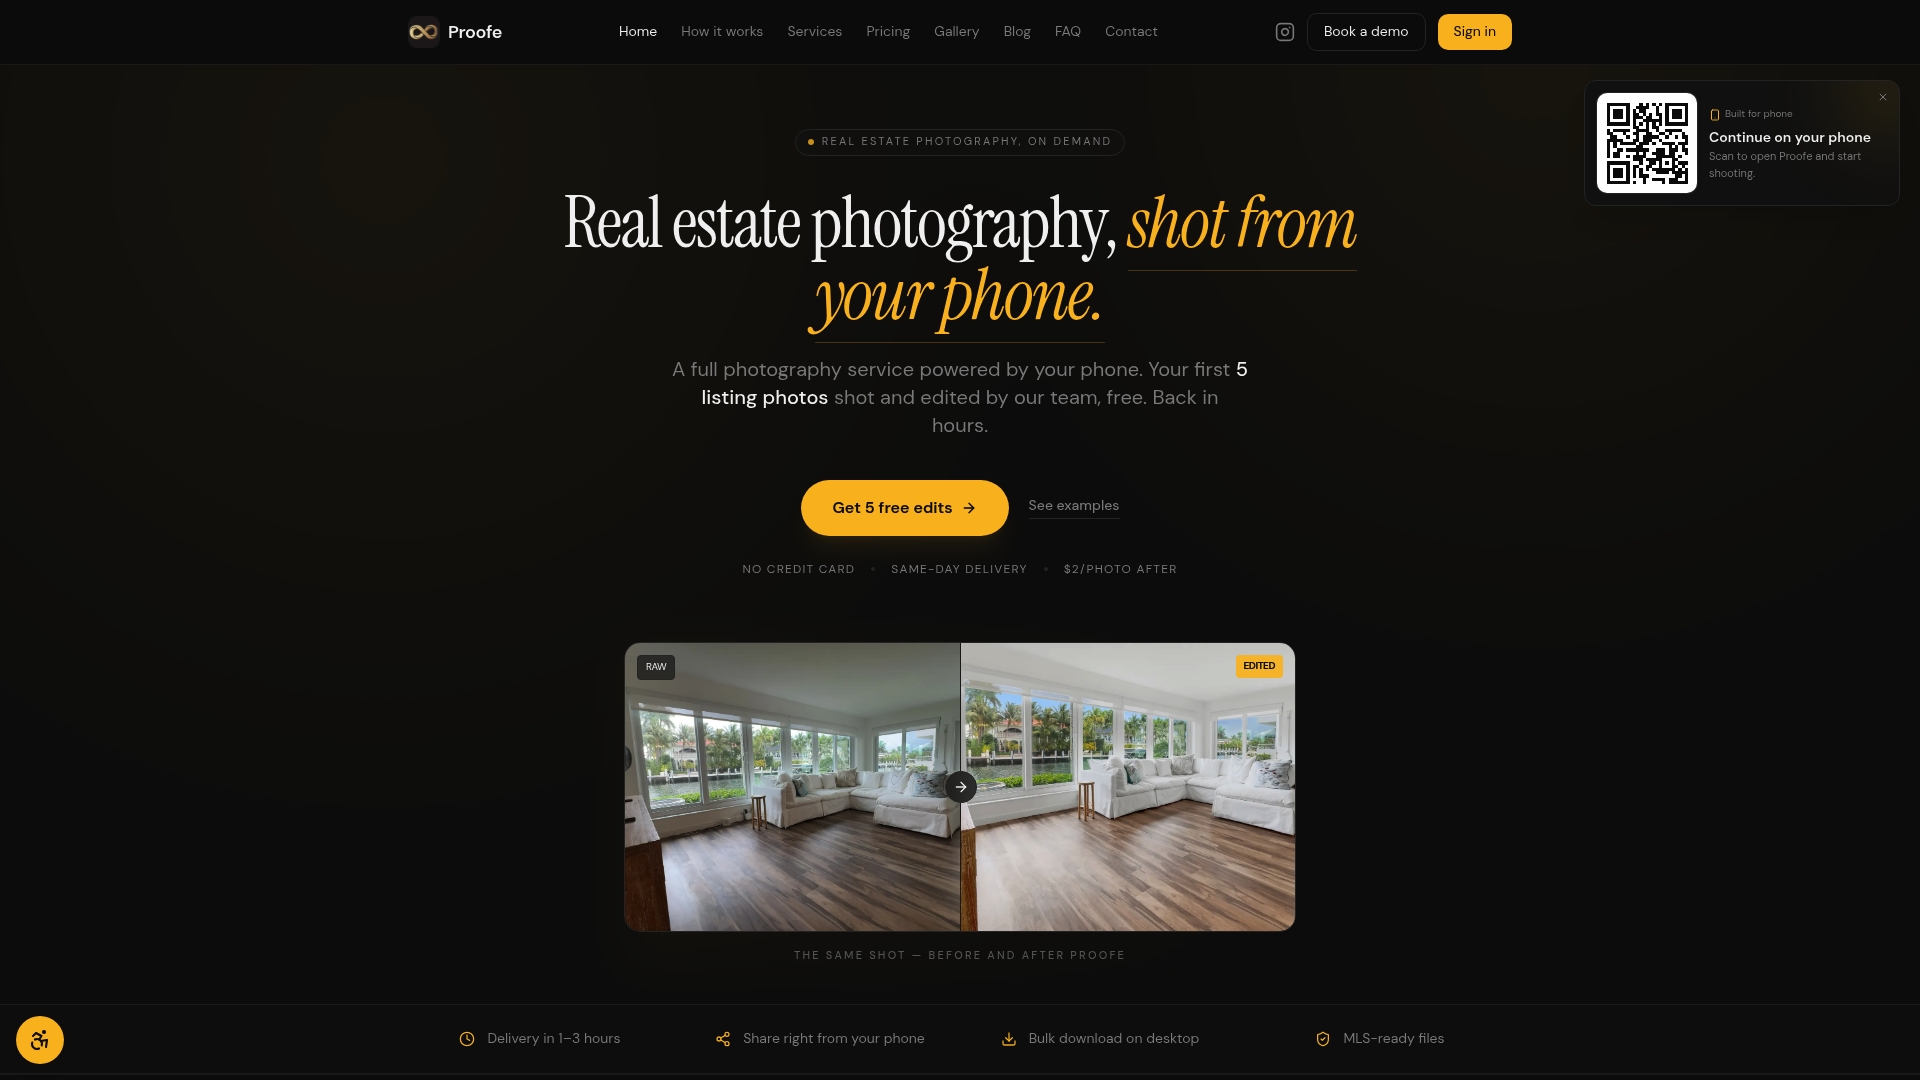
Proofe's three-step process is straightforward: shoot, AI-enhance, and download. Features like sky replacement and bright room edits fix the most common photo problems without any editing experience. Your first five photos are free. Whether you are selling your home or refreshing your Airbnb listing before peak season, Proofe gives you professional results without the professional price tag.
FAQ
How much do listing photos affect sale price?
Listings with high-quality images can sell for $7,000–$15,000 more than those with low-quality photos. They also sell three times faster on average.
What is the best time to photograph a house?
Overcast daylight hours produce the most balanced, flattering light for both interior and exterior shots. Avoid direct midday sun, which creates harsh shadows and blows out windows.
How many photos should a home listing include?
A complete MLS gallery typically requires 20–30 photos, covering all major rooms, the exterior, and 3–5 detail shots of quality finishes or upgraded features.
Do I need a professional camera to take good listing photos?
A modern smartphone with a wide-angle lens and basic editing apps like Snapseed or Lightroom Mobile produces results that meet MLS standards. Technique and preparation matter more than equipment.
Which rooms should I stage first?
Stage the living room, primary bedroom, and kitchen first. NAR identifies these three rooms as the highest-impact areas for buyer perception and sale outcomes.