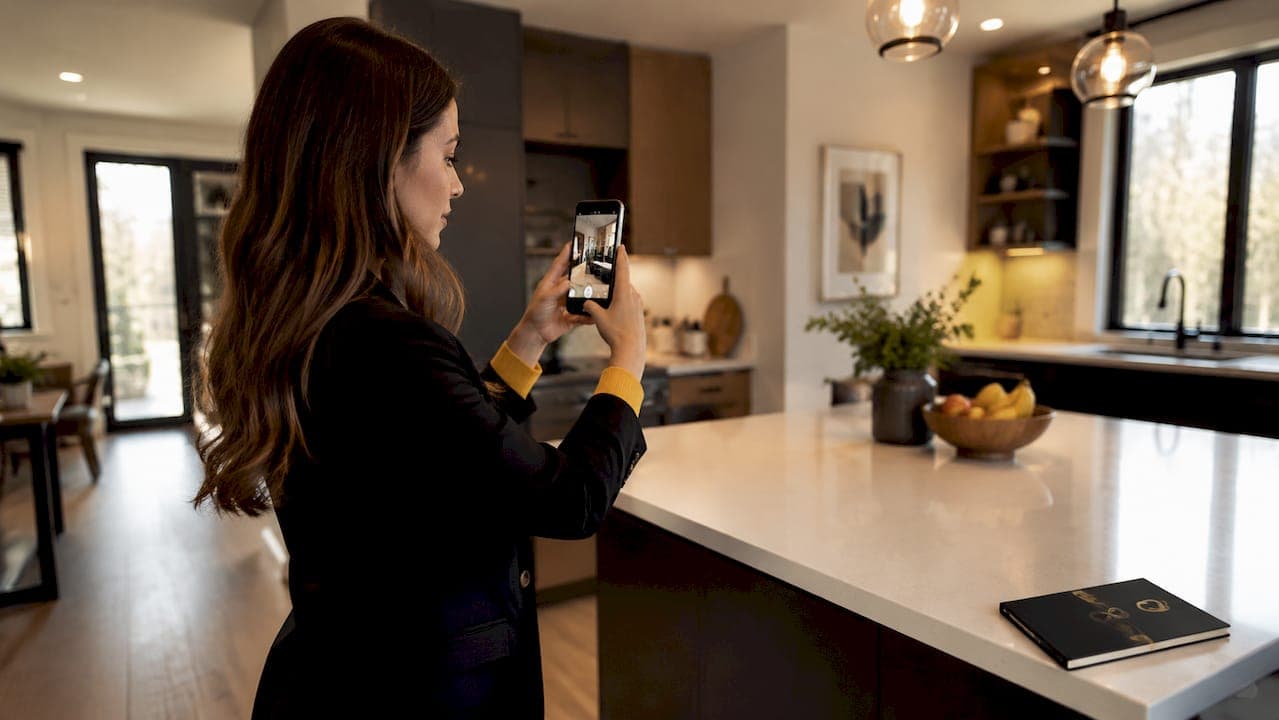
Photo-ready home preparation is the process of cleaning, decluttering, lighting, and styling a property before listing photography to create images that attract buyers. Known in the industry as pre-shoot staging, this process is the single biggest factor separating listings that generate immediate interest from those that sit on the market. According to the National Association of REALTORS® (NAR), 83% of buyer's agents say staging makes it easier for buyers to picture themselves living in a home. That number alone tells you preparation is not optional. Professional photographers document what is presented to them. They do not clean, rearrange, or fix problems on the day of the shoot.
What is photo-ready home preparation and when should you start?
The most common mistake sellers make is treating photo prep as a morning-of task. Impactful preparation happens in the days leading up to the shoot, not just the hours before. Rushing on shoot day shows up directly in the photos.
A practical timeline looks like this:
- 48 hours before: Walk through every room with your listing agent. Identify furniture to move, items to pack away, and repairs to address. Agent involvement at this stage prevents last-minute surprises.
- 24 hours before: Complete the deep clean and declutter. Wipe surfaces, vacuum floors, clean windows, and pack away personal items. This is the heaviest work block.
- Morning of the shoot: Do a final walkthrough. Open all blinds, turn on every light, fluff pillows, and straighten artwork. Check the exterior too. Remove cars from the driveway and sweep the porch.
- 30 minutes before the photographer arrives: Take phone photos of each room. This trick catches overlooked clutter or crooked decor that your eye skips over in person.
Typical photo prep takes 4–6 hours for a standard home. Add 2–3 more hours if the home is heavily lived-in. Budget that time honestly so you are not cutting corners.
Pro Tip: Ask your listing agent to walk the home with you two days before the shoot. A second set of eyes catches things you have stopped noticing because you live there.
How to declutter, clean, and depersonalize for listing photos
Decluttering and depersonalizing are the foundation of every effective pre-shoot staging effort. NAR recommends packing away personal items and removing bulky furniture to make rooms feel larger and more neutral. The goal is a clean backdrop that lets buyers picture their own life in the space, not yours.
Depersonalizing means more than removing family photos. It includes:
- Personal photographs, trophies, and awards
- Political or religious decor
- Toiletries, medications, and personal care products from bathrooms and nightstands
- Bulky or mismatched furniture that crowds a room
- Pet beds, food bowls, and toys
- Stacks of mail, magazines, and paperwork
- Refrigerator magnets and notes
Cleaning priorities follow a specific order. Start at the top of each room and work down. Clean ceiling fans and light fixtures first, then wipe walls and windows, then counters and surfaces, then floors. Windows and mirrors deserve extra attention because cameras catch smudges and streaks that your eye ignores.
Staging creates a neutral backdrop that helps buyers emotionally connect with the property. That connection is what drives offers. A home that feels like a showroom, not a storage unit, photographs dramatically better and sells faster.
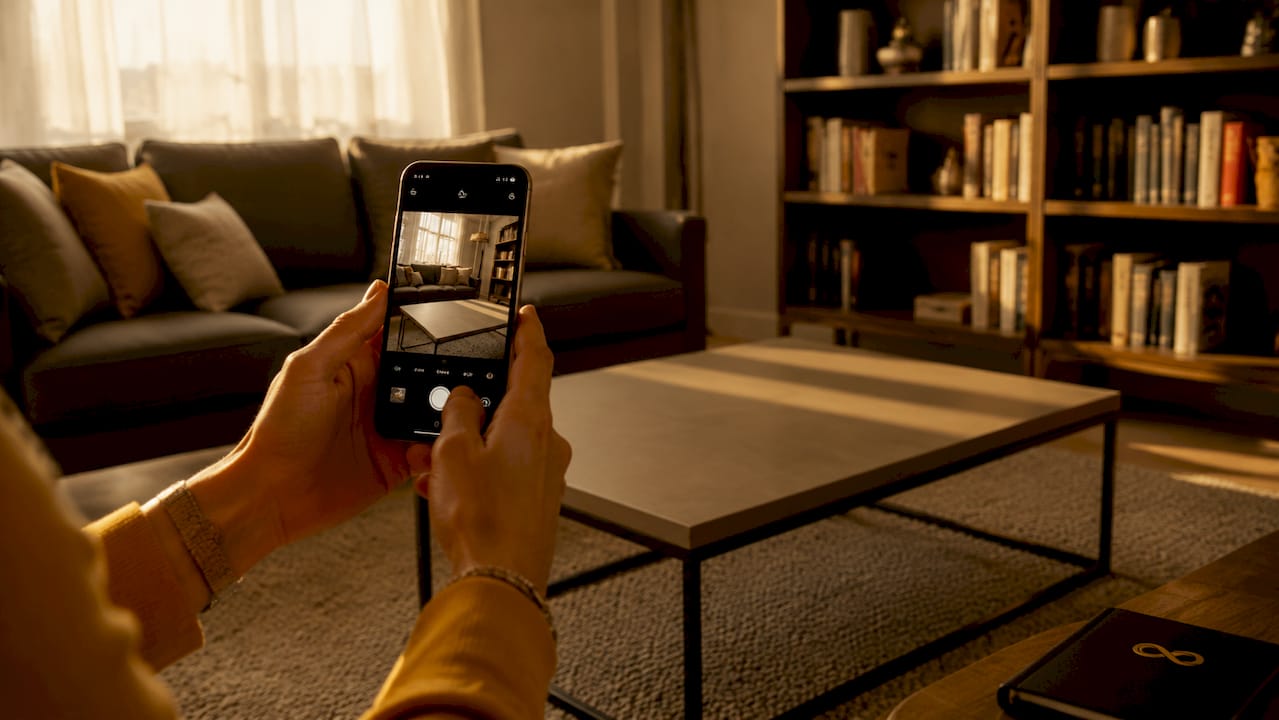
Pro Tip: Fill a laundry basket with countertop clutter and put it in your car trunk on shoot day. Out of sight, out of frame, and you can bring it back in after the photographer leaves.
Lighting and styling strategies that make rooms photograph better
Lighting is the single most controllable variable in listing photography. The right setup takes a flat, dull room and makes it feel warm, spacious, and inviting. The wrong setup makes even a beautiful space look dingy.
Follow these steps on shoot day morning:
- Open every blind and curtain fully. Natural light is the most flattering light source available, and it costs nothing.
- Replace all burned-out bulbs with matching soft white bulbs. Mixed color temperatures, some warm, some cool, create an uneven, unprofessional look in photos.
- Turn on every light source in the home: overhead fixtures, table lamps, floor lamps, and under-cabinet kitchen lights. Turning on all lamps adds depth and warmth that cameras capture well.
- Clean all light fixtures, mirrors, and glass surfaces. Smudges on glass scatter light and create distracting reflections in wide-angle shots.
- Style each surface intentionally. Fluff sofa cushions and arrange throws neatly. Push dining chairs in evenly. Straighten artwork so frames are level. Place a simple bowl of fruit or a vase of flowers on the kitchen counter for a touch of warmth.
Styling does not mean decorating. It means editing. Remove three items from every surface, then add one intentional piece. That ratio keeps spaces feeling curated rather than cluttered.
Pro Tip: Check the real estate photo checklist the night before your shoot to confirm every lighting and styling detail is covered before the photographer arrives.
Room-by-room photo-ready checklist
Every room has its own preparation priorities. Use this checklist to work through the home systematically.
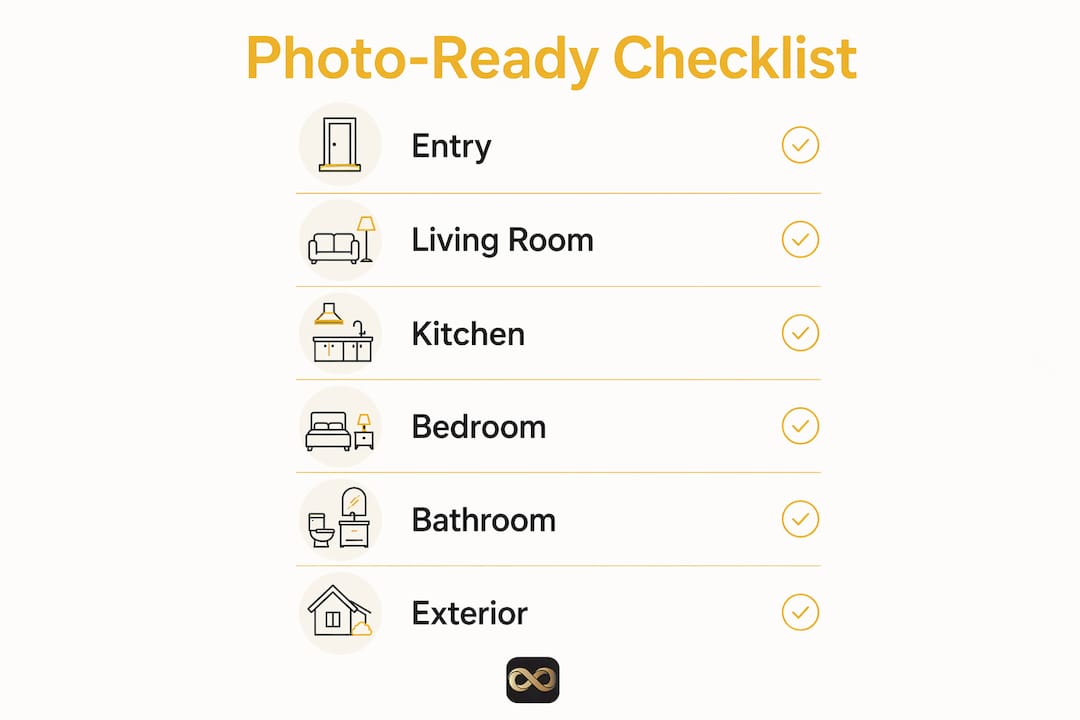
| Room | Key prep actions |
|---|---|
| Living room | Clear all surfaces, arrange furniture to show traffic flow, remove remote controls and cords, add one styled accent piece |
| Kitchen | Clear all counters of appliances and clutter, clean sink and faucet, wipe stovetop, mop floor, remove dish racks and sponges |
| Primary bedroom | Make bed with fresh, wrinkle-free linens, remove items from nightstands except one lamp and one book, clear dresser tops |
| Bathrooms | Clean mirrors and fixtures until streak-free, replace worn towels with fluffy white ones, remove all personal care products from counters, close toilet lids |
| Secondary bedrooms | Make beds, clear floors, remove personal items and excess furniture if the room feels small |
| Exterior | Mow and edge the lawn, trim shrubs, sweep the porch and walkway, remove cars from the driveway, add a potted plant or clean doormat at the entry |
The exterior shot is often the first image buyers see in a listing. A clean driveway, trimmed lawn, and tidy entry create the first impression that pulls buyers into the rest of the photos.
Consistency matters across every room. A beautifully staged living room followed by a cluttered bathroom breaks the visual story. Buyers notice the weakest room, not the strongest. Keep the same standard of cleanliness, light, and styling throughout the entire home.
Small additions add warmth without adding clutter. A folded throw on a chair, a single candle on a bathroom shelf, or a set of matching white towels in the kitchen all read as polished and intentional in photos. These details cost almost nothing and make a visible difference.
For Airbnb hosts, the same room-by-room approach applies before seasonal photo updates. Fresh photos taken after a seasonal refresh, new linens, or updated decor can meaningfully improve booking rates. Treat each photo session as a new opportunity to show the property at its best.
Key takeaways
Photo-ready home preparation is the most cost-effective step a seller or agent can take before listing, and it starts at least 24 hours before the photographer arrives.
| Point | Details |
|---|---|
| Start early | Begin deep cleaning and decluttering at least 24 hours before the shoot, not the morning of. |
| Depersonalize completely | Remove personal photos, toiletries, political decor, and bulky furniture to create a neutral space. |
| Maximize light | Open all blinds, replace burned-out bulbs, and turn on every light source before the photographer arrives. |
| Work room by room | Use a checklist for each space to maintain consistent cleanliness and styling throughout the home. |
| Prep is the seller's job | Photographers capture what is in front of them. Preparation must be done before they arrive. |
Why preparation is the real work in real estate photography
I have seen hundreds of listing shoots over the years, and the pattern is always the same. The homes that photograph beautifully are not necessarily the most expensive or the most renovated. They are the ones where someone put in the work before the photographer walked through the door.
The biggest mistake I see sellers make is believing the photographer will handle it. They will not. Photo prep is not the photographer's job. A skilled photographer can compose a great shot, but they cannot make a cluttered kitchen look clean or a dark room look bright if the blinds are shut and the bulbs are burned out.
Clutter and poor lighting are the two fastest ways to destroy perceived value in a listing photo. A buyer scrolling through listings makes a decision about a home in seconds. If the first image shows a crowded countertop or a dim living room, they move on. That lost click is a lost showing.
The mindset shift that changes everything is thinking of preparation as storytelling. You are not just cleaning a house. You are building a visual narrative that tells buyers, "This is a home you could live in." NAR's research shows that staging helps buyers emotionally connect with a property. That emotional connection is what turns a showing into an offer.
My honest advice: schedule the deep clean two days out, not the night before. Get your agent in for a walkthrough the same day. Then do the final polish the morning of the shoot. That three-step rhythm produces consistently better photos than any last-minute scramble.
— Richard Lopez
How Proofe makes listing photos easier after you prep
You have done the hard work of preparing the home. Now the photos need to match that effort.
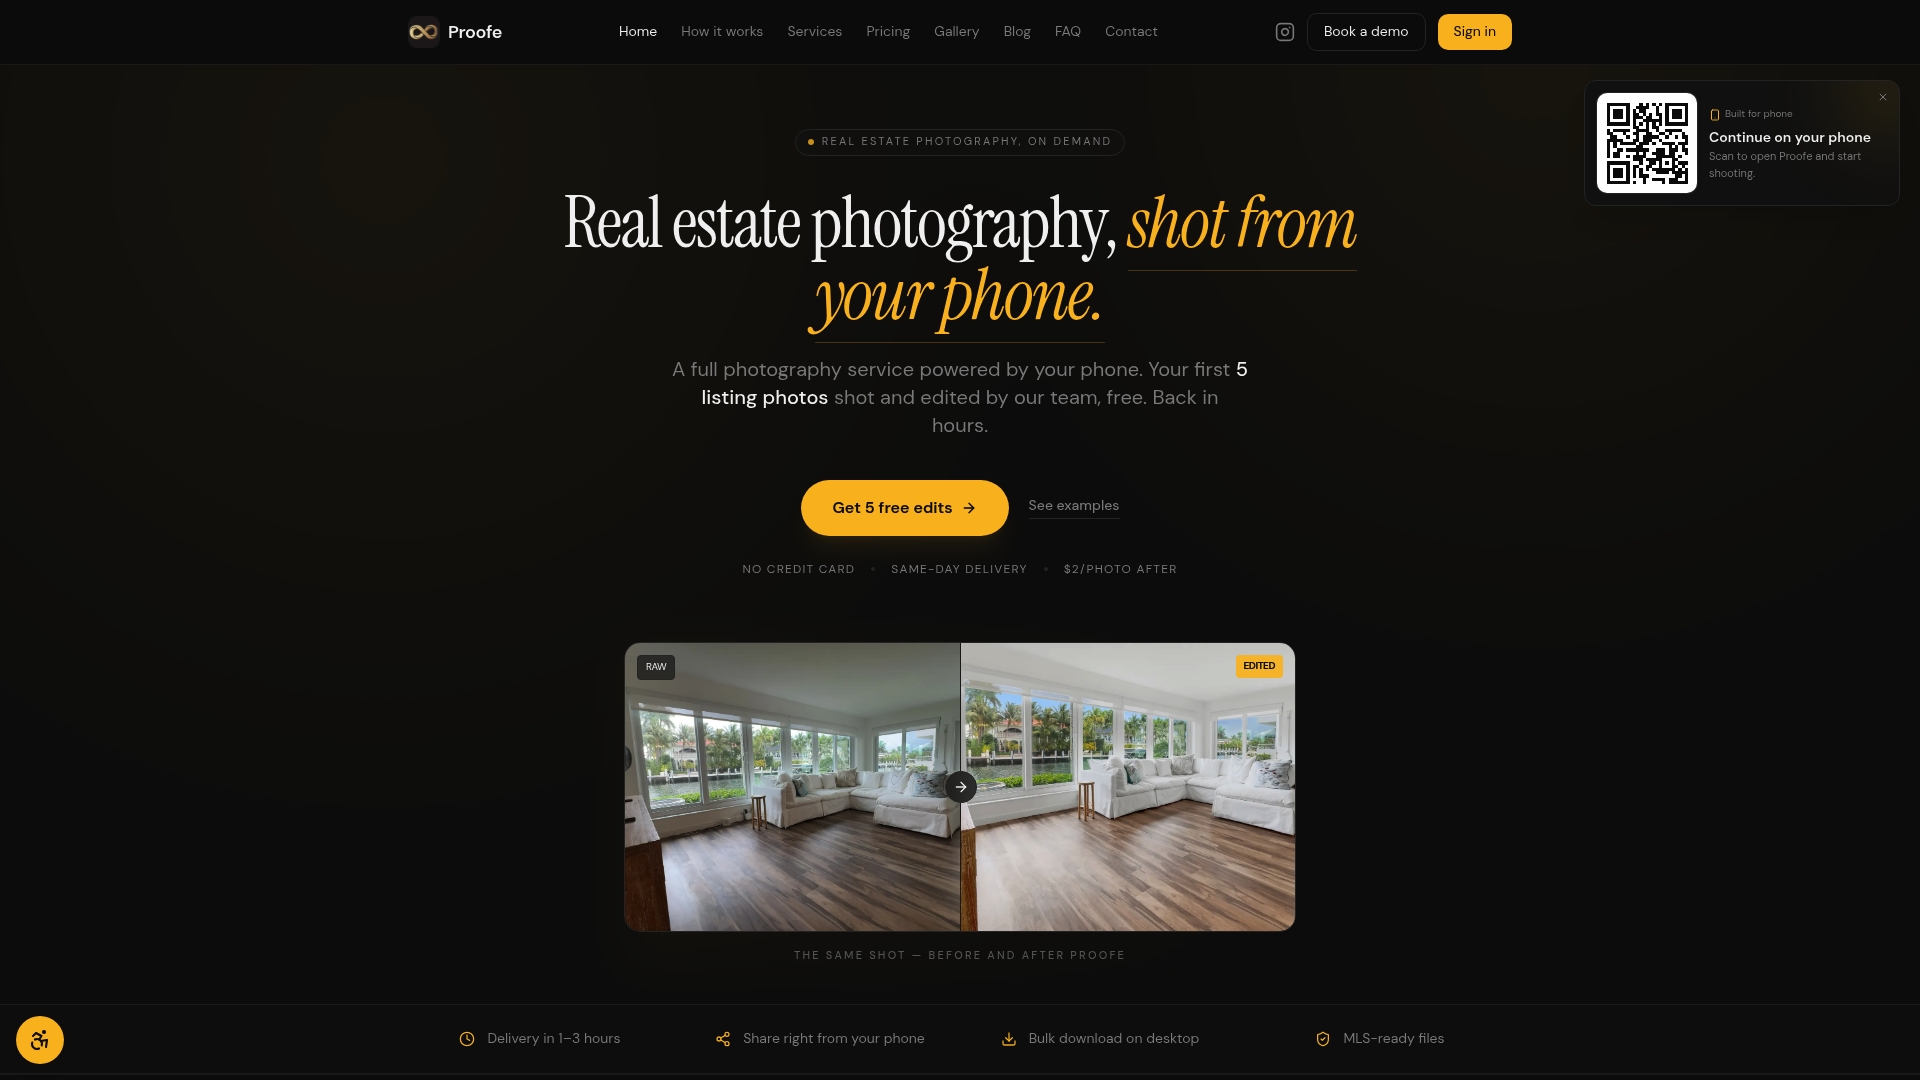
Proofe is a real estate photography service built for agents, homeowners, and property managers who want professional-quality listing photos without the cost or wait of traditional photography. Shoot with your smartphone, and Proofe's AI enhancement tools handle the rest. Features like bright room edits, sky replacement, and the AI photo enhancer take a well-prepared home and make it look its absolute best. You get MLS-ready files the same day, and your first five photos are free. For Airbnb hosts refreshing seasonal photos, Proofe makes it fast and affordable to update your listing images whenever the property changes.
FAQ
What does photo-ready home preparation include?
Photo-ready home preparation includes deep cleaning, decluttering, depersonalizing, optimizing lighting, and styling each room before a listing photo shoot. The goal is a clean, neutral, well-lit space that photographs well and appeals to buyers.
How long does it take to prepare a home for listing photos?
Typical preparation takes 4–6 hours for a standard home, with an additional 2–3 hours needed for heavily lived-in properties. Starting at least 24 hours before the shoot gives you enough time to do it properly.
Do I need a professional stager to prepare my home for photos?
A professional stager is not required. NAR's top staging recommendations, including decluttering, thorough cleaning, and improving curb appeal, are all tasks homeowners and agents can handle themselves with a clear checklist and enough lead time.
What rooms matter most in listing photos?
The kitchen, primary bedroom, living room, and exterior are the highest-impact spaces in listing photos. Buyers form their first impression from the exterior shot and spend the most time evaluating kitchens and living areas.
Can Airbnb hosts use the same preparation process?
Yes. The same decluttering, lighting, and styling steps apply directly to short-term rental properties. Updating listing photos after seasonal changes or property refreshes, using a service like Proofe's listing photo editing, can improve booking rates by showing the property at its current best.