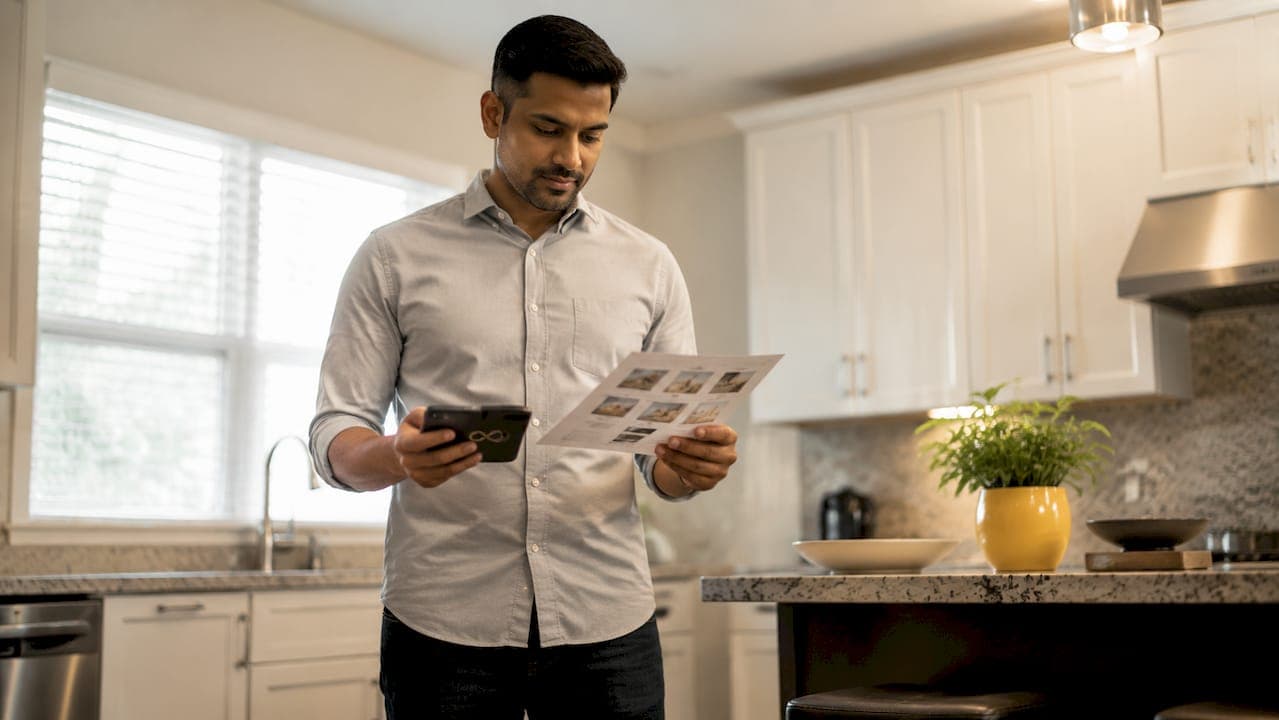
A real estate photo checklist for agents is a structured, room-by-room shooting and preparation guide that ensures every listing photo meets MLS standards and captures buyer attention from the first scroll. Buyers form opinions within the first three photos, which means your photo sequence is a marketing decision, not just a logistics one. Tools like Proofe and Amplifiles now make it easier than ever to shoot, edit, and deliver professional-quality images without expensive equipment. This guide gives you the exact checklist, shot counts, and preparation steps to get it right every time.
What does a real estate photo checklist for agents include?
A property photography checklist covers three distinct phases: preparation before the shoot, a complete shot list during the shoot, and post-processing standards after the shoot. Each phase has specific tasks that directly affect listing quality and buyer engagement. Skip any phase and you risk reshoots, delays, and weaker offers.
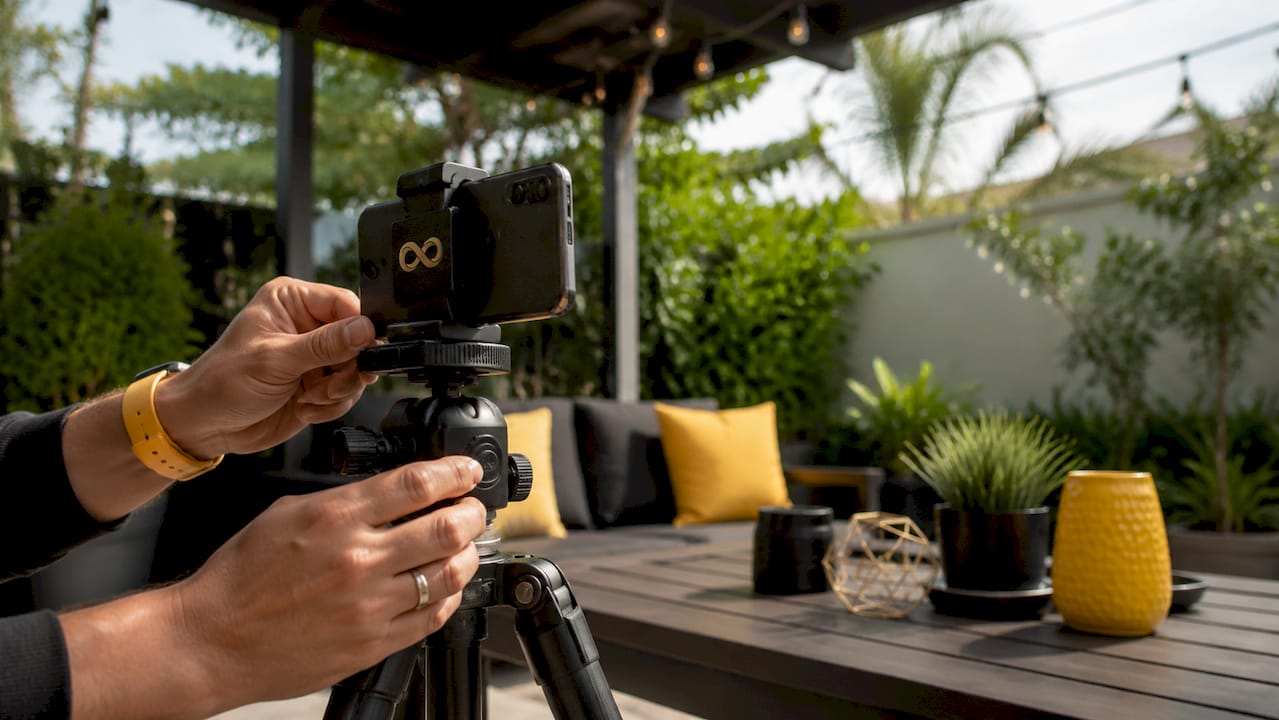
The industry term for this process is a listing photography protocol. Agents who follow a formal protocol consistently produce galleries that outperform improvised shoots. The checklist format keeps both you and the homeowner accountable, and it removes guesswork from a time-sensitive process.
What are the essential preparation steps before photography day?
Preparation is where most listing photo sessions are won or lost. Sending a preparation checklist to homeowners at least 24 hours before the shoot is the single most effective way to reduce reshoots and delays. A rushed homeowner who receives instructions the morning of the shoot will miss things. Give them time to act.
Here is the full pre-shoot preparation checklist every agent should send:
- Lighting: Replace all burned-out bulbs. Match bulb color temperature to 2700K–3000K throughout the home for consistent, warm light in every room.
- Windows: Open all blinds and curtains fully. Natural light is free and flattering.
- Cleaning: Deep clean all surfaces, floors, and windows. Smudges on glass show up clearly in wide-angle shots.
- Decluttering: Clear countertops in the kitchen and bathrooms. Remove personal items, pet bowls, trash bins, and anything sitting on the floor.
- Exterior: Move all vehicles out of the driveway. Sweep the front porch and remove garden hoses, toys, and trash cans from view.
- Staging: Stage one focal point per room. A vase of flowers on the kitchen island or a folded throw on the sofa is enough.
Timing matters too. A 45-minute shoot is often too short to prep and shoot properly. Schedule at least 30 minutes of walkthrough time before the photographer arrives. That buffer lets you catch what the homeowner missed.
Pro Tip: Walk the property like a stranger, as Brent Lewis advises agents. Enter through the front door and move through each room with fresh eyes. You will spot distractions that the homeowner has stopped seeing.
Which shots should your listing gallery include?
A standard single-family home requires 35–45 frames to cover MLS requirements, social media, and listing videos effectively. Fewer than 25 photos leaves gaps in coverage that buyers notice. More than 50 photos dilutes the impact of your strongest images.
Follow this sequence for a complete, buyer-ready gallery:
- Exterior front (2–3 shots): wide angle from the street, close-up of the entry door, and one angled shot showing depth.
- Entry and foyer (1–2 shots): wide angle showing flow into the main living area.
- Living room (2–3 shots): one wide-angle anchor shot, one detail shot of the focal point.
- Kitchen (3–4 shots): wide angle, island detail, and appliance or finish close-up.
- Dining room (1–2 shots): wide angle showing table and any architectural detail.
- Primary bedroom (2–3 shots): wide angle from the doorway, one detail of the headboard or window view.
- Additional bedrooms (1–2 shots each): wide angle only unless a room has a standout feature.
- Bathrooms (1–2 shots each): wide angle for primary bath, single shot for secondary baths.
- Bonus rooms (1–2 shots): home office, gym, or media room if present.
- Backyard and outdoor spaces (3–4 shots): patio, pool, garden, and one shot showing the yard's full depth.
- Drone or aerial (2–3 shots): neighborhood context and lot size.
- Twilight exterior (1–2 shots): optional but highly effective for luxury and premium listings.
Here is a quick reference for shot priorities by room type:
| Room | Wide-angle shots | Detail shots | Priority |
|---|---|---|---|
| Kitchen | 2 | 2 | High |
| Living room | 2 | 1 | High |
| Primary bedroom | 2 | 1 | High |
| Bathrooms | 1 | 1 | Medium |
| Secondary bedrooms | 1 | 0 | Medium |
| Backyard | 2 | 1 | High |
| Bonus rooms | 1 | 0 | Low |
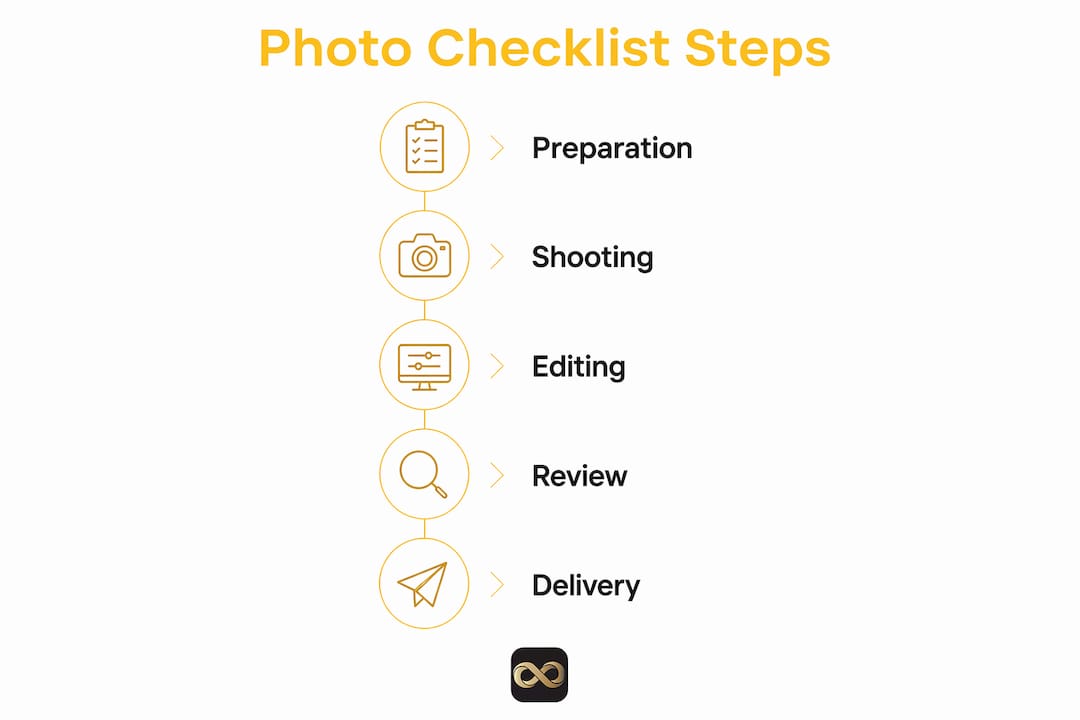
Pro Tip: Use your checklist during the shoot, not just before it. Tick off each shot as you go. This prevents memory lapses and eliminates the need for a costly return visit.
How can agents avoid the most common photo mistakes?
The biggest time-waster in real estate photography is poor preparation that forces reshoots. A single reshoot costs you time, delays the listing, and frustrates the homeowner. Most reshoots are preventable.
Watch for these specific errors:
- Skipping the homeowner checklist. Agents who deliver verbal instructions instead of a written list get inconsistent results. A written checklist creates accountability.
- Mismatched bulb temperatures. One cool-white bulb in a warm-lit room creates an unnatural color cast that editing cannot fully fix. Lighting consistency starts with matching bulbs before the photographer arrives.
- Over-staging. Filling every surface with props makes rooms look smaller in photos. The wide-angle lens exaggerates clutter. One styled focal point per room is the right limit.
- Ignoring small distractions. Trash bins, pet items, windshield reflections in the driveway, and cords on the floor all appear in photos. They signal to buyers that the home is not well-maintained.
- Scheduling too little time. A 45-minute window for a 2,000-square-foot home is not enough. Build in prep time before the photographer starts shooting.
The mindset shift that matters most is this: you are not just documenting a property. You are producing marketing material. Every decision, from bulb temperature to where you park your car, affects the final product.
Pro Tip: Limit staging to one focal point per room. A cluttered room in photos reads as smaller to buyers, even when the actual square footage is generous.
What tools help agents manage photo checklists and enhance listing visuals?
Modern AI tools have changed what agents can accomplish without a professional photographer on site. The right combination of apps and services lets you follow your checklist, shoot on your phone, and deliver MLS-ready files the same day.
Here are the tools worth adding to your workflow:
- Proofe: The Proofe real estate photo app lets you shoot, edit, and enhance listing photos directly from your smartphone. Features include AI photo enhancement, sky replacement, bright room edits, and object removal. The first five photos are free, and files are MLS-ready on delivery.
- Amplifiles: This tool turns your listing photos into branded 1080p videos in about five minutes at $1.50 per image. You get video marketing reach without filming a single second of footage.
- Virtual staging: For vacant properties, virtual staging adds furniture and decor digitally. This is faster and cheaper than physical staging and works directly with your existing photo set.
- AI photo enhancers: Automated tools correct brightness, contrast, and color balance across an entire gallery in minutes. Proofe's AI photo enhancer is built specifically for real estate image quality standards.
The most effective workflow combines your preparation checklist with these tools in sequence. Prep the property the day before. Shoot with your phone using Proofe. Upload for AI enhancement and sky replacement. Download MLS-ready files. The entire process can happen within a few hours of the shoot.
Property managers and Airbnb hosts benefit from this workflow too. Seasonal photo updates, especially before peak rental periods, can significantly improve booking rates. Fresh exterior shots in spring or updated interior photos before the holiday season give rental listings a competitive edge without the cost of a full professional shoot.
Key takeaways
A rigorous real estate photo checklist, combined with AI editing tools like Proofe, is the most reliable way to produce MLS-ready listing galleries that drive buyer engagement from the first photo.
| Point | Details |
|---|---|
| Send prep checklist early | Deliver the homeowner checklist at least 24 hours before the shoot to prevent reshoots. |
| Hit the right shot count | Aim for 35–45 photos per listing to cover MLS, social media, and video marketing needs. |
| Match bulb temperatures | Use 2700K–3000K bulbs throughout the home for consistent, professional-looking light. |
| Stage one focal point per room | Limit staging to one styled element per room to avoid visual clutter in wide-angle shots. |
| Use AI tools to speed delivery | Proofe and Amplifiles reduce editing time and deliver MLS-ready files the same day. |
Why checklist discipline is the real competitive advantage
I have reviewed hundreds of listing galleries over the years, and the pattern is always the same. The agents who produce the best photos are not the ones with the most expensive cameras. They are the ones with the most disciplined preparation habits.
The checklist is not a formality. It is the difference between a gallery that sells a home and one that just documents it. I have seen listings sit for weeks because the first three photos showed a cluttered counter, a mismatched bulb, and a car in the driveway. Buyers moved on in seconds.
The mindset shift I keep coming back to is this: treat every listing shoot like a product launch. You would not launch a product with placeholder images. Your listing deserves the same standard. Walk the property before the photographer arrives. Check every room against your list. Fix the small things, because buyers notice them even when they cannot name them.
I am also a firm believer in adopting AI tools early, not because they replace skill, but because they free you to focus on the decisions that require judgment. Let the AI handle brightness correction and sky replacement. Spend your time on shot sequencing and staging decisions. That is where your expertise actually shows up.
For agents managing rental properties or Airbnb listings, the checklist approach applies just as directly. Updating your photos before each peak season is one of the highest-return activities you can do. A fresh set of spring exterior shots or updated interior photos before the holidays can meaningfully lift your booking rate.
— Richard Lopez
Start your next listing with Proofe
You have the checklist. Now you need a tool that keeps up with it.
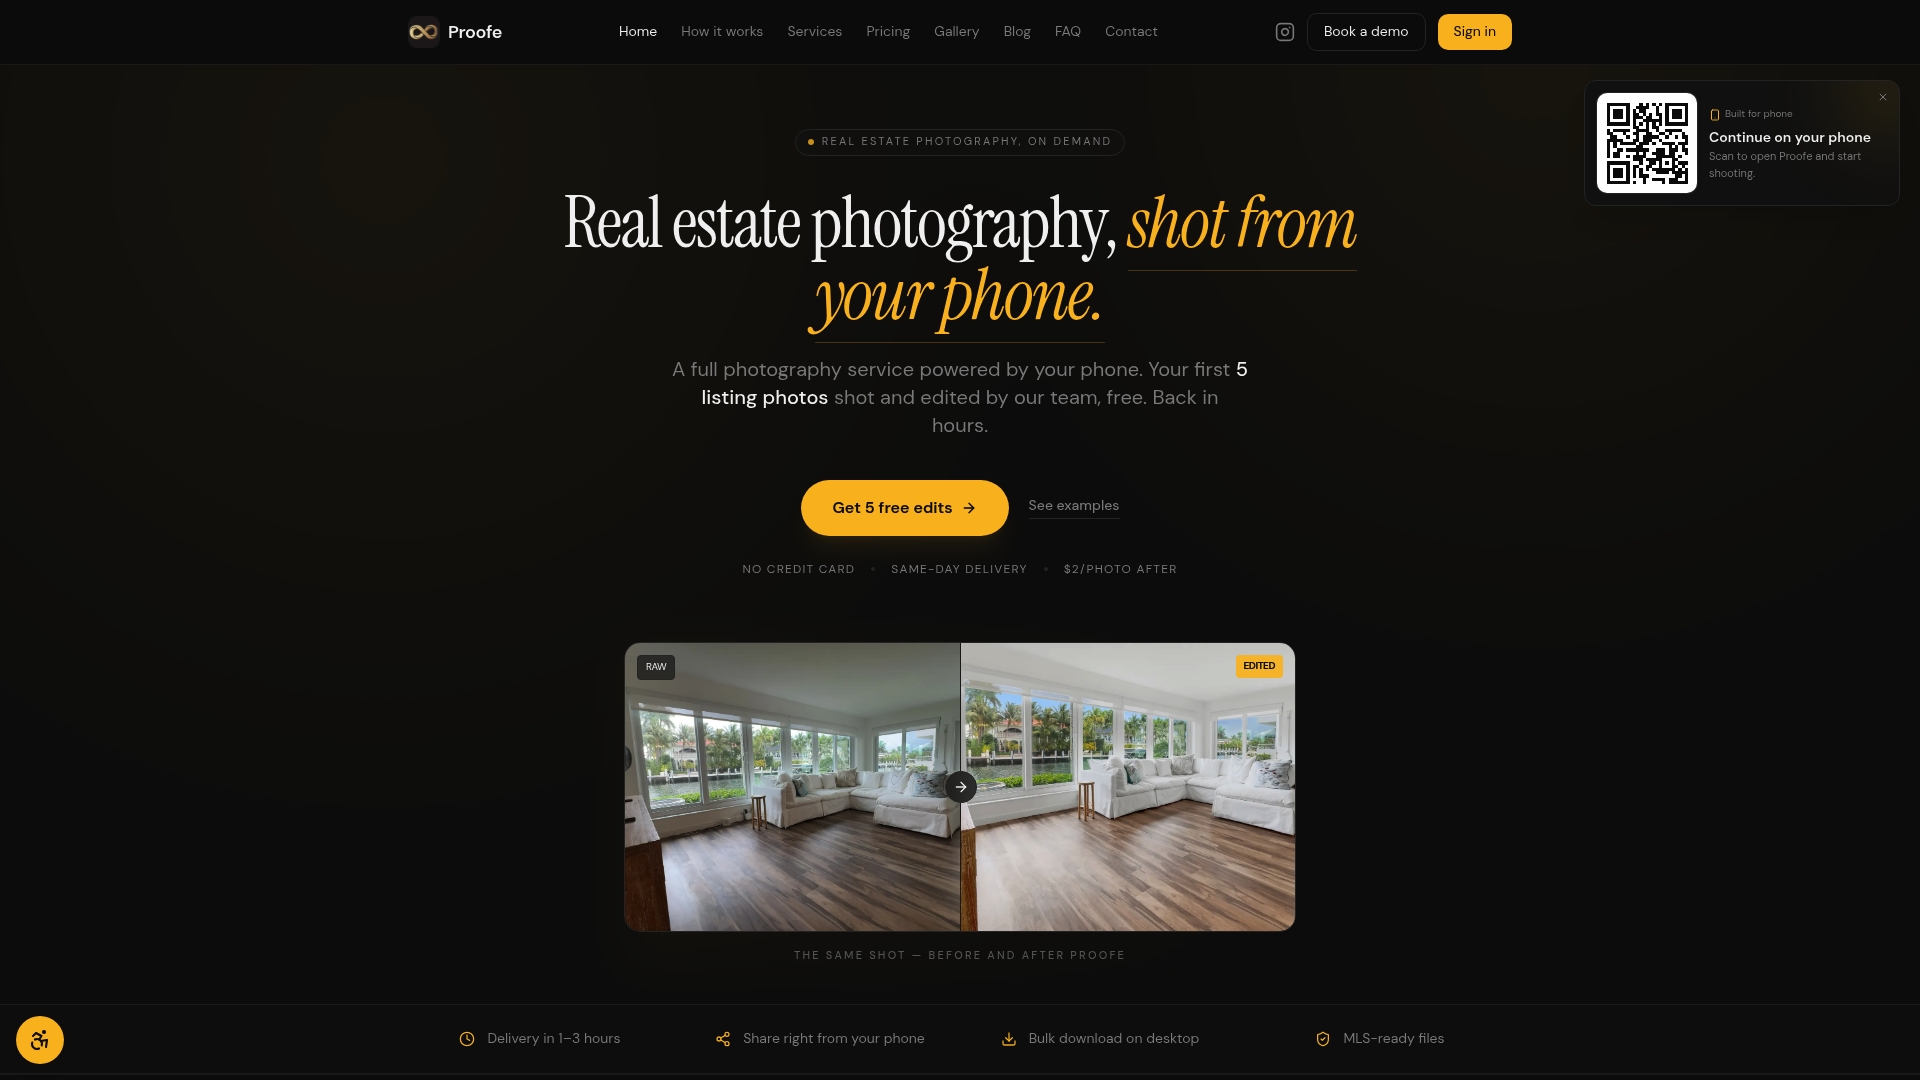
Proofe is built for agents who want professional listing photos without the scheduling delays and equipment costs of traditional photography. Shoot from your phone, run your photos through AI enhancement, and download MLS-ready files the same day. Features like sky replacement, bright room edits, and object removal handle the post-processing details that make the difference between a good photo and a great one. Your first five photos are free. Try Proofe on your next listing and see how fast a complete, polished gallery can come together. Visit proofe.app/real-estate-photo-app to get started.
FAQ
How many photos does a real estate listing need?
A standard single-family home listing needs 25–45 photos to cover MLS requirements, social media, and listing videos. Aim for 35–45 frames for complete coverage.
When should agents send the prep checklist to homeowners?
Send the preparation checklist at least 24 hours before the shoot. This gives homeowners enough time to clean, declutter, and address lighting without rushing.
What bulb color temperature works best for listing photos?
Use bulbs rated at 2700K–3000K throughout the home. This range produces consistent warm light that photographs well and avoids the mismatched color casts that editing cannot fully correct.
Can agents take their own listing photos with a phone?
Yes. Tools like the Proofe real estate photo app are designed for agents to shoot and edit professional-quality listing photos directly from a smartphone, with AI enhancement and same-day MLS-ready delivery.
What is the most common mistake agents make with listing photos?
The most common mistake is skipping or delaying the homeowner preparation checklist. Poor preparation leads to reshoots, which cost time and delay the listing. A written checklist delivered 24 hours in advance prevents most of these issues.