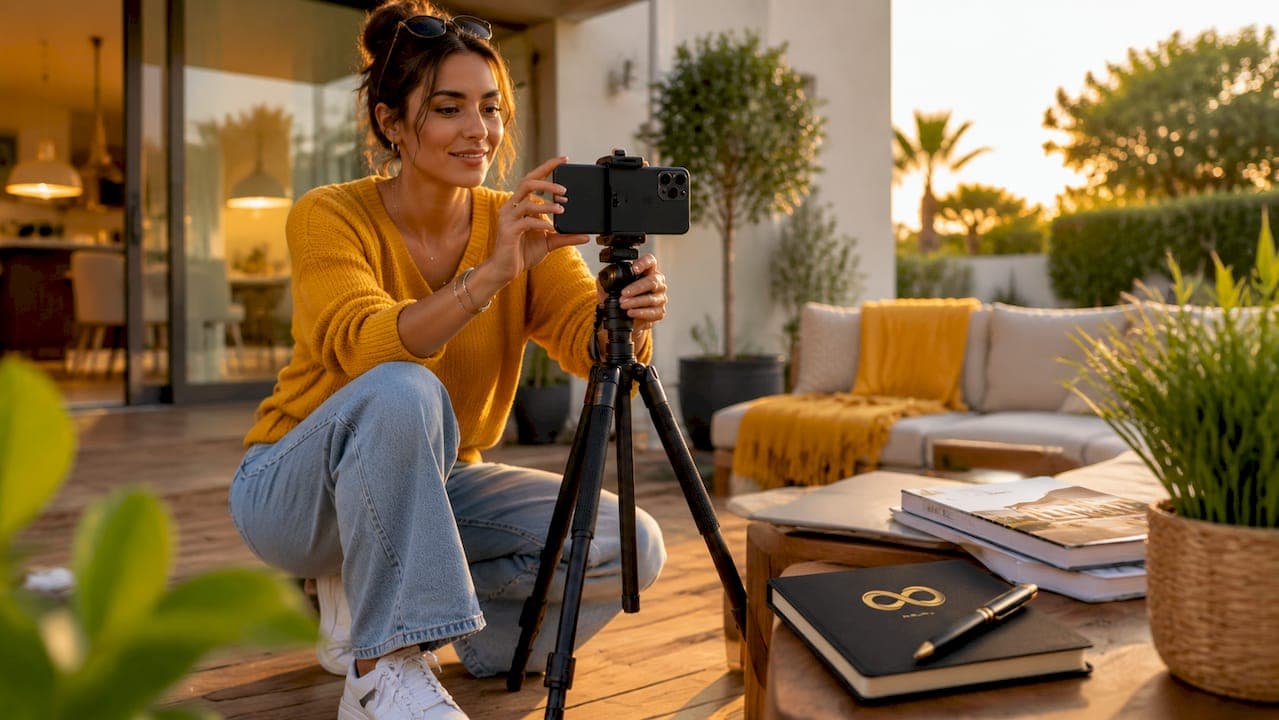
Taking listing photos without a photographer is defined as capturing and editing property images yourself using a smartphone or DSLR, a tripod, and editing apps like Snapseed or Adobe Lightroom. Professional-quality results are fully achievable without hiring anyone. You need the right gear, solid technique, and a basic understanding of MLS compliance. This guide covers every step, from staging and shooting to editing and uploading, so your listing stands out and meets MLS requirements.
What tools do you need for listing photos without a photographer?
The right gear makes the difference between a blurry snapshot and a photo that stops a buyer mid-scroll. You do not need a $3,000 camera. A modern smartphone with a wide-angle or ultra-wide lens, a sturdy tripod, and a remote shutter or timer covers most situations.
Essential gear checklist:
- Smartphone or DSLR. Smartphones with proper technique and good lighting produce MLS-acceptable images. A phone with a 12MP or higher camera works well.
- Tripod. A tripod removes camera shake and keeps your shots level. This is non-negotiable for sharp images.
- Wide-angle or ultra-wide lens. Wide-angle lenses make rooms look spacious and show full context. For phones, a clip-on wide-angle lens costs under $30.
- Remote shutter or timer. Pressing the shutter button physically causes micro-vibration. Use a Bluetooth remote or your phone's 2-second timer instead.
- Portable LED panel. For dark rooms or overcast days, a small LED panel fills shadows without creating harsh color casts.
Staging and prep: room by room
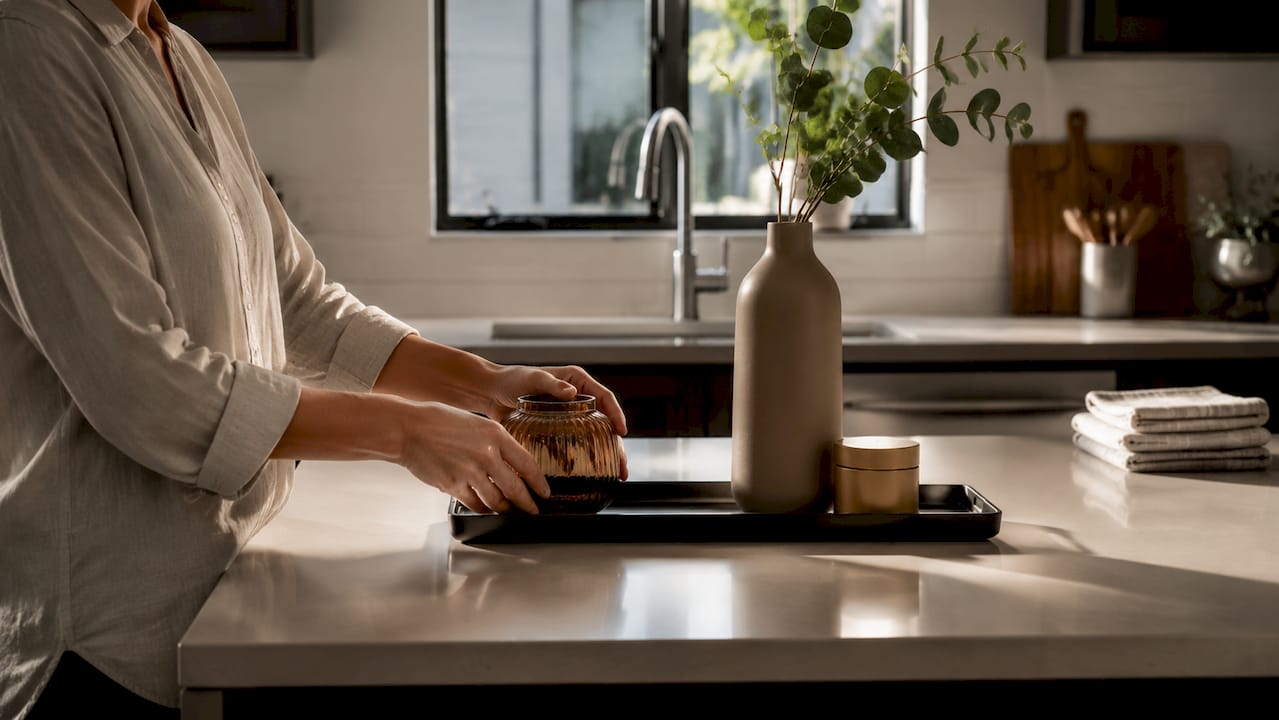
Staging the day before in bulk is less effective than preparing each room as you shoot. Wide-angle shots reveal fingerprints, dust, and mismatched light bulbs that you would never notice in person. Clean and declutter each room right before you photograph it.
Remove personal items, extra furniture, and anything on countertops. Replace any burned-out or mismatched bulbs with daylight-balanced bulbs (5,000K). Open all blinds and curtains to maximize natural light. Shoot during golden hour, roughly one hour after sunrise or before sunset, for warm, even light that flatters interiors.
Pro Tip: Create a master folder on your computer before you shoot. Name each file with a consistent pattern like "123MainSt_LivingRoom_01.jpg." Consistent file naming prevents confusion during MLS upload and keeps your workflow clean.
How to shoot effective listing photos step by step
Good shooting technique is repeatable. Follow these steps for every room and you will get consistent, professional-looking results.
-
Set your height. Position your camera or phone at chest height, roughly 4–5 feet from the floor. Shooting at chest height gives rooms a natural, proportional look. Shooting too low makes ceilings look tall and walls look warped.
-
Use your wide-angle lens. Switch to your phone's ultra-wide mode or attach a clip-on lens. Stand in a corner of the room and shoot toward the opposite corner to capture the most space.
-
Lock your tripod and use a timer. Set the tripod, frame your shot, then step away and use a 2-second timer or Bluetooth remote. Tripods and timers eliminate blur caused by hand movement.
-
Enable HDR mode. HDR (High Dynamic Range) takes multiple exposures and blends them. This balances bright windows against darker interiors, so you do not lose detail in either area.
-
Shoot multiple angles. Capture at least three angles per room: two corner shots and one straight-on shot. Add one or two detail shots per room, such as a fireplace, countertop, or built-in shelving.
-
Check your verticals. Walls and door frames must appear perfectly straight in the frame. Use your phone's grid overlay or camera level to keep vertical lines true.
| Room | Minimum shots | Key detail shot |
|---|---|---|
| Living room | 3 | Fireplace or feature wall |
| Kitchen | 3 | Countertops and appliances |
| Primary bedroom | 2 | Closet or window view |
| Bathrooms | 2 | Vanity and tile work |
| Exterior front | 2 | Driveway and entryway |
Pro Tip: Never use digital zoom. It degrades image quality significantly. Move your feet closer instead, or switch to a different lens focal length.
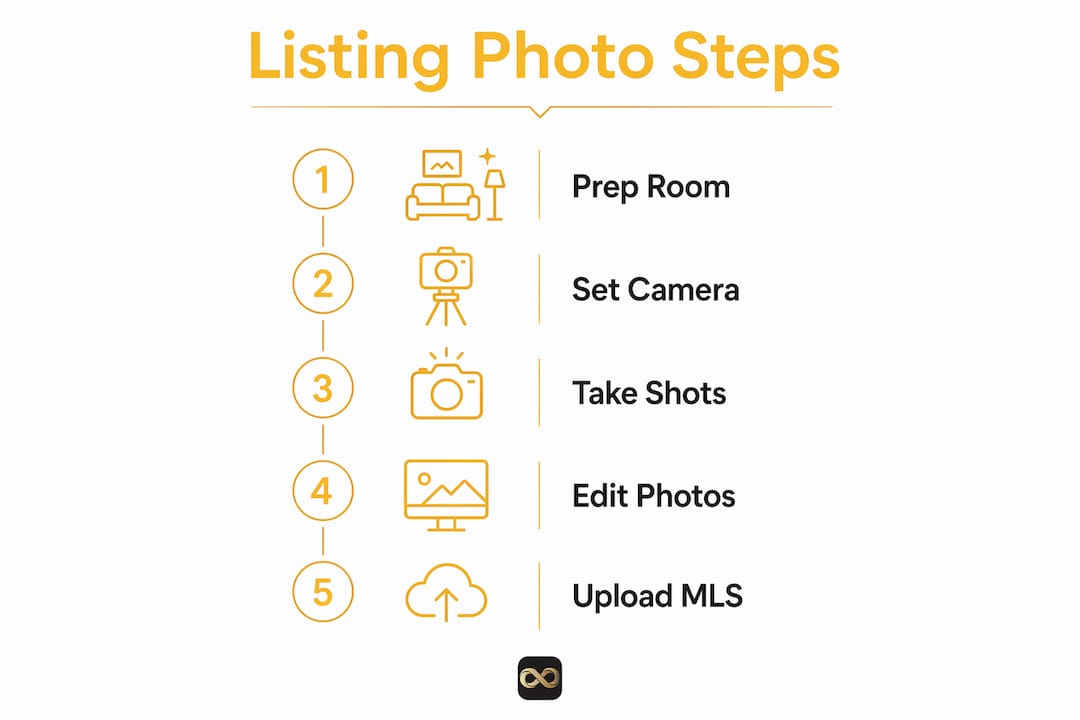
Editing and uploading your listing photos: best practices
Editing is where good photos become great ones. The goal is subtle correction, not transformation. Over-editing damages buyer trust by making the home look different from what buyers will see in person.
What to adjust:
- Brightness and exposure. Lift shadows slightly and pull back highlights to recover window detail.
- White balance. Match the color temperature across all photos in a room. Mixed warm and cool tones look unprofessional and confuse buyers.
- Straightening and cropping. Use the straighten tool in Snapseed or Lightroom to fix any tilt. Crop to a 4:3 or 3:2 ratio for MLS compatibility.
- Contrast and clarity. A small boost in contrast adds depth. Keep clarity adjustments minimal to avoid an over-sharpened look.
What to avoid:
- Heavy filters or presets that change the color of walls or floors
- Sky replacements that misrepresent the property's actual setting
- Removing permanent fixtures or structural elements from photos
- Aggressive HDR or color grading that makes rooms look unrealistic
Editing tools comparison
| Tool | Platform | Best for | Cost |
|---|---|---|---|
| Snapseed | iOS, Android | Quick mobile edits | Free |
| Adobe Lightroom | iOS, Android, Desktop | Full control, batch editing | Free tier available |
| Proofe | iOS, Android | AI-enhanced MLS-ready edits | First 5 photos free |
For MLS submission, export photos at a minimum of 2–4 megapixels. Most MLS platforms require JPEG format. Check your specific MLS board's technical requirements before uploading, as file size limits vary.
MLS rights and photo ownership
NAR Multiple Listing Policy Section 15 states that listing brokers must own or hold license authority for all listing content, including photos, before submitting to MLS. This applies to DIY photos too. If you use AI editing tools or virtual staging services, maintain original files and keep a clear record of any third-party edits. MLS does not own your image copyrights, but it requires you to prove you have the right to publish them.
Common mistakes when taking listing photos without a photographer
Most DIY listing photo failures come from lighting and accuracy issues, not camera quality. The biggest failures in DIY listing photography relate to lighting and photo representation, not the gear itself.
Mistakes to avoid:
- Clutter in frame. Buyers see everything in a wide-angle shot. A single item left on a counter or a cord on the floor reads as careless.
- Mixed color temperatures. Combining warm incandescent bulbs with cool daylight from windows creates an orange-and-blue split that looks amateurish. Replace all bulbs with daylight-balanced options before shooting.
- No tripod. Handheld shots at interior light levels almost always produce blur. A tripod costs less than $40 and eliminates this problem entirely.
- Digital zoom. Zooming in digitally on a phone crops and degrades the image. Always move closer physically.
- Over-editing. Buyers who visit a home that looks nothing like its photos feel misled. Subtle edits build trust. Heavy edits destroy it.
- Ignoring MLS rights. Using AI-edited or virtually staged images without proper documentation creates legal exposure. Keep your original files and any editing agreements on record.
"Small technical details like level tripods, straight verticals, and avoiding mixed light color balances strongly influence listing photo trustworthiness." — Opendoor
Airbnb hosts face the same pitfalls. Seasonal changes are a great opportunity to reshoot your rental listing with updated lighting and fresh staging. A set of accurate, well-lit photos taken in spring or fall can meaningfully improve booking rates compared to outdated images.
Key takeaways
Taking quality listing photos yourself requires the right technique, honest editing, and proper rights management from the start.
| Point | Details |
|---|---|
| Gear matters less than technique | A smartphone with a tripod and natural light outperforms a DSLR used carelessly. |
| Stage each room before you shoot it | Clean and declutter room by room, not all at once, to catch details wide-angle lenses expose. |
| Keep editing subtle | Adjust brightness, white balance, and straightening only. Avoid filters that misrepresent the property. |
| Know your MLS rights | You must own or hold license authority for every photo before MLS submission, including AI-edited images. |
| File organization prevents upload errors | Use consistent naming conventions and a master folder to keep MLS submissions clean and compliant. |
Why I think most agents underestimate what their phone can actually do
I have reviewed hundreds of listing photo sets over the years, and the pattern is consistent. Agents who invest in a $3,000 camera but skip the tripod and shoot in mixed lighting produce worse results than agents who use an iPhone with a $25 tripod and shoot at golden hour. The camera is almost never the problem.
The real gap is staging accuracy. Most agents stage for the eye, not for the lens. A wide-angle shot at 4–5 feet picks up the fingerprint on the refrigerator, the mismatched bulb in the hallway fixture, and the cord snaking across the baseboard. None of those things register when you walk through a room. All of them register in a photo.
My honest recommendation: do one test shoot before your first real listing. Walk through a room, shoot it with your phone on a tripod, and then zoom into the image at 100%. You will immediately see what the camera sees that your eye missed. That exercise alone will change how you stage and shoot every listing after it.
The one situation where I would always hire a professional is a luxury property above $1.5 million. At that price point, buyers expect drone footage, twilight shots, and wide-format prints. A phone and Snapseed will not close that gap. For everything else, the right technique and a tool like Proofe's AI editing can get you to a professional result without the scheduling delay or the cost.
— Richard Lopez
How Proofe makes professional listing photos accessible for everyone
You have the technique. Now you need the right tool to finish the job.
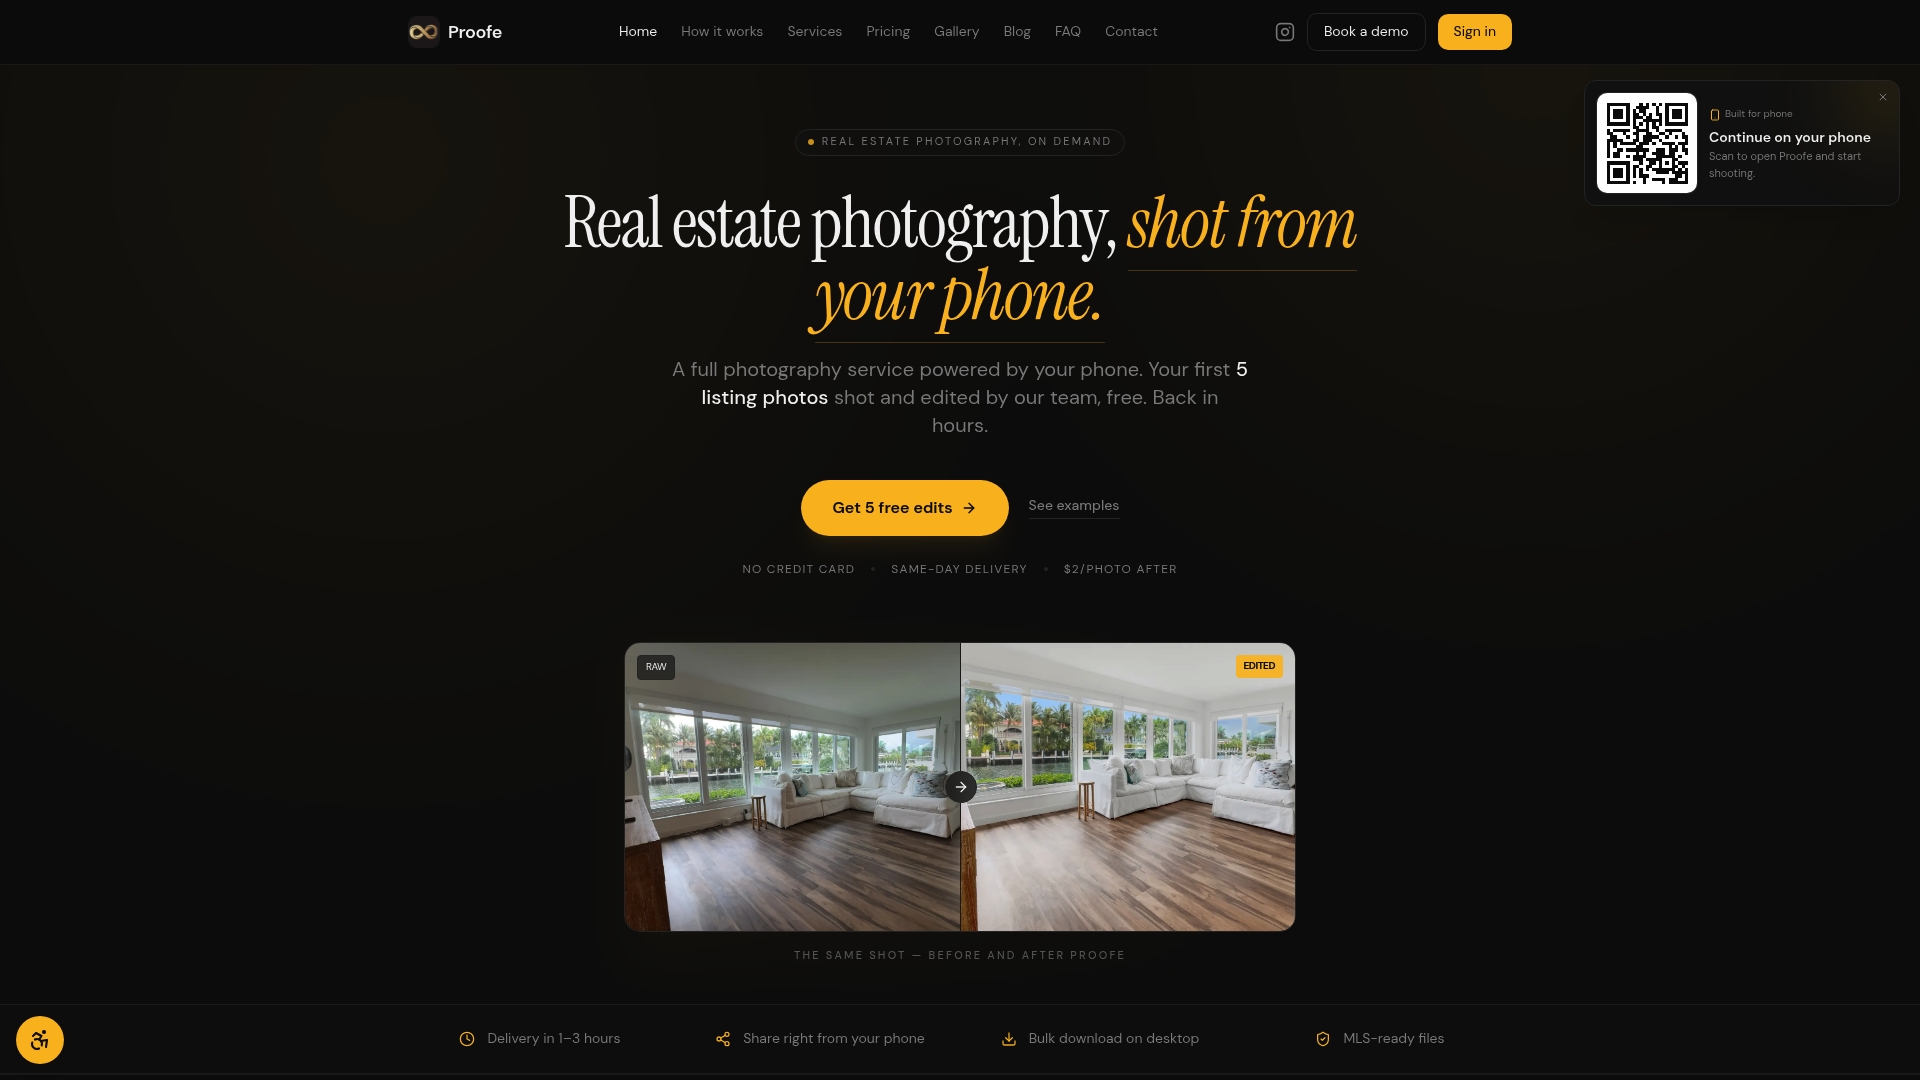
Proofe is built specifically for real estate agents, property managers, and homeowners who want professional-quality listing photos without hiring a photographer. Shoot with your smartphone, upload to Proofe, and the AI enhancement process delivers MLS-ready files the same day. The first five photos are free, so you can test the results before committing. For agents managing multiple listings or Airbnb hosts refreshing photos between seasons, Proofe's real estate photo app cuts the time from shoot to published listing down to hours, not days.
FAQ
Can a smartphone really produce MLS-ready listing photos?
Yes. Smartphones with proper technique, natural light, and a tripod produce images acceptable for MLS and buyer engagement. A poorly executed DSLR shot will underperform a well-executed phone shot every time.
What is the correct shooting height for listing photos?
Shoot from approximately 4–5 feet off the ground, roughly chest height. This height gives rooms a natural, proportional appearance and avoids the distortion that comes from shooting too low or too high.
How do I handle photo rights when submitting to MLS?
NAR Multiple Listing Policy Section 15 requires listing brokers to own or hold license authority for all listing content before MLS submission. Keep original files and document any third-party edits, including AI enhancements, to maintain a clear rights record.
What editing apps work best for real estate photos DIY?
Snapseed and Adobe Lightroom are the most practical options for mobile editing. Both offer exposure, white balance, and straightening tools. Proofe adds AI-powered enhancement with MLS-ready export built in.
How many photos should I take per room?
Capture at least three angles per room, two corner shots and one straight-on view, plus one or two detail shots. This gives you enough variety to select the strongest images without over-shooting.