
JPEG (.jpg) is the required photo file format for MLS uploads across all major North American listing systems. Every agent and property manager submitting listing photos needs to know this standard. Upload the wrong format and your photos get rejected, your listing stalls, and buyers see broken images. This guide covers the exact specs, the reasons JPEG dominates MLS photo requirements, and the practical steps to get every photo right the first time.
What is the photo file format for MLS listings?
JPEG is the universally accepted file format for MLS photo uploads across all 600+ regional MLS systems in North America. No other format comes close to its acceptance rate. PNG, TIFF, HEIC, and RAW files are routinely rejected or cause display errors when uploaded directly.

The industry term you will see in MLS documentation is "JPEG" or ".jpg." These refer to the same format. JPEG stands for Joint Photographic Experts Group, the standards body that created it. For your daily workflow, the practical meaning is simple: every photo you upload to an MLS must be saved as a .jpg file.
JPEG works because it compresses image data efficiently without destroying visible quality at the right settings. That compression keeps file sizes manageable for MLS servers while preserving the color and detail buyers expect. No other widely available format matches that balance for real estate use.
Major platforms including Bright MLS, CRMLS, and Stellar MLS all operate under this same standard. Knowing that gives you confidence: one export setting works everywhere.
What are the ideal photo specifications for MLS uploads?
Getting the format right is only the first step. The specifications that accompany your JPEG files determine whether photos display sharply, upload without errors, and look professional across every portal that syndicates your listing.
Resolution and aspect ratio
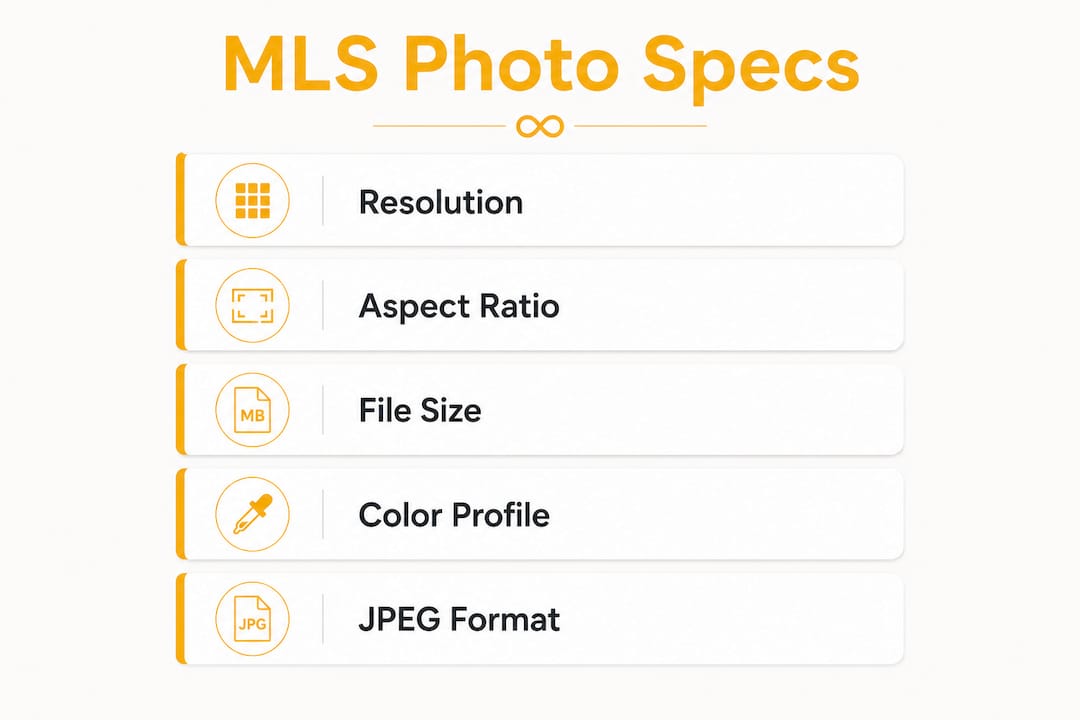
The recommended resolution is 1,920 to 2,048 pixels on the longest edge. That range gives you sharp images on desktop and mobile displays without creating files so large they time out during upload. Shooting or exporting at a higher resolution does not improve display quality on MLS portals. It only increases upload risk.
Aspect ratio matters just as much as resolution. MLS boards prefer 4:3 or 3:2 landscape orientation. Photos outside those ratios get cropped automatically by the portal's display engine. An awkward crop can cut off a kitchen island or slice a bedroom in half, which hurts the listing's appeal.
File size and color profile
File size should stay under 4 MB to prevent upload timeouts. Most MLS boards set a hard ceiling of 10 MB per image, but staying well below that ceiling keeps uploads fast and reliable. A JPEG exported at quality 85–88% typically lands between 1 MB and 3 MB at the recommended resolution.
sRGB is the required color profile for MLS photos. Images tagged with Adobe RGB or left untagged render with washed-out, desaturated colors on MLS portals. Always embed sRGB when you export. Most photo editing software includes this as a checkbox in the export dialog.
Here is a quick reference for MLS-compliant JPEG specs:
- Format: JPEG (.jpg)
- Long edge: 1,920–2,048 pixels
- Aspect ratio: 4:3 or 3:2, landscape orientation
- File size: Under 4 MB (10 MB hard max)
- Color profile: sRGB embedded
- Quality setting: 85–88% in export dialog
Pro Tip: Set up a named export preset in your editing software with all six settings above. One click applies every spec correctly, every time, with no manual checking required.
Why is JPEG the only accepted file format for MLS photos?
JPEG's dominance in MLS systems is not accidental. It reflects decades of web infrastructure built around the format's compression efficiency and universal browser support. Every MLS portal, every syndication partner, and every consumer real estate website renders JPEG natively without any conversion step.
Other formats create problems at every stage:
- PNG files are uncompressed or lightly compressed, producing file sizes three to five times larger than equivalent JPEGs. Most MLS boards reject them outright or fail to display them correctly.
- HEIC is Apple's default camera format. It offers excellent quality but MLS systems often reject HEIC files entirely, leaving your listing without photos until you convert and re-upload.
- TIFF files are designed for print production. They are enormous, sometimes exceeding 50 MB per image, and MLS upload systems are not built to handle them.
- RAW and DNG files are unprocessed sensor data. No MLS portal accepts them. They require conversion to JPEG before any upload attempt.
Syndication compounds the problem. When your listing leaves the MLS and flows to consumer portals, each platform re-processes your images. A non-standard format that somehow passes the initial MLS upload often breaks during syndication, resulting in missing photos on third-party sites.
The professional standard is clear: convert all images to JPEG before upload, regardless of the original source format. This single rule eliminates the most common category of MLS photo errors.
Pro Tip: If you shoot with an iPhone, turn off HEIC in your camera settings before a listing shoot. Go to Settings > Camera > Formats and select "Most Compatible." Your phone will save photos as JPEG automatically.
How to prepare and export photos to meet MLS requirements
A repeatable export workflow is the most reliable way to stay MLS-compliant. The primary reason for MLS rejections is file format and size non-compliance. A standardized process removes that risk entirely.
Follow these steps for every listing:
- Set your export preset. In your editing software, create a preset named "MLS Upload" with these values: JPEG format, long edge 2,048 pixels, quality 85%, sRGB color space, resolution 72 PPI. Save it once and reuse it for every listing.
- Batch convert non-JPEG sources. If you receive photos from a photographer in RAW, DNG, or HEIC format, run a batch conversion to JPEG before editing. This keeps your editing workflow consistent and prevents format errors at the end.
- Strip GPS EXIF metadata. Removing GPS data from listing photos protects seller privacy. Most MLS boards allow address-based mapping without embedded GPS coordinates. Check your export settings for an option to remove location metadata.
- Use consistent file naming. Name files with the property address and a sequence number, such as "123MainSt_01.jpg." Consistent naming prevents confusion when uploading 25 or more photos and makes it easy to re-upload a specific image if needed.
- Check file sizes before upload. Sort your export folder by file size and flag any image above 4 MB. Re-export those images at quality 80% to bring them within the safe range.
- Test with one photo first. Upload a single image to the MLS before submitting the full set. Confirm it displays correctly, shows accurate color, and loads without errors. Then upload the remaining photos.
The combination of metadata stripping and standardized JPEG exports protects seller privacy and improves syndication reliability at the same time. These are not separate tasks. They belong in the same export step.
For agents who want a deeper look at export settings and workflows, a dedicated 2026 MLS guide covers platform-specific variations in detail.
What are the most common MLS photo upload mistakes?
Agents frequently fail to standardize images from multiple sources, which is the leading cause of upload failures. A listing might include photos from a professional photographer, a smartphone, and a virtual tour vendor. Each source uses different default settings. Without a normalization step, the resulting uploads are inconsistent and often non-compliant.
Watch for these specific errors:
- Uploading HEIC or PNG without converting. These formats cause immediate rejection on most MLS boards. Always convert to JPEG first.
- Using the wrong aspect ratio. A square photo or a 16:9 widescreen crop will be auto-cropped by the MLS portal. MLS boards allow 25 to 75 images per listing, and every one of them should be in the correct 4:3 or 3:2 ratio to display as intended.
- Uploading oversized files. Highest-resolution files often cause upload failures due to size and timeout errors. A 24-megapixel RAW converted to JPEG without resizing can exceed 15 MB. Always resize to the 1,920–2,048 pixel long edge before upload.
- Skipping metadata removal. GPS coordinates embedded in listing photos reveal the exact location of the property and, in some cases, the seller's daily patterns. Strip this data before every upload.
- Mixing color profiles. One photo with an Adobe RGB profile in a set of sRGB images will look visibly different on screen. Standardize the color profile across the entire set.
A quick quality control checklist before every listing submission catches these errors in under five minutes. Build it into your routine and you will rarely face a rejected upload.
Key Takeaways
JPEG is the only accepted MLS photo file format, and pairing it with correct resolution, aspect ratio, color profile, and metadata settings prevents the vast majority of upload failures.
| Point | Details |
|---|---|
| JPEG is the required format | All 600+ North American MLS systems accept JPEG and routinely reject PNG, HEIC, and TIFF. |
| Resolution and aspect ratio matter | Export at 1,920–2,048 pixels on the long edge in 4:3 or 3:2 landscape orientation. |
| Keep files under 4 MB | Files above 4 MB risk upload timeouts; quality 85–88% hits the right size and sharpness balance. |
| Use sRGB color profile | Adobe RGB or untagged profiles cause desaturated images on MLS portals and syndication sites. |
| Strip GPS metadata | Removing location data from EXIF protects seller privacy without affecting property mapping. |
Why I stopped treating photo format as an afterthought
I spent years watching agents lose hours to MLS upload failures that were entirely preventable. The pattern was always the same: a photographer delivers beautiful images in a format that looks fine on a laptop but breaks the moment it hits the MLS upload portal. The agent re-shoots, re-edits, or calls the photographer back. The listing goes live a day late. In a competitive market, that delay costs real money.
The fix is not complicated. It is a one-time setup: a named export preset, a batch conversion step for outside sources, and a five-minute pre-upload checklist. Agents who build that workflow into their routine stop having upload problems. Full stop.
What surprises me most is how few agents know about the color profile issue. sRGB versus Adobe RGB looks identical on a calibrated monitor. On an MLS portal or a consumer real estate site, the difference is immediately visible. Photos look faded and unprofessional. Buyers notice, even if they cannot name the cause. That is a listing presentation problem hiding inside a technical setting.
The metadata issue deserves more attention too. GPS coordinates in listing photos are a privacy risk that most agents never think about. Stripping that data takes one checkbox in your export settings. There is no reason to skip it.
My honest advice: treat your MLS photo requirements as a non-negotiable checklist, not a suggestion. The agents who do this consistently have faster listing approvals, wider syndication, and fewer calls from frustrated sellers asking why their home looks wrong online.
— Richard Lopez
Get MLS-ready photos without the technical headache
Proofe takes the format guesswork out of real estate photography entirely. You shoot with your smartphone, Proofe's AI enhancement handles the editing, and your photos download as MLS-ready JPEG files with the correct resolution, sRGB color profile, and aspect ratio already built in.
No export presets to configure. No batch conversions. No metadata worries. Proofe handles all of it automatically so your listing photos are upload-ready the same day you shoot them. The first five photos are free, so you can see the results before committing to anything. Agents and property managers who need consistent, compliant listing photos without hiring a full photography crew will find Proofe fits directly into their existing workflow. Airbnb hosts refreshing their listing photos for a new season get the same MLS-grade quality for their rental images.
FAQ
What file format does MLS require for photos?
JPEG (.jpg) is the required file format for MLS photo uploads across all major North American MLS systems. Other formats including PNG, HEIC, and TIFF are routinely rejected or cause display errors.
What resolution should MLS listing photos be?
The ideal resolution is 1,920 to 2,048 pixels on the longest edge. This range ensures sharp display on MLS portals while keeping file sizes manageable for reliable uploads.
Can I upload iPhone photos directly to MLS?
Not if your iPhone is set to save in HEIC format. Change your camera settings to "Most Compatible" under Settings > Camera > Formats, or convert HEIC files to JPEG before uploading.
Why do my listing photos look washed out on MLS?
Washed-out colors are almost always caused by an incorrect color profile. MLS portals require sRGB. Images saved with Adobe RGB or an untagged profile render with desaturated, faded colors on screen.
How many photos can I upload to an MLS listing?
Most MLS boards allow between 25 and 75 photos per listing. Check your specific board's rules, and make sure every image meets the 4:3 or 3:2 aspect ratio requirement to avoid automatic cropping.