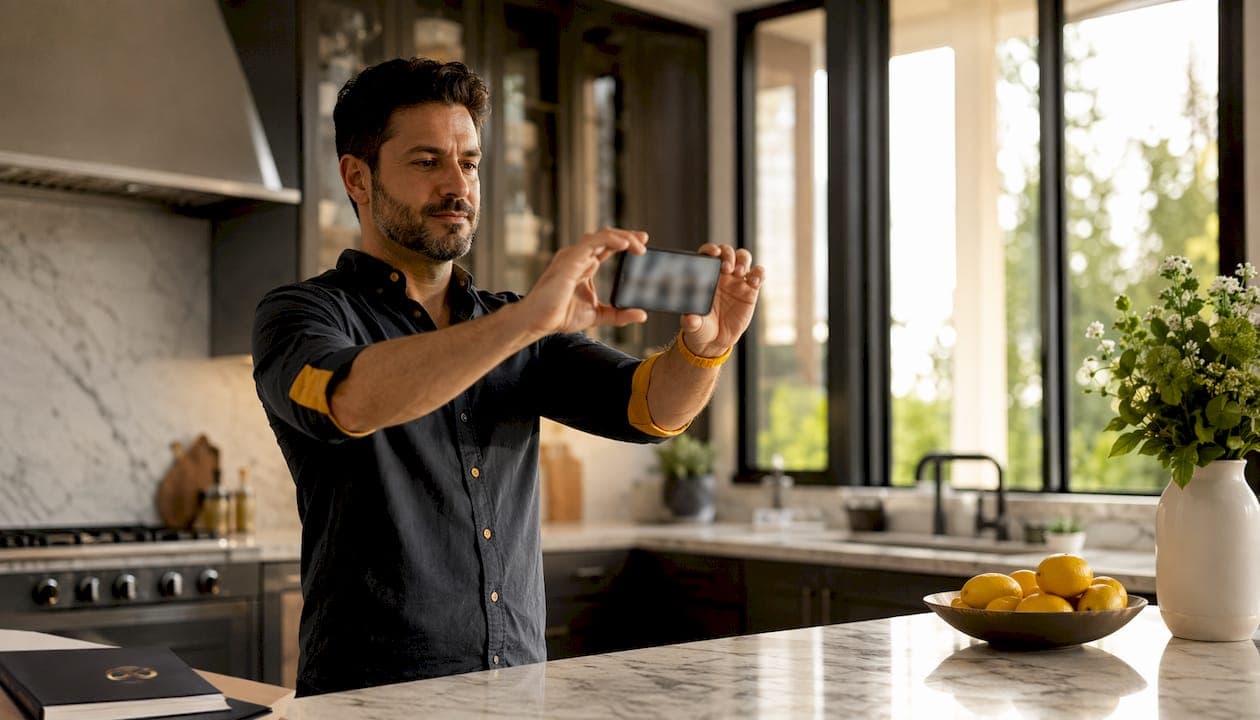
You can produce MLS-ready listing photos from a modern smartphone by using five repeatable techniques: lock exposure, level the phone, shoot from chest height, stabilize with a tripod, and finish with AI enhancement. That's the whole system.
The five steps at a glance:
- Lock exposure on the brightest area (usually the window) to keep indoor detail and outdoor views both visible
- Enable grid lines and keep the phone level so walls stay straight
- Shoot at chest height (roughly 1.20–1.40 m) for a buyer-friendly perspective that shows floor space
- Use a tripod to eliminate micro-shake and keep every room at a consistent height
- AI-enhance with Proofe (shoot → upload → download) for MLS-ready files the same day
These smartphone home photo tips and examples work for real estate agents, property managers, homeowners, and Airbnb hosts who want professional results without scheduling a photographer.
Table of Contents
- What should you do before you open the camera app?
- Camera settings and composition rules that actually work
- How do you handle lighting for listing photos?
- When should you use wide-angle mode, and how do you avoid distortion?
- What gear makes the biggest difference on a smartphone shoot?
- What to edit, and what AI handles best
- How Proofe fits your shoot-to-listing workflow
- Before-and-after examples you can replicate
- Fast fixes for the most common smartphone mistakes
- Key Takeaways
- Why a smartphone-first workflow makes sense for busy agents
- Skip the editing and get MLS-ready files today
What should you do before you open the camera app?
A clean, staged room takes five minutes to prepare and saves you from reshooting. Run this checklist before every session.
Staging and decluttering:
- Remove personal items, hide power cords, clear counters, and make beds
- Airbnb hosts: swap out seasonal décor before retaking photos each season to keep listings fresh and boost bookings
- Follow a home staging checklist to cover the details most agents overlook
Light and timing:
- Open all blinds and curtains fully to flood rooms with natural light
- Decide whether interior lights help or hurt. Turn lights on only when they match daylight color temperature; otherwise, switch them off to avoid yellow or orange color casts
- Plan your shoot order: exterior first, then main living areas, kitchen, bedrooms, bathrooms, and standout features
Tech checks:
- Charge the phone fully and confirm you have enough storage
- Wipe the lens with a microfiber cloth — a smudge is one of the most common causes of hazy photos
- Enable grid lines in camera settings and set the camera to its highest resolution
Pro Tip: Shoot the exterior last if you want the interior lights on for a twilight lead image. That sequence lets you capture daytime interiors first, then flip to the dramatic exterior shot at dusk.
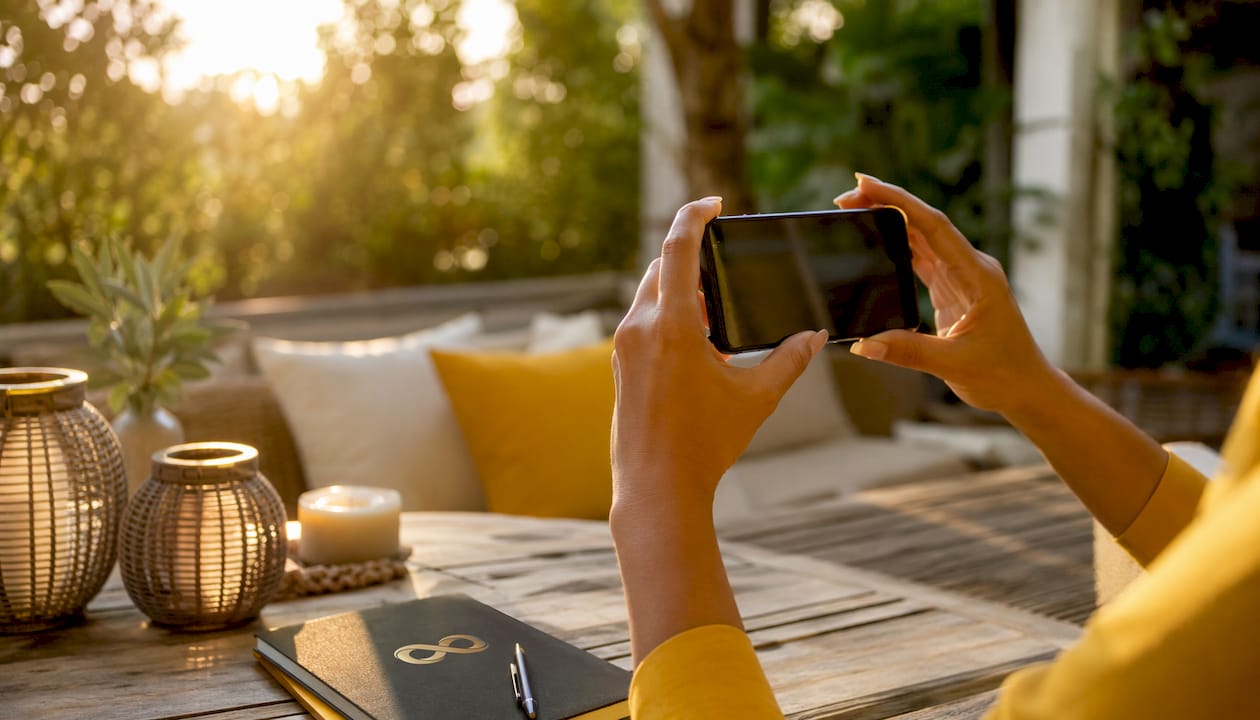
Camera settings and composition rules that actually work
Start here: enable grid lines, set HDR, and turn off beauty filters or scene-smoothing modes. A clean capture gives AI enhancement far more to work with.
Step-by-step settings:
- Enable grid lines in your camera app to align verticals and horizontals
- Turn on HDR (or use bracketing if available) to handle high-contrast scenes
- Disable scene optimizers, beauty filters, and aggressive sharpening — capture a clean image, RAW when possible
- Tap the brightest area of the scene (usually the window) to lock focus and exposure and prevent blown-out views
- Use exposure compensation to fine-tune brightness after locking
Composition rules:
- Shoot in landscape orientation — MLS portals expect horizontal images
- Shoot from a corner diagonally toward the opposite corner to show depth and two walls at once
- Hold the phone at chest height, roughly 1.20–1.40 m, for a perspective that emphasizes floor space
- Keep verticals straight — leaning walls are an immediate sign of an amateur photo
- Avoid digital zoom; move physically closer or switch to the native telephoto lens instead
How do you handle lighting for listing photos?
Natural light is your best tool. The goal is to expose for the window without losing interior detail, and HDR or bracketing is how you get both in one shot.
When to shoot:
- Golden hour (just after sunrise or just before sunset) gives warm, cinematic light with minimal harsh shadows
- Bright overcast days produce soft, even light that flatters every room
- Twilight exterior shots with interior lights on create a compelling lead image for premium listings
Controlling the light:
- Use sheer curtains to diffuse direct sunlight and eliminate hard shadows on floors and walls
- Test interior lights on and off — some rooms look better with lamps, others look muddier
- For a twilight exterior, turn on every interior light to create a warm, inviting glow visible through windows
Pro Tip: Mixed color temperatures are the fastest way to ruin a room photo. If your ceiling lights are warm-toned and the window light is cool, turn the ceiling lights off. One consistent color temperature always looks cleaner.
When should you use wide-angle mode, and how do you avoid distortion?
Wide-angle (0.5x) is the right choice for small rooms, but it causes edge distortion when used carelessly. Use it sparingly and follow three rules to keep the result trustworthy.
- Keep the phone perfectly level — any tilt exaggerates the fisheye effect at the edges
- Avoid placing furniture or key features at the extreme edges of the frame, where stretching is worst
- Stand back as far as the room allows to reduce the exaggerated perspective
For very tight spaces like small bathrooms, shoot from the doorway or a corner rather than forcing a wide-angle lens. Multiple overlapping shots from different angles often tell the story better than one distorted wide shot. AI lens correction can fix mild distortion in post, but it cannot recover a severely warped image.
What gear makes the biggest difference on a smartphone shoot?
A portable tripod is the single most impactful upgrade you can make. It removes micro-shake and forces a consistent shooting height across every room, which makes the final gallery look cohesive.
| Gear item | Approx. price | Purpose |
|---|---|---|
| Mini or portable tripod | — | Eliminates shake; standardizes height |
| Bluetooth remote shutter | — | Fires shutter without touching the phone |
| Bubble/level accessory | 5 | Confirms level when grid lines are unclear |
| Microfiber cloth | 3 | Cleans lens before each room |
| Clip-on wide lens | — | Extends field of view (use with caution) |
Set your tripod to a consistent height for every room. That single habit produces a gallery that feels intentional rather than improvised. A remote shutter or the phone's built-in timer eliminates the last source of shake after the tripod is in place.
What to edit, and what AI handles best
Prioritize these edits in order: highlight recovery (window pulls), exposure balance, color correction, lens distortion, and object removal. AI handles all five efficiently and consistently across a batch.
Edit priority list:
- Exposure and window detail — recover blown-out windows so buyers can see the view
- Straighten verticals — fix any remaining tilt from handheld shots
- Color and white balance — correct casts from mixed lighting
- Object removal — eliminate cords, trash cans, or personal items missed during staging
- Minor cleanup — sensor specks, reflections, minor blemishes
Capture in RAW or the highest-resolution JPEG your phone supports. For MLS-ready export, use landscape orientation and the highest resolution the portal accepts. Name files consistently (address + room + sequence number) and back up to cloud storage immediately after the shoot.
AI tools like Proofe's AI photo enhancer are especially strong for batch window pulls, sky fixes, and consistent color grading across an entire gallery — tasks that would take hours to do manually.
How Proofe fits your shoot-to-listing workflow
Proofe converts phone captures into MLS-ready images through a short three-step process: shoot, upload, AI-enhance, and download. No editing software, no learning curve.
- Same-day turnaround — paid orders are delivered the same day, so listings go live faster
- MLS-ready exports — files arrive sized and formatted for portal upload
- First five photos free — try the full workflow before committing
- Bulk and team pricing — brokerages and property managers can process entire galleries at volume
Airbnb hosts get particular value here. Seasonal retakes — swapping summer staging for fall or winter décor — take minutes to shoot and a few hours to get back as polished, Airbnb-ready photos that can meaningfully lift booking rates. When you're managing multiple properties, that speed adds up fast.
Pro Tip: Upload your RAW or highest-resolution JPEG to Proofe. The more image data the AI has, the better the window pulls and color grading turn out.
Before-and-after examples you can replicate
These four shot scenarios show exactly what to do on set and what the edit fixes.
- Living room, window wall: Shoot from the far corner diagonally, lock exposure on the window, chest height. Problem: blown-out glass. Edit outcome: window pull restores the outdoor view; color balance warms the interior without a yellow cast.
- Small bathroom: Shoot from the doorway at chest height, no wide-angle. Problem: tight framing makes the room feel cramped. Edit outcome: lens correction and brightness lift open the space; object removal clears a towel left on the counter.
- Exterior twilight: Shoot at dusk with all interior lights on. Problem: sky is too dark, interior glow uneven. Edit outcome: sky replacement adds depth; exposure balance makes the interior warmth visible without blowing out windows.
- Cramped kitchen: Use 0.5x wide-angle from the doorway, phone perfectly level, furniture kept away from frame edges. Problem: edge distortion stretches the cabinets. Edit outcome: AI lens correction straightens the lines; object removal clears a dish rack from the counter.
See the full range of results in Proofe's before-and-after gallery.
Fast fixes for the most common smartphone mistakes
- Tilted walls — turn on grid lines and use a bubble level; retake before moving to the next room
- Blown-out windows — tap the window to lock exposure, or enable HDR
- Soft or hazy images — wipe the lens with a microfiber cloth before every room
- Wrong height — set the tripod to 1.20 m and leave it there for the whole shoot
- Portrait orientation — rotate the phone to landscape before pressing the shutter
- Busy backgrounds — remove clutter during staging; use object removal in post for anything missed
- Digital zoom blur — move physically closer or switch to the native telephoto lens
Back up photos immediately after the shoot. Use a consistent naming convention (address + room + sequence) so MLS uploads stay organized and nothing gets lost.
Pro Tip: Use the phone's self-timer (2–3 seconds) instead of tapping the shutter. It eliminates the micro-shake from your finger and costs nothing.
Key Takeaways
Shooting MLS-ready listing photos with a smartphone comes down to five repeatable habits: lock exposure on the window, keep the phone level with grid lines, shoot at chest height, stabilize with a tripod, and finish every gallery with AI enhancement.
| Point | Details |
|---|---|
| Lock exposure on windows | Tap the brightest area to prevent blown-out views and preserve indoor detail. |
| Level phone with grid lines | Straight verticals signal a professional photo; leaning walls lose buyer trust immediately. |
| Chest-height shooting | Hold the phone at 1.20–1.40 m to emphasize floor space and give buyers a natural perspective. |
| Tripod for consistency | A tripod removes shake and standardizes height across every room in the gallery. |
| Proofe for AI enhancement | Upload phone captures to Proofe for same-day MLS-ready files; first five photos are free. |
Why a smartphone-first workflow makes sense for busy agents
The conventional wisdom in real estate photography still defaults to booking a professional photographer for every listing. That made sense a decade ago. Today, it often adds two to four days to your listing timeline and a cost that doesn't scale when you're managing a high volume of properties.
A smartphone-first workflow changes that math. You shoot the same day the home is ready, upload immediately, and have MLS-ready files back the same day. The gallery looks consistent because you're using the same height, the same settings, and the same AI-enhancement pipeline every time. For a brokerage or a property manager with dozens of active listings, that consistency across the portfolio is genuinely hard to achieve with rotating photographers.
The honest caveat: for luxury properties above a certain price point, aerial work, or architectural shoots where the photography itself is a marketing asset, a professional photographer is still worth the investment. But for the majority of listings — and for every Airbnb host refreshing photos between seasons — smartphone photos replace professional shoots more often than the industry admits.
Skip the editing and get MLS-ready files today
Your phone already has everything it needs to capture a great listing photo. What takes time is the editing — window pulls, color correction, object removal, and getting files sized for MLS upload. Proofe handles all of that for you.
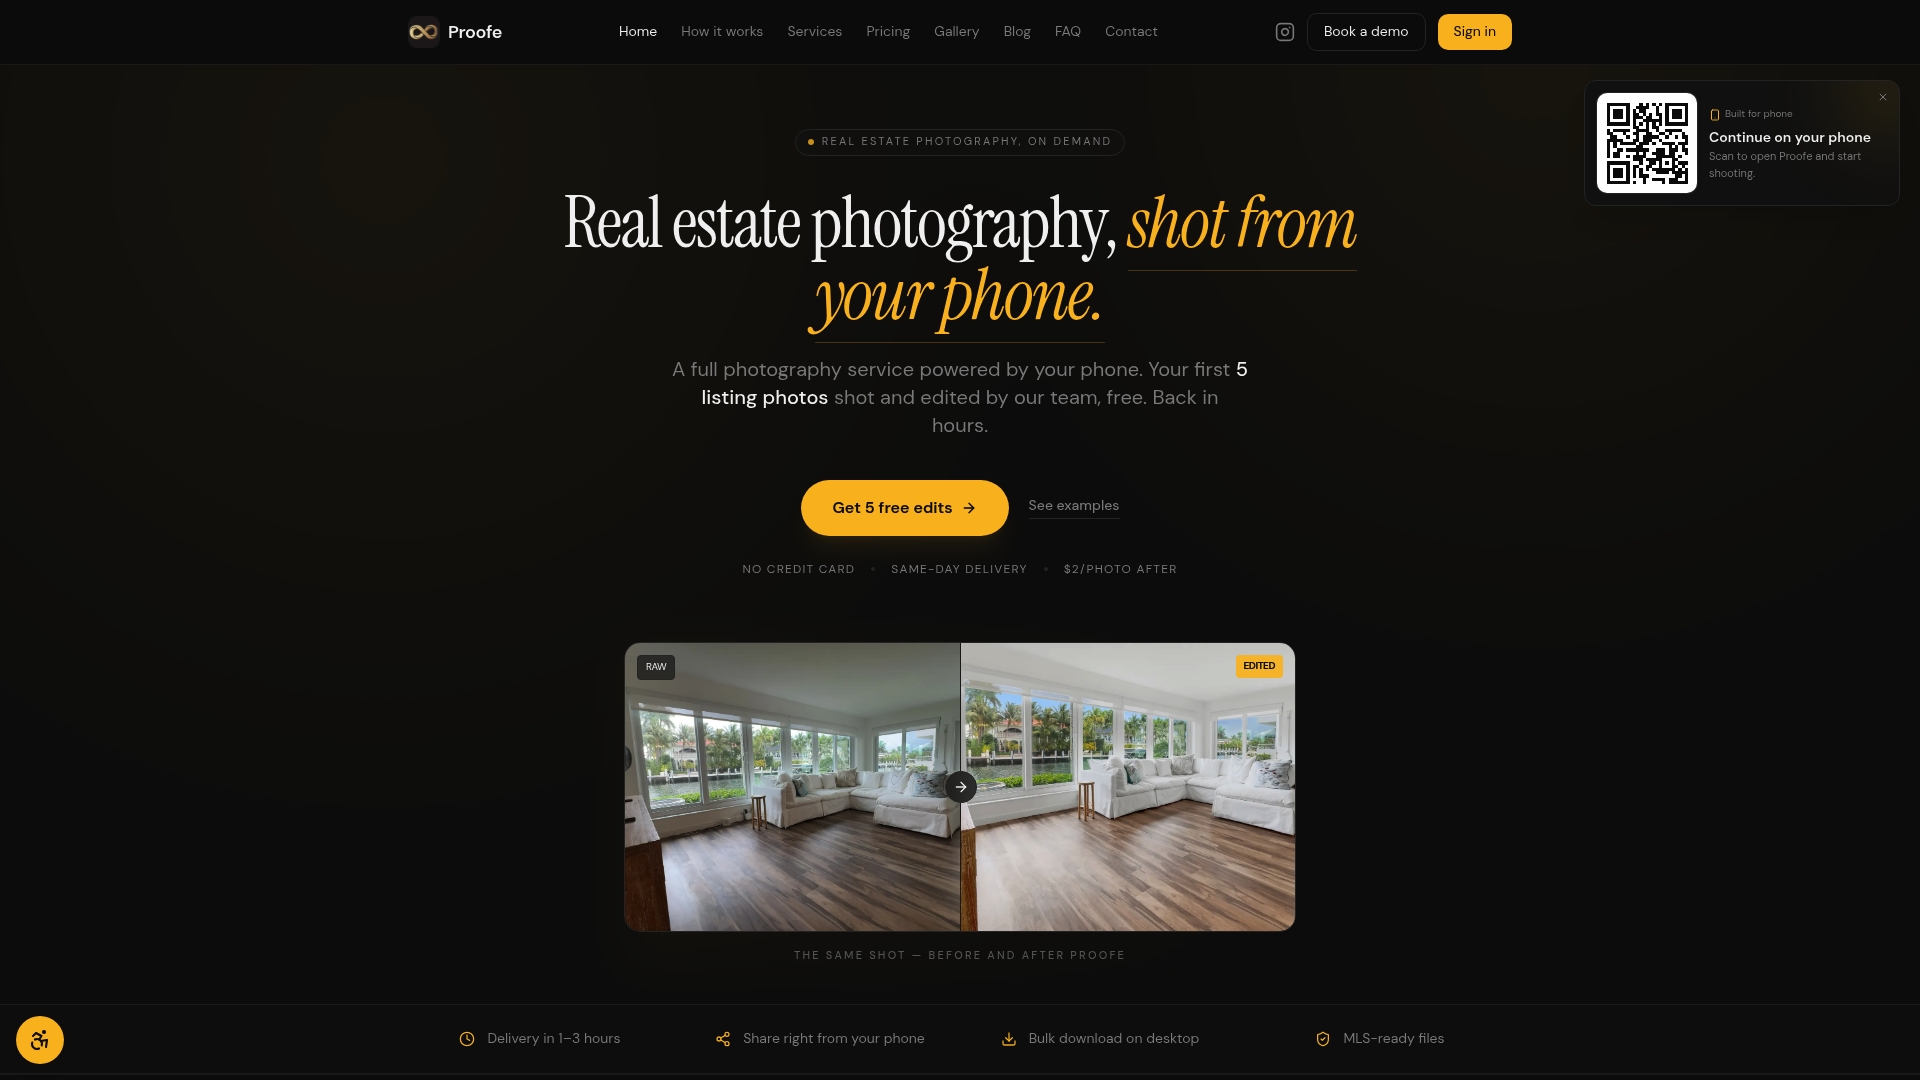
Shoot on your phone, upload to Proofe, and download MLS-ready files the same day. Your first five photos are free, so you can see the full workflow before spending anything. For brokerages and property managers running high volume, team pricing keeps the cost predictable. Try the real estate photo app and have your next listing live faster than you thought possible.