
Resizing photos for real estate sites means preparing images at the correct pixel dimensions, file size, and format to meet portal standards and display sharply across every device. The industry standard is 2048×1536 pixels at a 4:3 aspect ratio, JPEG format, under 2 MB. Getting this right affects load speed, listing clarity, and whether your photos pass MLS compliance checks. Tools like myPixelVault and Proofe make the process faster, but understanding the specs yourself puts you in control from the start.
What are the standard image dimensions for real estate sites?
The recommended resolution for listing photos is 2048×1536 pixels, JPEG format, under 2 MB. This spec satisfies Zillow, Realtor.com, Trulia, and most MLS boards in one pass. Meeting it means your photos load fast in carousels and look sharp on both desktop and mobile screens.

Aspect ratio matters more than most agents realize. The 4:3 ratio is the standard for the majority of US portals. Redfin is the notable exception: it requires 3:2 at 2048×1365 pixels. If you upload a 4:3 image to Redfin without adjusting, the portal crops it automatically, and you lose control over what buyers see.
File format is equally important. JPEG outperforms PNG for listing photos because it compresses efficiently without visible quality loss. PNG files run significantly larger with no benefit for photographic content. Always save in sRGB color space. Some portals reject images in Adobe RGB or CMYK, even if the dimensions are correct.
| Portal | Recommended dimensions | Aspect ratio | Max file size | Format |
|---|---|---|---|---|
| Zillow | 2048×1536 px | 4:3 | 2 MB | JPEG |
| Realtor.com | 2048×1536 px | 4:3 | 2 MB | JPEG |
| Trulia | 2048×1536 px | 4:3 | 2 MB | JPEG |
| MLS (general) | 2048×1536 px | 4:3 | 2 MB | JPEG |
| Redfin | 2048×1365 px | 3:2 | 2 MB | JPEG |
Pro Tip: Always check your specific MLS board's upload page before a new listing. Some regional boards cap file size at 1 MB or require minimum dimensions above 1024 px. The MLS photo requirements guide covers the most common variations.
How to resize and compress listing photos step by step
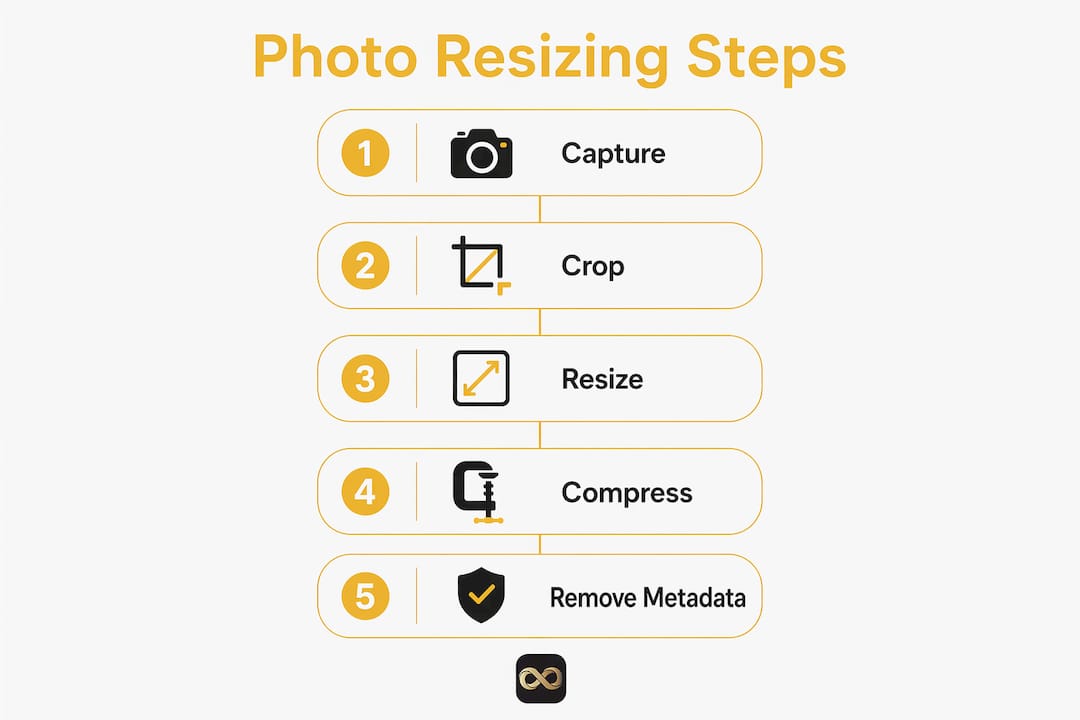
A clean workflow saves time and prevents errors. Follow these steps every time you prepare a batch of listing photos.
-
Back up your originals first. Always keep full-resolution source files in a separate folder. You cannot undo a resize on a saved file, and you may need the originals for print marketing.
-
Select a browser-based resize tool. Browser-based tools process images locally on your device without uploading files to a server. This protects client privacy and keeps listing data off third-party servers.
-
Set width to 2048 px and lock the aspect ratio. The tool calculates height automatically. For standard 4:3 shots, height resolves to 1536 px. For Redfin, switch to 2048×1365 px before processing that batch.
-
Compress to under 2 MB. Compressing under 2 MB keeps carousel loading fast and meets portal upload limits. Use a tool that applies binary search compression, which finds the smallest file size that still looks sharp to the human eye.
-
Strip EXIF metadata. Smartphone photos embed GPS coordinates in their metadata. GPS data in EXIF can reveal the exact property address before you publish the listing. Strip all metadata as part of every export.
-
Name files with a leading zero sequence. Use a format like 01-front.jpg, 02-entry.jpg, 03-living-room.jpg. Systematic file naming preserves your intended walk-through order across portals that sort by file name.
-
Verify specs before upload. Right-click the final file, check properties, and confirm dimensions, file size, and format. One mismatched file in a batch can trigger a portal rejection for the entire set.
Pro Tip: Run a test upload with a single photo before submitting a full batch. This catches format or size errors in under two minutes and saves you from re-exporting 30 files.
Common mistakes when resizing photos for real estate listings
Knowing what goes wrong is as useful as knowing what to do right. These are the errors that show up most often in listing photo batches.
-
Uploading low-resolution images. Portals upscale small images to fit their carousel width, which is typically around 1,500 px. Any source image below 1,024 px wide becomes visibly blurry after upscaling. Start with a high-resolution original every time.
-
Ignoring aspect ratio. Submitting a 16:9 screenshot or a square crop to a 4:3 portal forces the platform to letterbox or crop the image. You end up with black bars or a cut-off room. Crop to the correct ratio before resizing.
-
Skipping metadata removal. EXIF data embedded by smartphones includes GPS coordinates. Leaving this data intact risks leaking the property's exact location before the listing goes live. Strip metadata on every file, not just the exterior shots.
-
Exceeding file size limits. Files over 2 MB either load slowly in carousels or get rejected outright. Slow-loading photos push buyers to scroll past your listing before the images fully render.
-
Uploading in random file name order. Portals that sort by file name will display your photos alphabetically if you skip a naming convention. A photo of the garage can end up as the first image buyers see.
Pro Tip: Keep a dedicated export folder for each listing. Label it with the address and date. This makes it easy to re-upload or update individual photos without hunting through a general downloads folder.
How to prepare photos for multiple real estate platforms
Cross-platform photo prep is simpler than it looks once you build a two-batch system. One batch handles Zillow, Realtor.com, Trulia, and most MLS boards. A second batch handles Redfin.
The good news on syndication: most MLS boards automatically push listings to Realtor.com. You upload once to your MLS at 2048×1536 px, and Realtor.com pulls the images directly. You do not need a separate upload for Realtor.com in most cases. Check with your board to confirm syndication is active.
For Redfin, prepare a separate set cropped and resized to 2048×1365 px at 3:2. The 3:2 ratio requirement is unique to Redfin among major US portals. Batch processing tools let you run this second export in minutes once your 4:3 set is ready.
Naming conventions matter across all platforms. Leading zero file names like 01-front.jpg sort correctly in lexicographic order on every portal. Without leading zeros, file 10 sorts before file 2, and your walk-through sequence breaks.
Airbnb hosts face the same cross-platform challenge. Seasonal photo refreshes, such as updating exterior shots in spring or staging holiday interiors, require the same resizing workflow. Preparing a fresh batch of correctly sized images at the start of each season keeps your listing competitive and visually current. The AI home search shift means buyers now filter and compare listings faster than ever, so photo quality and load speed directly affect click-through rates.
Maintain a master folder of full-resolution originals organized by property address. Export platform-specific batches from that master folder. This approach means you never resize a resized file, which degrades quality with each generation.
Key Takeaways
Correct photo dimensions, compression under 2 MB, JPEG format, and metadata removal are the four non-negotiable steps for listing photos that load fast, display sharply, and protect client privacy.
| Point | Details |
|---|---|
| Standard dimensions | Use 2048×1536 px at 4:3 for Zillow, MLS, and Realtor.com. |
| Redfin exception | Redfin requires 2048×1365 px at 3:2; prepare a separate batch. |
| File size and format | Keep files under 2 MB in JPEG with sRGB color space. |
| Metadata removal | Strip GPS and EXIF data from every file before uploading. |
| File naming | Use leading zero sequences (01-front.jpg) to control display order. |
Why I think most agents underestimate the metadata problem
After years of watching listing photo workflows, the dimension and compression steps get the most attention. Agents learn the 2048 px rule quickly. What gets skipped far more often is metadata stripping, and that gap creates real risk.
A smartphone embeds GPS coordinates into every photo it takes. That data sits invisibly inside the JPEG file. Upload it to a portal before the listing goes live, and anyone who downloads the image can extract the exact property address from the file. For off-market properties or pre-listing shoots, that is a genuine privacy concern.
The fix takes seconds with any browser-based tool that includes EXIF removal. The problem is that most agents do not know the risk exists until someone points it out. I would argue metadata stripping belongs in the same mental checklist as file size and dimensions. It is not optional.
The second thing I see agents get wrong is treating photo resizing as a one-time task. Seasonal refreshes matter. An exterior shot from november looks different from one taken in april. Airbnb hosts who update their listing photos at the start of each season consistently outperform those who leave stale images up year-round. The same logic applies to residential listings that sit on the market longer than expected. Fresh, correctly sized photos signal an active, well-maintained listing.
The free photo tools guide covers browser-based options that handle resizing, compression, and metadata removal in one pass. Build that into your standard workflow and you will not have to think about it again.
— Richard Lopez
Proofe makes listing photo prep faster from your phone
Getting photos ready for every portal takes time. Proofe cuts that time down by handling capture, AI enhancement, and MLS-ready delivery in three steps from your smartphone.
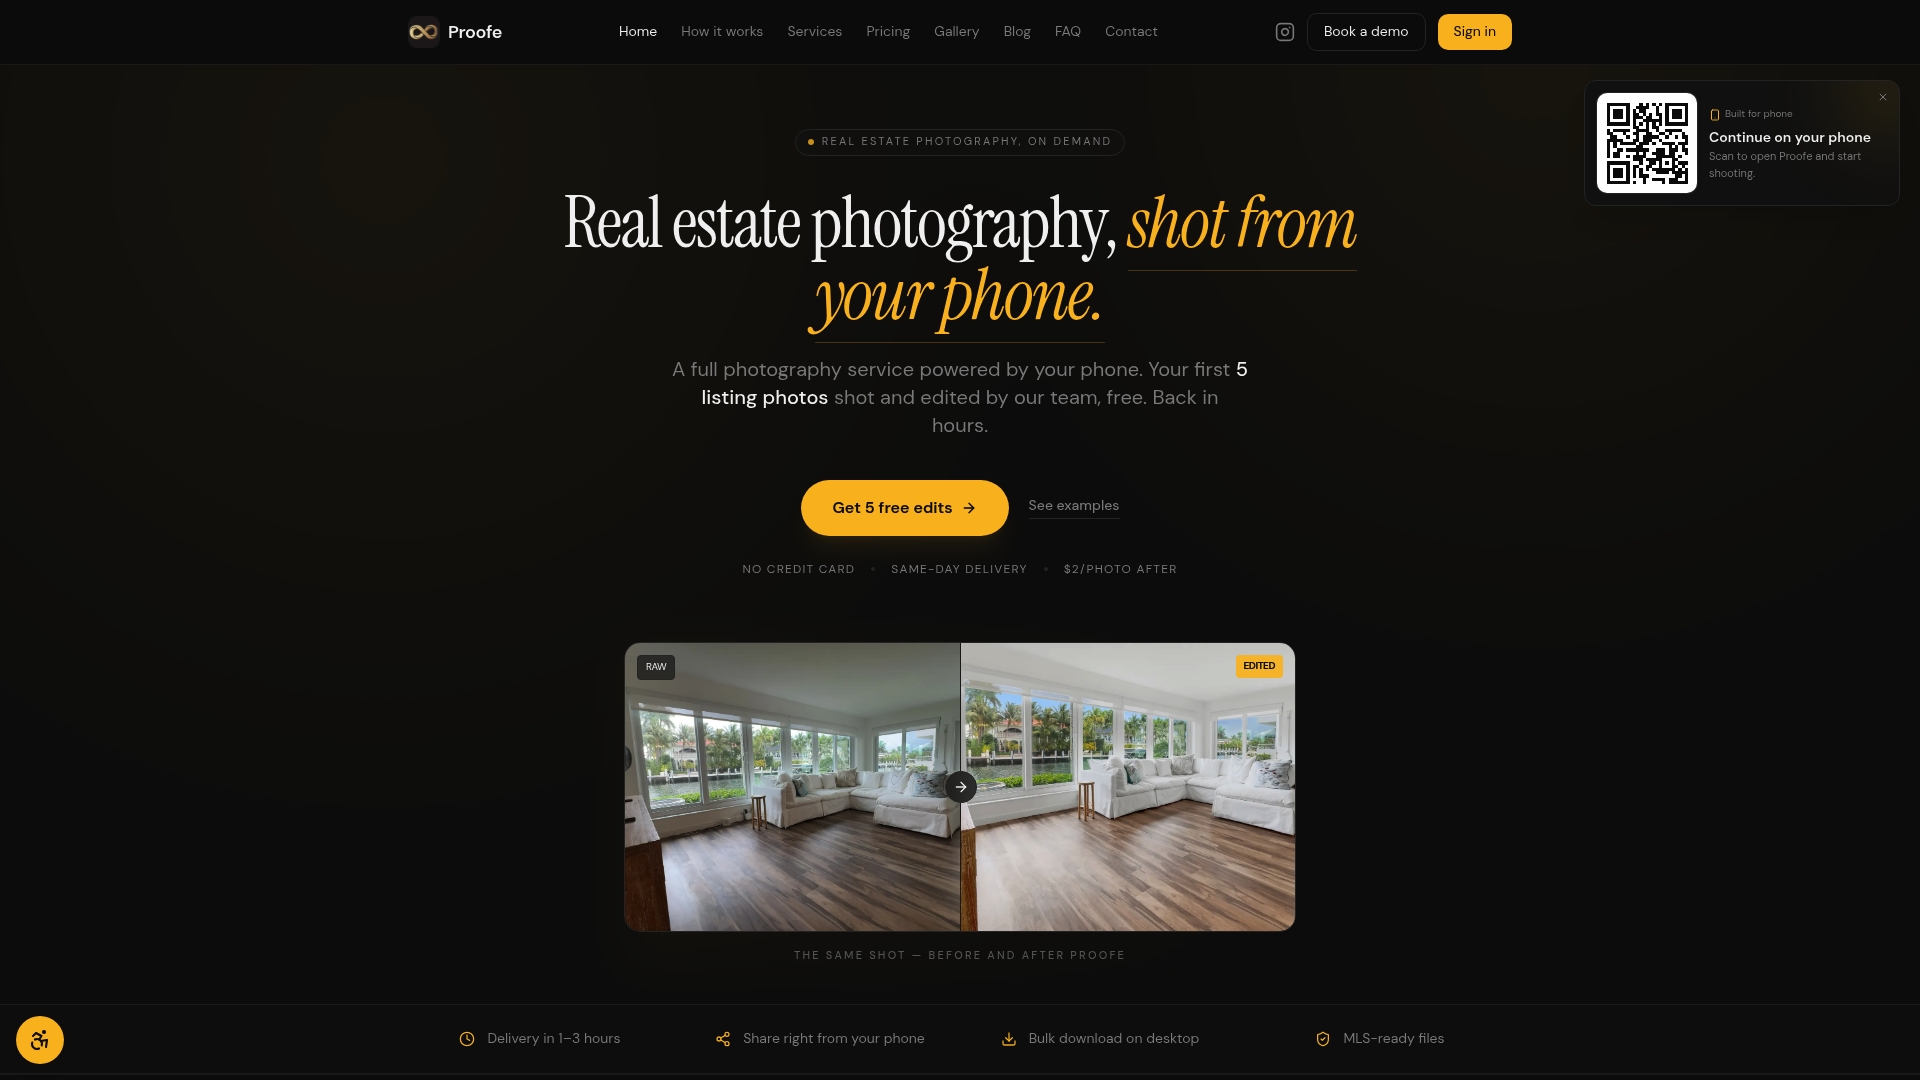
You shoot the property, Proofe's AI enhances the images, and you download files sized and formatted for immediate upload. No separate resize step. No manual compression. No equipment beyond your phone. Proofe delivers MLS-ready listing photos with same-day turnaround, and your first five photos are free. Real estate agents, property managers, and Airbnb hosts all use Proofe to keep listing photos current without the back-and-forth of traditional photography. See what your listings could look like at proofe.app.
FAQ
What is the best photo size for real estate listings?
The best size is 2048×1536 pixels at 4:3 aspect ratio, JPEG format, under 2 MB. This spec meets requirements for Zillow, Realtor.com, Trulia, and most MLS boards.
Does Redfin require different photo dimensions?
Yes. Redfin requires 2048×1365 pixels at a 3:2 aspect ratio. Prepare a separate batch for Redfin rather than uploading your standard 4:3 files.
Why do my listing photos look blurry after uploading?
Blurry photos usually mean the source image was below the recommended resolution. Portals upscale small images to fit their carousel width, which creates visible blur. Always start from a high-resolution original.
Do I need to remove metadata from real estate photos?
Yes. Smartphone photos contain GPS coordinates in their EXIF metadata. Stripping this data before upload protects client privacy and prevents the property address from being extracted from the image file.
What file format should I use for listing photos?
Use JPEG with sRGB color space. JPEG compresses efficiently for photographic content, keeping file sizes under 2 MB without visible quality loss. PNG files are significantly larger with no quality advantage for listing photos.