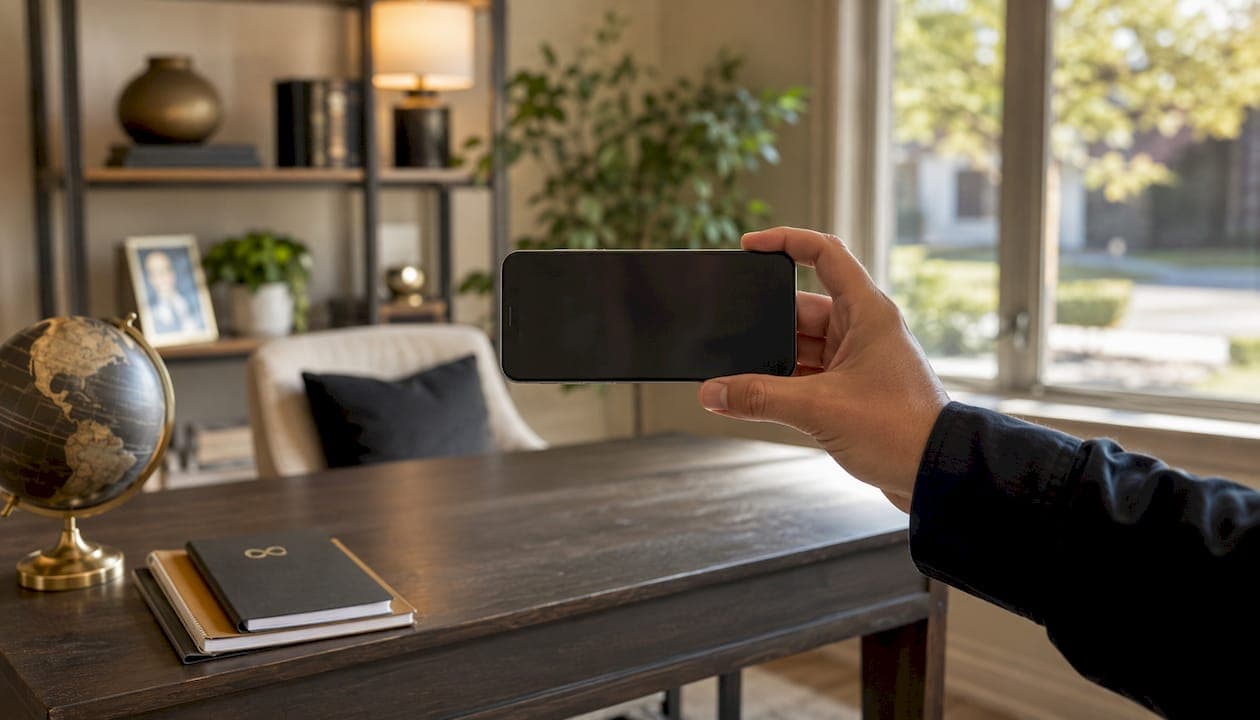
Shooting listing photos with a smartphone is a practical, effective way to create property images that meet most MLS standards and attract serious buyers. Modern smartphones now carry 48MP+ sensors with computational HDR, meaning the gap between phone and professional camera has narrowed significantly. The difference between a listing that gets clicks and one that gets ignored often comes down to preparation and technique, not equipment. This guide gives you the exact steps to capture, edit, and format real estate photos using only your phone.
Which smartphones and settings work best for listing photos
Smartphones cover roughly 90% of a real estate agent's photography needs. That figure reflects just how capable current hardware has become for everyday listing work.
The iPhone 17 Pro, Google Pixel 10 Pro, and Samsung Galaxy S26 Ultra all deliver 48MP+ sensors with computational HDR that meet MLS photo requirements. Any of these phones gives you enough resolution and dynamic range to produce sharp, well-exposed listing images without a dedicated camera.
Once you have the right phone, settings matter as much as hardware. Here is what to configure before you shoot:
- Lens: Use the 0.5x ultra-wide lens for all interior shots. The ultra-wide provides a 13mm equivalent field of view, which makes rooms appear larger and captures more of the space in a single frame.
- Format: Enable RAW or ProRAW if your phone supports it. RAW files retain more data for editing, giving you greater control over exposure and color correction later.
- Grid and level: Turn on the grid overlay and horizon level in your camera settings. These tools keep walls straight and prevent the tilted verticals that make photos look amateur.
- Exposure lock: Tap and hold on a mid-tone area to lock exposure before shooting. This prevents the camera from auto-adjusting between frames and keeps your shots consistent.
- HDR mode: Keep HDR on for interiors. It balances bright windows against darker room interiors, which is one of the hardest challenges in real estate photography.
Pro Tip: Shoot in ProRAW or RAW format whenever possible. You can always export a JPEG later, but you cannot recover lost highlight or shadow detail from a compressed file.
How to prepare and stage a home before you shoot
Preparation is the single biggest factor in photo quality. A well-staged room photographed on a mid-range phone will outperform a cluttered space shot on the best camera available. Follow these steps before you take a single photo.
- Declutter every room. Remove personal items, excess furniture, and anything sitting on countertops. Buyers need to picture themselves in the space, not sort through someone else's belongings.
- Open all curtains and blinds. Natural light is your best asset. Pull back every window covering to flood rooms with daylight before you shoot.
- Turn on all interior lights. Mixing natural and artificial light creates color imbalance. Turn on every lamp and overhead fixture to fill shadows and create an even, warm tone throughout the room.
- Match light color temperatures. Replace any cool fluorescent bulbs with warm-white LEDs before the shoot. Mixed color temperatures show up as orange and blue patches in photos and are difficult to fix in editing.
- Tidy exterior spaces. Mow the lawn, sweep the driveway, and move all cars off the property before shooting the exterior. A clean exterior sets the first impression for every buyer who views the listing.
- Make beds and close toilet lids. These small details read clearly in photos. A made bed signals a well-cared-for home. An open toilet lid is a distraction that buyers notice immediately.
- Set up a tripod. A tripod eliminates motion blur and keeps your framing consistent across rooms. Even a budget phone tripod makes a measurable difference in sharpness.
Pro Tip: Walk through the home as a buyer would, starting at the front door. If something catches your eye as out of place, it will catch a buyer's eye in the photo too. Fix it before you shoot.
For a full photo-ready home checklist, Proofe's preparation guide covers every room in detail.
Step-by-step techniques for shooting real estate photos with your phone
Good technique turns a prepared space into a compelling listing. Proper staging and lighting create the foundation, but your shooting method determines the final result.
Step 1: Start with exterior shots at golden hour. Golden hour, about an hour before sunset, produces warm, low-angle light that enhances curb appeal. Blue hour, just after sunset with interior lights on, is the standard for luxury listings. Schedule your exterior shoot around these windows whenever possible.
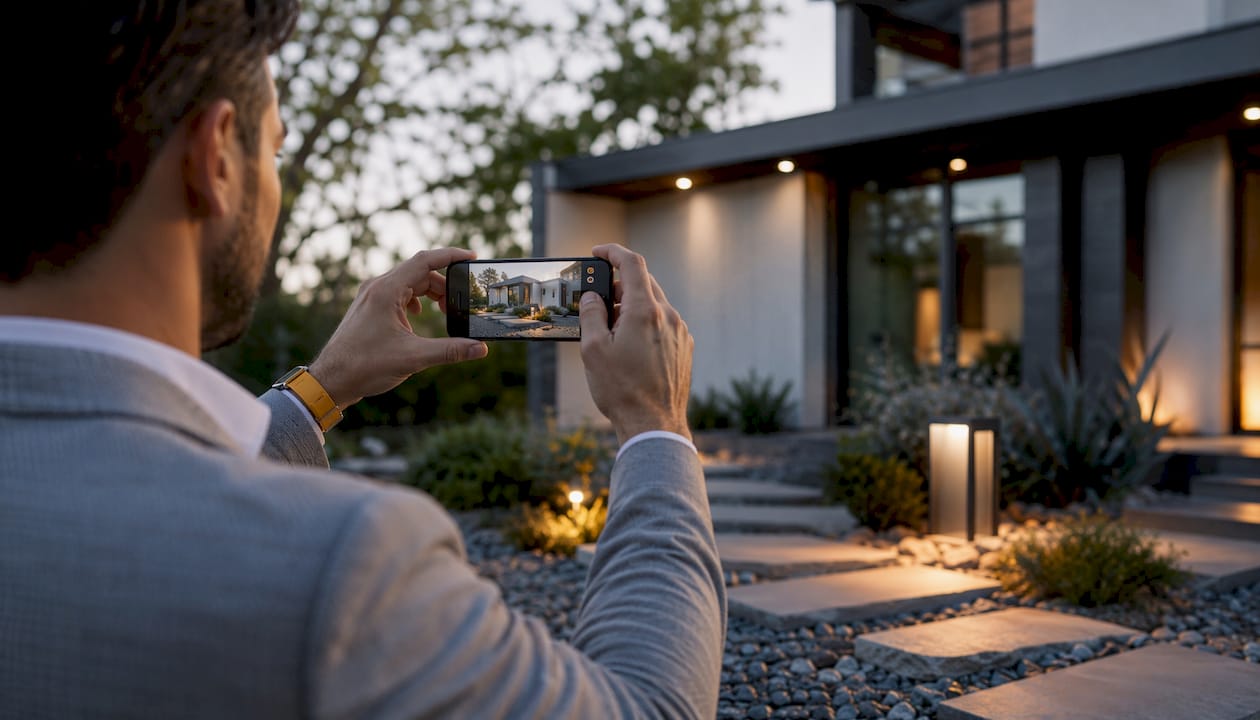
Step 2: Hold your phone horizontally. Always shoot in landscape orientation for listing photos. Vertical photos do not display well on MLS platforms or desktop browsers, and they waste screen real estate.
Step 3: Shoot from chest height, not eye level. Eye-level shots make ceilings look low and rooms feel cramped. Chest height, roughly 4 to 5 feet off the ground, gives a natural, balanced perspective that makes spaces look their best.
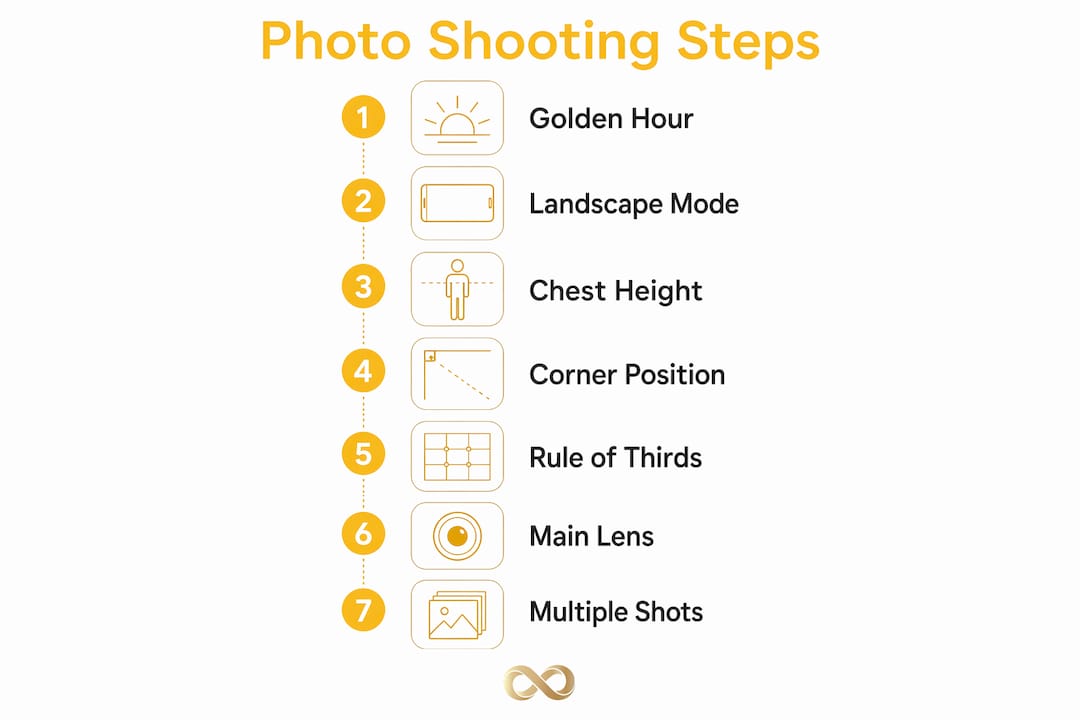
Step 4: Position yourself in corners and doorways. Shooting from a corner or doorway captures the maximum depth of a room. Aim for 3 to 5 angles per room to give buyers a complete sense of the space.
Step 5: Use the rule of thirds. Place key features like a fireplace, kitchen island, or window along the grid lines rather than dead center. Grid lines and the rule of thirds create more visually balanced compositions that hold a viewer's attention longer.
Step 6: Switch to the 1x main lens for detail shots. Use the main lens for close-up details like hardware, countertops, and fixtures. The ultra-wide lens distorts at close range and makes details look stretched.
Step 7: Take at least three shots of each angle. Small movements between shots give you options in editing. Delete the weakest two and keep the sharpest frame.
Pro Tip: If your hands are unsteady, use your phone's volume button or a Bluetooth shutter remote to trigger the shot. Pressing the screen introduces micro-vibration that softens focus.
How to edit and format smartphone photos for MLS
Raw photos from your phone need editing before they are ready to upload. Editing with Lightroom Mobile improves exposure, color balance, and sharpness in a way that makes listing photos significantly more appealing. Batch editing with a saved preset keeps your entire listing consistent in tone and brightness.
Here is what to address in every edit:
- Exposure and highlights: Bring down highlights to recover blown-out windows. Lift shadows slightly to reveal detail in darker corners.
- White balance: Correct any orange or blue color casts caused by mixed lighting. Aim for a neutral, natural tone throughout.
- Sharpness and clarity: Add a small amount of sharpness to bring out texture in floors, countertops, and exterior materials. Avoid over-sharpening, which creates a harsh, artificial look.
- Straighten and crop: Use the geometry correction tool to fix any remaining tilt or lens distortion. Crop to a 3:2 ratio for most MLS platforms.
For formatting, MLS platforms accept JPEG files with upload limits typically ranging from 25 to 50 photos. Resize your images to approximately 3,000 pixels on the longest side for the best balance of quality and file size. Save at high JPEG quality to preserve detail without creating files that are too large to upload.
| Format detail | Recommended setting |
|---|---|
| File type | JPEG |
| Longest side | ~3,000 pixels |
| Photo order | Exterior hero shot first |
| Social media crop | Square or 4:5 vertical |
| Virtual staging | Disclose per local regulations |
Order your photos with the exterior hero shot first. Buyers form their first impression from the lead image, and a strong exterior photo drives more clicks through to the full listing.
Common mistakes that ruin smartphone listing photos
Most listing photo errors are avoidable. Knowing what to watch for saves you a reshoot.
- Shooting in vertical mode. Portrait orientation photos look unprofessional on listing platforms and get cropped awkwardly. Always shoot horizontal.
- Leaving distracting objects in frame. Cars in the driveway, ceiling fans mid-spin, and open cabinet doors all pull a buyer's eye away from the room. Remove or close them before shooting.
- Mixed or poor lighting. Color imbalance from mixed light sources is one of the most common problems in phone listing photos. Fix it at the source by matching bulb temperatures before you shoot, not in editing.
- Over-editing photos. Boosting saturation and contrast too far makes rooms look unnatural. Buyers who visit in person and find the space looks nothing like the photos lose trust immediately.
- Ignoring file size limits. Uploading full-resolution files can cause upload failures or compression artifacts on MLS platforms. Resize before uploading, not after.
Pro Tip: Do a final review of every photo on a desktop screen before uploading. Phone screens are small and bright, which hides problems that show up clearly on a larger display.
Rental property owners face the same challenges, and rental listing photo tips apply directly to Airbnb hosts who want to refresh their images between seasons to attract more bookings.
Key Takeaways
Shooting listing photos with a smartphone produces MLS-ready results when you combine the right settings, thorough preparation, and consistent editing technique.
| Point | Details |
|---|---|
| Phone selection matters | iPhone 17 Pro, Google Pixel 10 Pro, and Samsung Galaxy S26 Ultra all meet MLS quality standards. |
| Ultra-wide lens for interiors | The 0.5x lens captures more space and makes rooms appear larger in a single frame. |
| Preparation beats equipment | Decluttering, matching light temperatures, and staging improve photos more than upgrading your phone. |
| Edit before you upload | Use Lightroom Mobile to correct exposure, white balance, and sharpness, then resize to ~3,000 pixels. |
| Format for the platform | Save as JPEG, lead with the exterior hero shot, and stay within MLS upload limits. |
What I've learned from watching agents shoot listings on their phones
I have reviewed hundreds of listing photo sets over the years, and the pattern is consistent. The agents who produce the best phone photos are not the ones with the newest devices. They are the ones who show up to a prepared space, take their time with angles, and edit with restraint.
The biggest misconception I see is that a better phone will fix a bad process. It will not. A cluttered room shot on an iPhone 17 Pro still looks cluttered. A well-staged room shot on a three-year-old Pixel still looks inviting. Equipment matters at the margins. Preparation and technique matter at the core.
That said, smartphone photography has real limits for certain property types. For luxury listings where professional photography is the expected standard, a phone shoot can actually hurt perceived value. Knowing when to call in a professional is part of good judgment, not a failure of skill. For a deeper look at where the line sits, this breakdown of when smartphones replace professional shoots is worth reading before you decide.
For the vast majority of listings, though, your phone is more than enough. Use it confidently.
— Richard Lopez
Proofe makes your listing photos MLS-ready in minutes
You have done the hard work of shooting and staging. Now get your photos across the finish line fast.
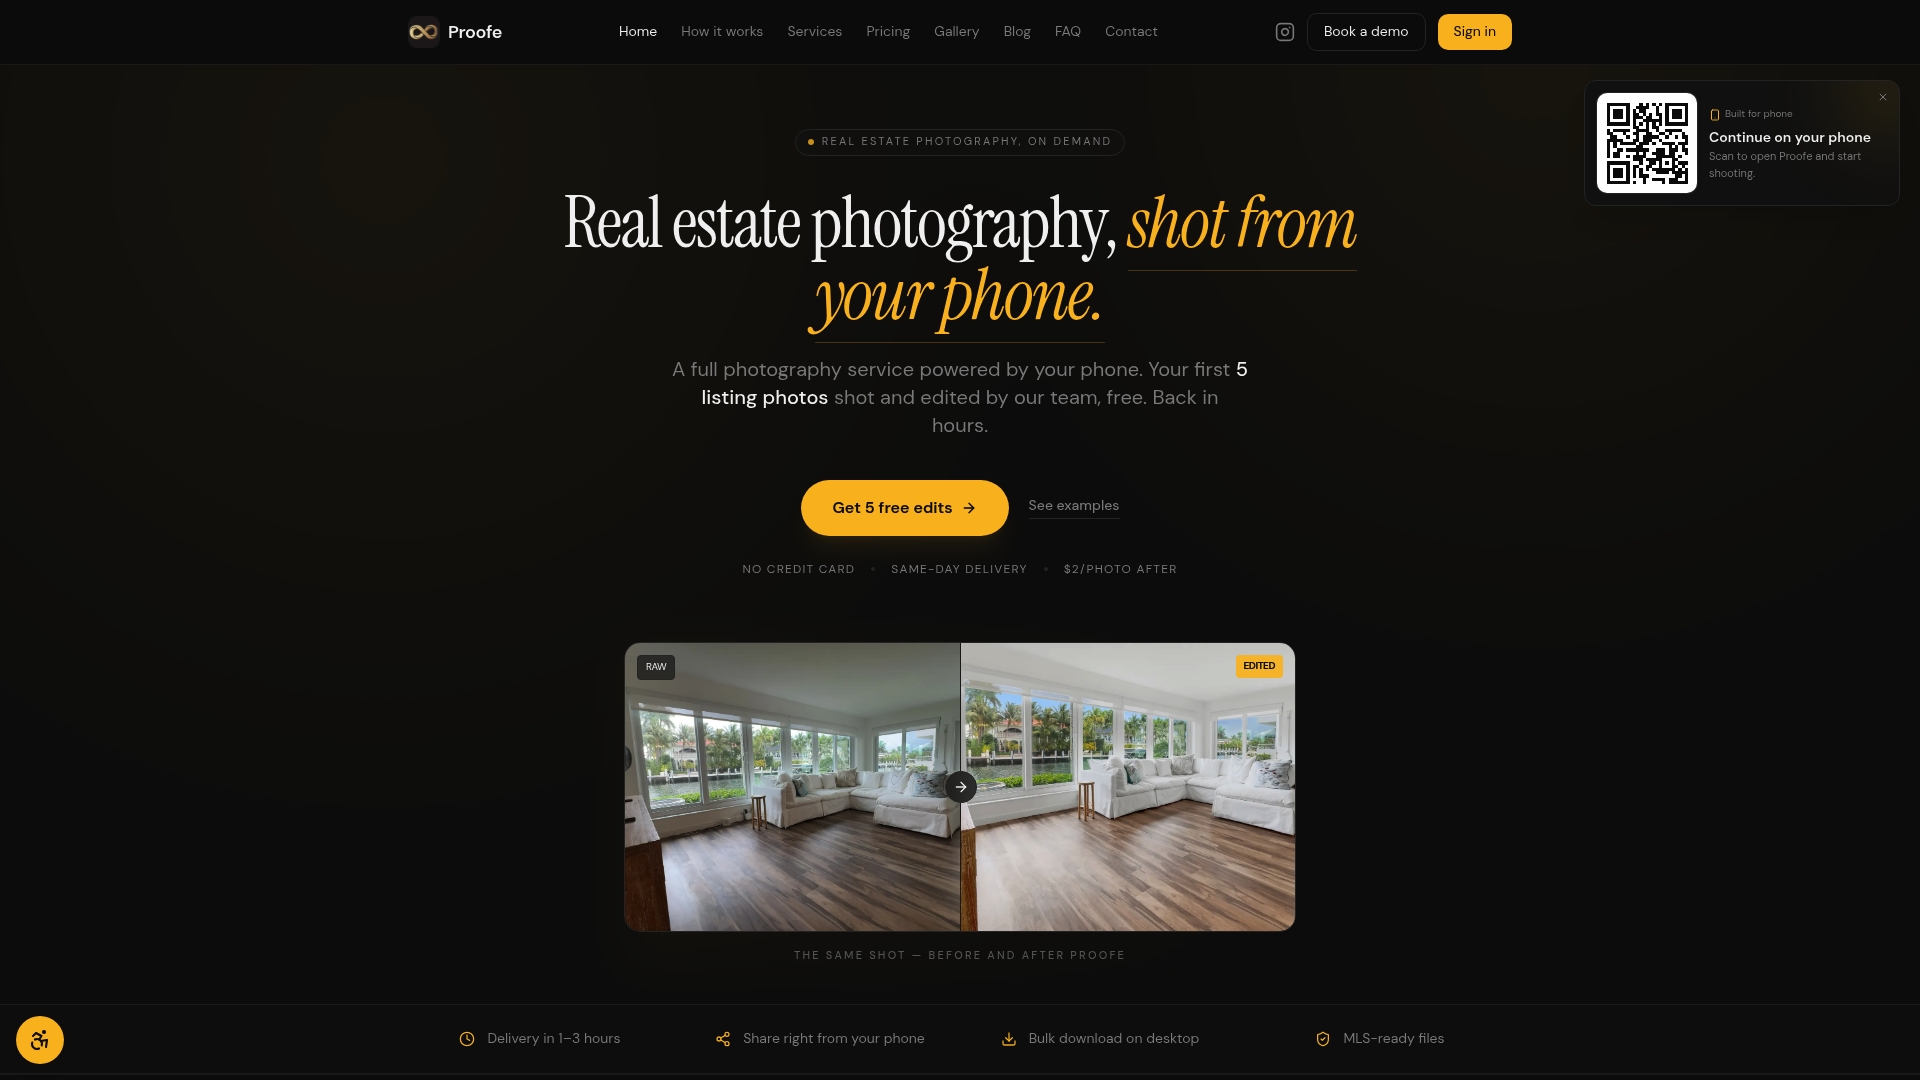
Proofe is built specifically for real estate agents and homeowners who shoot on their phones. Upload your photos and Proofe's AI photo enhancement corrects exposure, brightens interiors, and removes unwanted objects automatically. The result is a set of MLS-ready listing photos delivered the same day, with no editing software to learn and no professional photographer to schedule. Airbnb hosts can use Proofe to refresh their listing photos between seasons and keep their properties looking their best year-round. Your first five photos are free at proofe.app.
FAQ
What is the best smartphone for listing photos?
The iPhone 17 Pro, Google Pixel 10 Pro, and Samsung Galaxy S26 Ultra are the top choices for real estate listing photography, all offering 48MP+ sensors and computational HDR that meet MLS standards.
How do I shoot listing photos on my phone without blur?
Use a tripod or prop your phone against a stable surface, and trigger the shutter with a Bluetooth remote or your phone's volume button to eliminate camera shake.
What lens should I use for interior real estate photos?
Use the 0.5x ultra-wide lens for interior shots. It provides a 13mm equivalent field of view that captures more of the room in a single frame and makes spaces appear larger.
What file format do MLS platforms require for listing photos?
MLS platforms accept JPEG files. Resize your photos to approximately 3,000 pixels on the longest side and save at high quality before uploading to stay within typical file size limits.
Do I need to disclose virtual staging in listing photos?
Yes. Most state real estate regulations and MLS rules require disclosure when photos include virtual staging or significant digital alterations that misrepresent the property's actual condition.