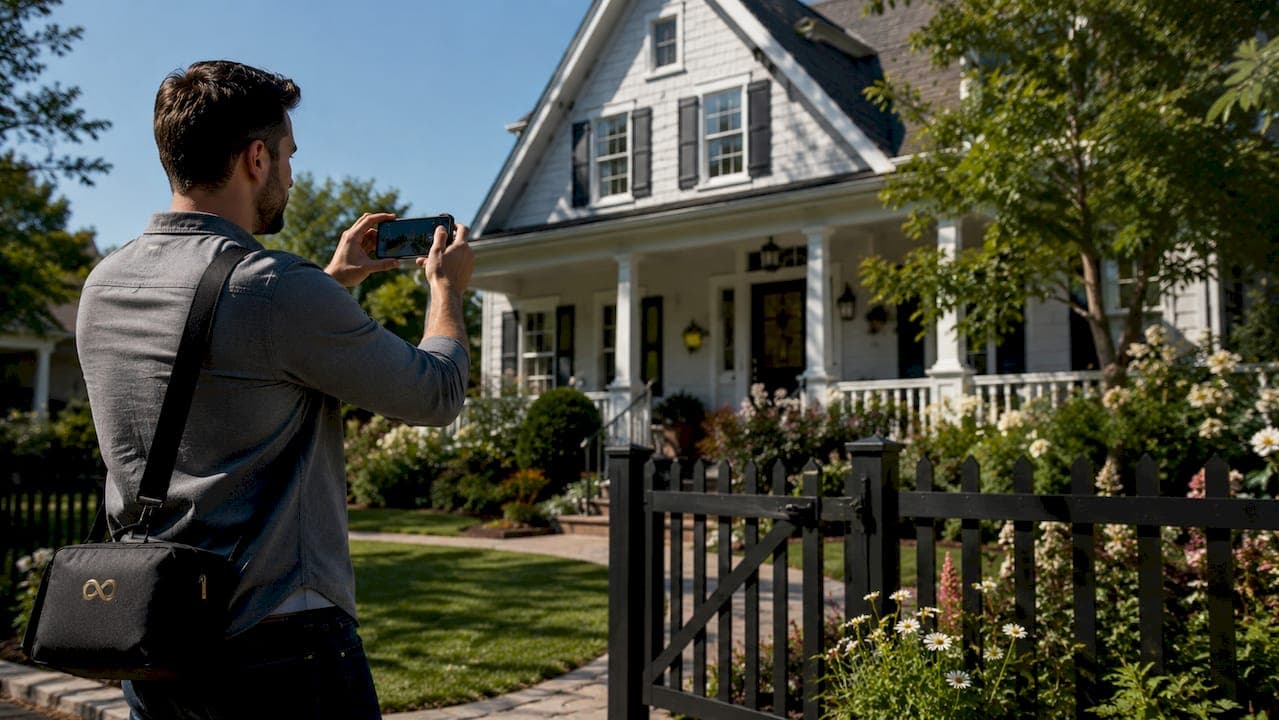
A listing photo quality checklist is a set of criteria that ensures real estate images are sharp, well-lit, accurately framed, and compelling enough to drive buyer interest. Professional photo standards, also called real estate photography standards in the industry, directly affect how many buyers click on a listing, request a showing, and ultimately make an offer. Tools like Adobe Lightroom, Photomatix, and AI-powered apps like Proofe have made it easier than ever to meet those standards consistently. Listings with 20 or more professional photos statistically outperform listings with fewer images in both clicks and showings. Your photos are your first impression, and this checklist makes sure that impression counts.
1. What belongs on a listing photo quality checklist?
A complete property photo checklist covers three areas: technical settings, property preparation, and post-processing. Each area affects the final image in a different way. Technical settings determine sharpness and accuracy. Preparation controls what appears in the frame. Post-processing refines the result without misrepresenting the space.
The checklist exists because buyers form opinions within seconds of viewing a gallery. A single dark, blurry, or distorted photo can cause a buyer to skip the listing entirely. Applying a consistent checklist removes that risk every time.
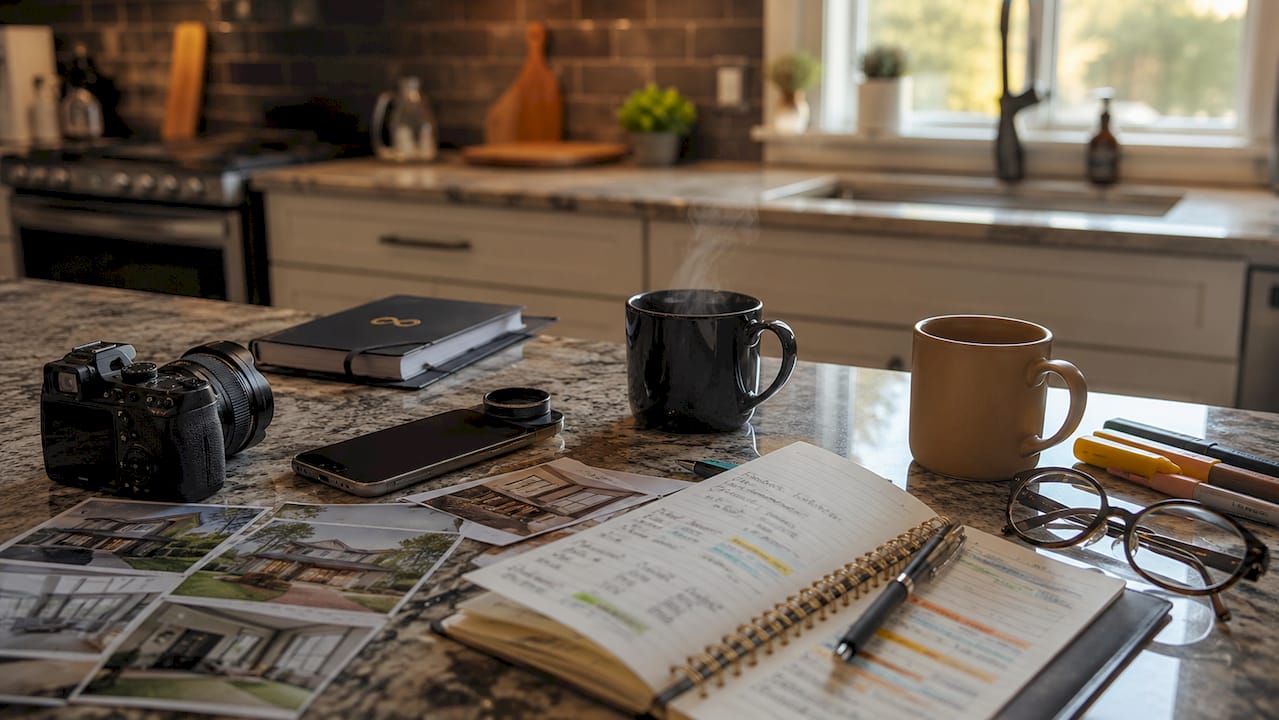
2. Key technical standards for listing photos
Real estate photo standards require images to be sharp, well-exposed, and color-balanced, with straight vertical lines throughout. Meeting these standards starts before you press the shutter.
Technical settings to check before every shoot:
- Resolution: Export images at a minimum of 1920 pixels on the longest side for MLS submissions. Check your MLS photo requirements before every upload.
- File format: Shoot in RAW format whenever possible. RAW files retain far more data than JPEGs, giving you flexibility during editing.
- Exposure: Use HDR bracketing with 3–5 exposures and merge them subtly. HDR bracketing balances bright windows against darker interiors without creating an over-processed look.
- White balance: Set white balance manually or correct it in post. Incorrect white balance produces unnatural orange or blue color casts that make rooms look uninviting.
- Aperture: Shoot between f/8 and f/11 for maximum depth of field. This keeps every surface in the frame sharp from foreground to background.
- Camera height: Position your camera at roughly chest height, about 4 feet off the ground. Shooting at chest level prevents ceiling distortion and keeps vertical lines straight.
- Focal length: Use a lens in the 16–24mm range. Lenses wider than 14mm create fish-eye distortion that exaggerates room size and damages buyer trust.
- Vertical lines: Check that walls and door frames are perfectly straight in the frame. Tilted verticals make a property look structurally off.
- Lighting: Shoot during Golden Hour or on overcast days. Natural light timing produces soft, dimensional images that harsh midday sun cannot replicate.
Pro Tip: If you are shooting with a smartphone, use a tripod and a wide-angle clip-on lens rated at 16mm or wider. Proofe's AI enhancement can correct exposure and color after the shoot, so focus on getting the framing right first.
3. How to prepare the property before the shoot
Property preparation is the most underrated part of any photo quality evaluation guide. A technically perfect photo of a cluttered room still fails. Preparation controls the story the camera captures.
Follow these steps before every shoot:
- Declutter every surface. Remove items from countertops, coffee tables, and shelves. Leave only intentional decor.
- Deep clean all rooms. Clean glass surfaces, mirrors, and appliances. Smudges and dust show clearly in high-resolution images.
- Remove personal items. Family photos, personal mail, and toiletries distract buyers and make it harder to visualize the space as their own.
- Turn on every light. All lamps, overhead lights, and under-cabinet lights should be on. This adds warmth and depth to the image.
- Open all blinds and curtains. Natural light from windows adds dimension. Closed blinds flatten the room.
- Straighten linens and cushions. Beds should be made tightly, and throw pillows should be arranged neatly.
- Hide cords, remotes, and small appliances. These items pull the eye away from the architecture and make spaces look smaller.
- Turn off ceiling fans and TVs. Ceiling fans create motion blur in longer exposures. Dark TV screens reflect the camera and the photographer.
- Clear the driveway. Move all cars before exterior shots. A clean driveway makes the property look more spacious and well-maintained.
- Maintain the landscaping. Mow the lawn, trim hedges, and remove yard clutter before the shoot day.
A well-prepared home shows through decluttering, cleaning, and arranging spaces to remove distractions and highlight the architecture. Preparation is the difference between a photo that sells and one that sits.
Pro Tip: Walk through the property with your phone camera before the shoot. What looks fine to the naked eye often looks cluttered on screen. Fix it before the professional camera comes out.
4. What composition and framing practices improve listing photos?
Composition turns a technically correct photo into a compelling one. The goal is to show buyers how the space flows and feels, not just what it looks like from one angle.
Composition standards for a strong gallery:
- 70/30 balance: Roughly 70% of your gallery should be wide context shots, and 30% should be detail shots of fixtures, finishes, and features. This prevents the gallery from feeling like a random collection of corners.
- Shoot from corners: Position the camera in a corner of the room and shoot diagonally. This captures the most depth and shows how the room connects to adjacent spaces.
- Include architectural features: Fireplaces, built-in shelving, and ceiling details add character. Frame them intentionally rather than letting them appear as background noise.
- Avoid fish-eye effects: Extreme wide-angle lenses exaggerate room size. Accuracy builds buyer confidence, and distorted photos create skepticism when buyers arrive for a showing.
- Consistent camera height: Keep the camera at the same height across every room. Inconsistent angles make a gallery feel disjointed.
- Logical gallery sequence: Structure the gallery to follow a natural walkthrough. Start with the exterior, then move to the entry, living room, kitchen, dining area, bedrooms, bathrooms, and outdoor spaces.
Here is a quick comparison of effective versus ineffective framing choices:
| Framing choice | Effective | Ineffective |
|---|---|---|
| Focal length | 16–24mm | Under 14mm (fish-eye distortion) |
| Camera height | ~4 feet (chest level) | Eye level (low ceilings appear) |
| Room coverage | Wide shot + detail shot | Wide shot only |
| Gallery sequence | Logical walkthrough order | Random room order |
| Vertical lines | Straight and corrected | Tilted or converging |
A cohesive gallery sequence that moves from exterior to interior builds buyer confidence and interest. Buyers who can mentally walk through a property are more likely to schedule a showing.
For a deeper look at framing decisions, the real estate photo composition guide from Proofe covers corner shooting, depth, and gallery flow in detail.
5. Best practices for editing listing photos
Editing is where good photos become great ones. The goal is to correct, not fabricate. Editing should be subtle and true to life, because excessive manipulation creates skepticism and harms sale chances.
Standard editing steps for listing photos:
- Exposure blending: Merge HDR brackets in Photomatix or Lightroom to balance interior brightness with window views. Keep the result natural, not glowing.
- Color correction: Adjust white balance to remove color casts. Rooms should look neutral and inviting, not orange from tungsten lights or blue from shade.
- Vertical correction: Straighten converging vertical lines in Lightroom's lens correction panel or with the transform tool. Straight walls signal a quality edit.
- Window pull editing: Use window pull editing to retain the view outside while keeping the interior properly exposed. This technique replaces a blown-out white window with the actual outdoor scene.
- Selective retouching: Remove minor distractions like a forgotten cord or a smudge on glass. Do not remove permanent fixtures or alter the room's actual appearance.
- Output preparation: Export separate files for MLS (JPEG, 1920px minimum), web (compressed JPEG), and print (high-resolution TIFF or PNG). Each platform has different requirements.
Pro Tip: Proofe's AI photo enhancer handles exposure correction, color balancing, and vertical straightening automatically. Upload your smartphone shots and get MLS-ready edits back the same day.
6. How a photo checklist improves real estate marketing outcomes
A consistent photo checklist does more than produce attractive images. It directly affects how many buyers engage with a listing and how quickly a property sells.
- More clicks and showings: Listings with 20 or more professional photos outperform those with fewer images in clicks and showings. Consistency across the full gallery matters more than a single standout hero shot.
- Stronger buyer trust: Photos that accurately represent the property build confidence. Buyers who arrive at a showing and find the home matches the photos are more likely to make an offer.
- Agent and seller reputation: Consistently high-quality photos signal professionalism. Agents known for strong listing imagery attract more sellers and command higher commissions.
- Supplementary content: A strong photo gallery feeds directly into video tours, social media posts, and print brochures. One well-executed shoot creates assets across multiple marketing channels.
"The photo gallery should tell a cohesive story rather than present random attractive corners." — Apartment Listing Photography Checklist That Converts
Common mistakes that undercut marketing outcomes include poor lighting that makes rooms look small, distortion from lenses that are too wide, and inconsistent editing that makes the gallery feel disjointed. Each of these is preventable with a checklist applied before and after every shoot. You can also read more about why listing photos affect sale price to understand the direct financial impact of photo quality.
Key takeaways
A listing photo quality checklist is the single most reliable way to produce consistent, buyer-ready images that drive showings and support faster sales.
| Point | Details |
|---|---|
| Technical settings matter first | Shoot RAW at f/8–f/11, use a 16–24mm lens, and set camera height at 4 feet. |
| Preparation controls the story | Declutter, clean, open blinds, and remove personal items before every shoot. |
| Composition drives engagement | Use a 70/30 wide-to-detail ratio and sequence the gallery as a logical walkthrough. |
| Editing corrects, not fabricates | Apply HDR blending, color correction, and window pulls without altering the property's true appearance. |
| Photo quantity and consistency win | Galleries with 20 or more consistent photos outperform smaller, uneven sets in clicks and showings. |
What I've learned from watching agents skip the checklist
Real estate agents and homeowners who skip a structured checklist almost always make the same two mistakes. They shoot in the wrong light, and they skip preparation. Both are fixable in under an hour, and both have an outsized impact on the final result.
The agents I have seen get the best results treat the checklist as non-negotiable, not optional. They walk the property before the shoot, they check every light, and they review the gallery sequence before submitting to MLS. That discipline shows up in the photos.
The biggest misconception I encounter is that gear solves the problem. It does not. A $5,000 camera in a cluttered, poorly lit room produces worse results than a well-prepared smartphone shot. Mastering light timing and preparation is worth more than any equipment upgrade.
The other thing I would push back on is the idea that editing can fix everything. It cannot. Window pulls and exposure blending are powerful, but they cannot add natural light that was never there, and they cannot remove a wall of personal photos that should have been taken down before the shoot. The checklist exists precisely to prevent those situations.
My advice: run the checklist the night before, not the morning of. Give yourself time to fix what you find. The properties that photograph best are the ones where the agent or homeowner treated preparation as seriously as the shoot itself.
— Richard Lopez
Get listing-ready photos with Proofe
You do not need a professional camera or a full editing suite to meet every item on this checklist. Proofe lets you shoot with your smartphone, then uses AI to handle exposure correction, color balancing, HDR merging, and sky replacement automatically.
Proofe delivers MLS-ready listing photos with same-day turnaround, and your first five photos are free. Whether you are an agent preparing a new listing, a homeowner selling independently, or an Airbnb host refreshing your photos for peak season, Proofe fits your workflow. Explore the full range of editing services for agents and see how fast professional results can be.
FAQ
What is a listing photo quality checklist?
A listing photo quality checklist is a structured set of criteria covering technical settings, property preparation, composition, and editing standards. It ensures every photo in a listing gallery meets professional real estate photo standards before MLS submission.
What resolution do listing photos need to be?
Listing photos should be exported at a minimum of 1920 pixels on the longest side for MLS submissions. Higher resolution files are recommended for print and marketing materials.
How many photos should a listing have?
Listings with 20 or more professional photos statistically outperform those with fewer images in clicks and showings. Consistency across the full gallery matters more than the quantity of any single standout shot.
What focal length is best for real estate photos?
Use a lens in the 16–24mm range. Lenses wider than 14mm create fish-eye distortion that exaggerates room size and reduces buyer trust when the property does not match expectations at a showing.
Can I use a smartphone for listing photos?
Yes. A smartphone with a wide-angle lens attachment and proper preparation can produce MLS-ready photos. AI editing tools like Proofe correct exposure, color, and vertical lines after the shoot, removing the need for professional camera equipment.