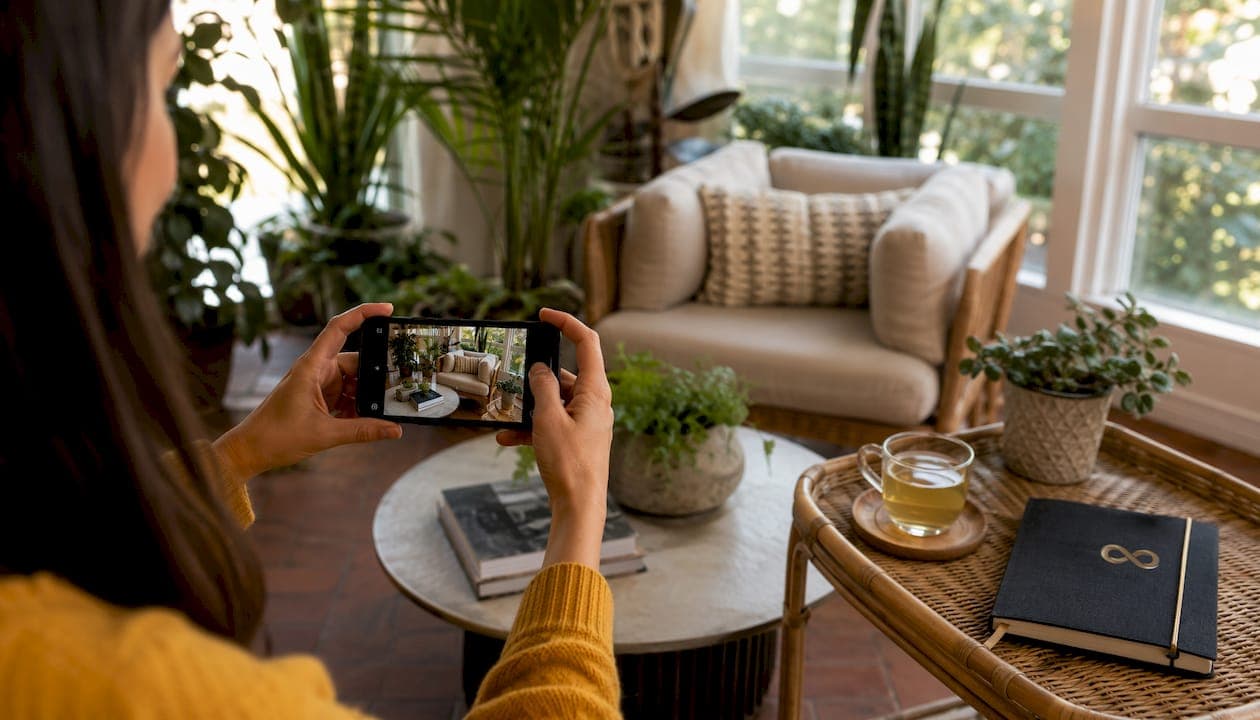
Essential DIY photography tips for rental properties
You don't need to hire a professional to get listing photos that attract tenants fast. With a smartphone, good light, and a few reliable techniques, you can photograph your rental property yourself and produce images that genuinely compete with professional shoots.
Here's what works:
- Use natural light as your primary source. Avoid camera flash, which creates harsh shadows and unnatural highlights that make rooms look smaller and less inviting.
- Keep your camera level at all times. Tilted shots make walls look like they're falling over, and that reads as amateur immediately.
- Shoot at chest height, roughly 4–5 feet from the floor. This natural perspective mimics how a person actually experiences a room while standing in it.
- Use a tripod. It keeps shots sharp, especially in lower-light rooms like bathrooms and basements.
- Go wide. Wide-angle shots capture entire rooms in a single frame and help tenants understand the layout.
- Declutter and stage before you shoot. Clear countertops, hide cords, and remove personal items so the space feels open and neutral.
- Capture key features. Fireplaces, updated appliances, built-in storage, and outdoor spaces all add perceived value.
- Shoot from multiple angles. Two or three positions per room gives you options and prevents a flat, one-note gallery.
Pro Tip: Using interior living room shots as your primary listing photo can dramatically outperform exterior-only images. Interior primary photos drive significantly higher click-through rates, so lead with your best indoor shot.
How to prepare your rental property for photography
Preparation time should equal or exceed your shooting time. No camera technique fixes a cluttered, poorly staged room.
- Clean thoroughly. Every surface, floor, and window should be spotless before you pick up a camera.
- Open all curtains and blinds. Maximize natural light in every room.
- Turn on interior lights and match color temperatures. Mixing warm bulbs with cool fluorescents creates jarring color casts in photos. Aim for bulbs in the 2700K–3000K range throughout.
- Close cabinet doors and hide trash cans. Small distractions pull the eye away from the space itself.
- Arrange furniture to show flow. Pull pieces away from walls slightly and create clear pathways through each room.
- Add fresh linens and towels. Crisp beds and neatly folded towels signal cleanliness and care.
- Use simple decorative touches. A plant, a bowl of fruit, or a folded throw adds warmth without cluttering.
- Give current tenants advance notice. If the unit is occupied, provide at least 24 hours notice before entering to photograph. You can also offer a small incentive for them to tidy up beforehand.
For a deeper staging walkthrough, the photo-ready home preparation guide covers room-by-room setup in detail.
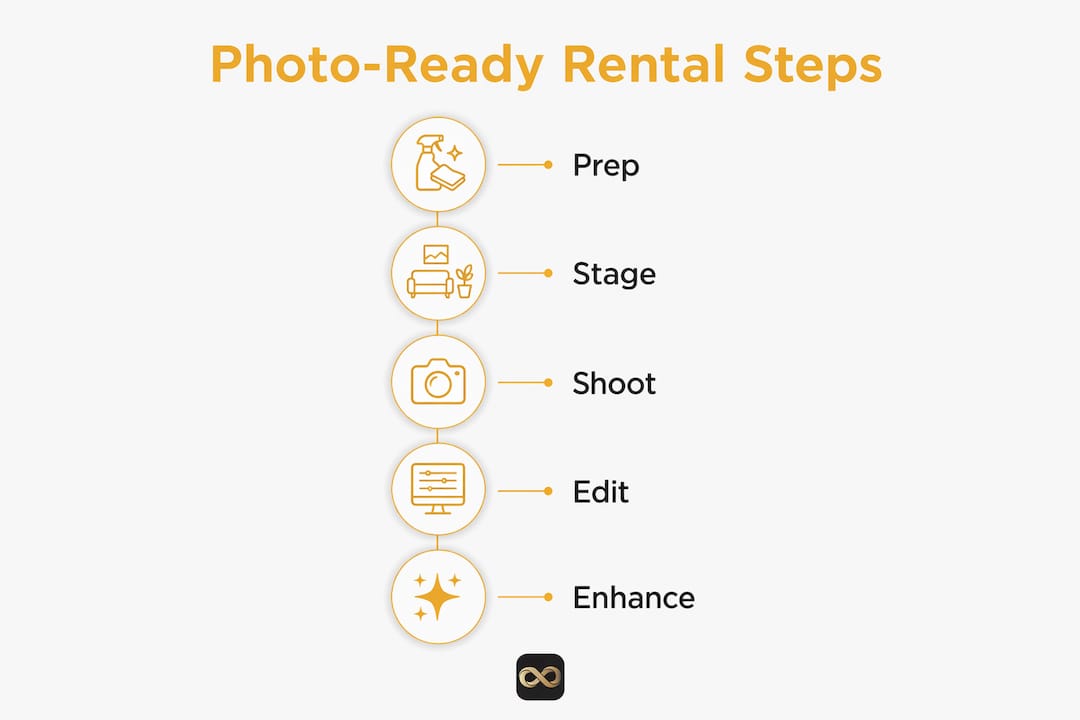
Best techniques for shooting your rental property photos
Good technique turns a prepared space into a compelling listing. These are the methods that make the biggest difference.
- Shoot interiors during late morning or early afternoon. This window gives you consistent, bright natural light without the harsh midday contrast. For exteriors, golden hour (the hour after sunrise or before sunset) adds warmth and dimension to your facade shots.
- Set your tripod at chest height (4–5 feet). Consistent framing across every room makes your gallery look polished and intentional.
- Use a wide-angle lens or clip-on attachment. A lens in the 16–24mm range on a DSLR, or a wide-angle clip-on for your smartphone, captures full rooms without distorting proportions.
- Apply the rule of thirds. Turn on your camera's grid overlay and position key features at the grid intersections rather than dead center. Off-center compositions look more dynamic.
- Keep vertical lines straight. Door frames and wall edges that converge or lean make a property look unstable. Use your grid overlay to align verticals before every shot.
- Enable HDR mode on your smartphone. HDR blends multiple exposures to balance bright windows against darker room interiors, which is one of the trickiest lighting challenges in rental photography.
- Use your self-timer or a remote shutter. Pressing the shutter button physically shakes the camera. A 2–10 second timer eliminates that shake entirely.
- Check mirrors and glass for reflections. Adjust your angle or open a medicine cabinet slightly to avoid capturing yourself in the shot.
- Take 3–5 shots from each position. Bracketing your exposures gives you editing options and a safety net against subtle blur.
- Edit for accuracy, not drama. Correct exposure, fix white balance, and straighten lines. Over-processed photos mislead tenants and damage trust.
Pro Tip: Turn on your camera's grid lines before every shoot. They make it far easier to keep both horizontal and vertical lines aligned, which is the single most common technical error in DIY rental photos.
For more on lighting techniques that work specifically for rental listings, Proofe's lighting guide goes deeper on balancing natural and artificial sources.
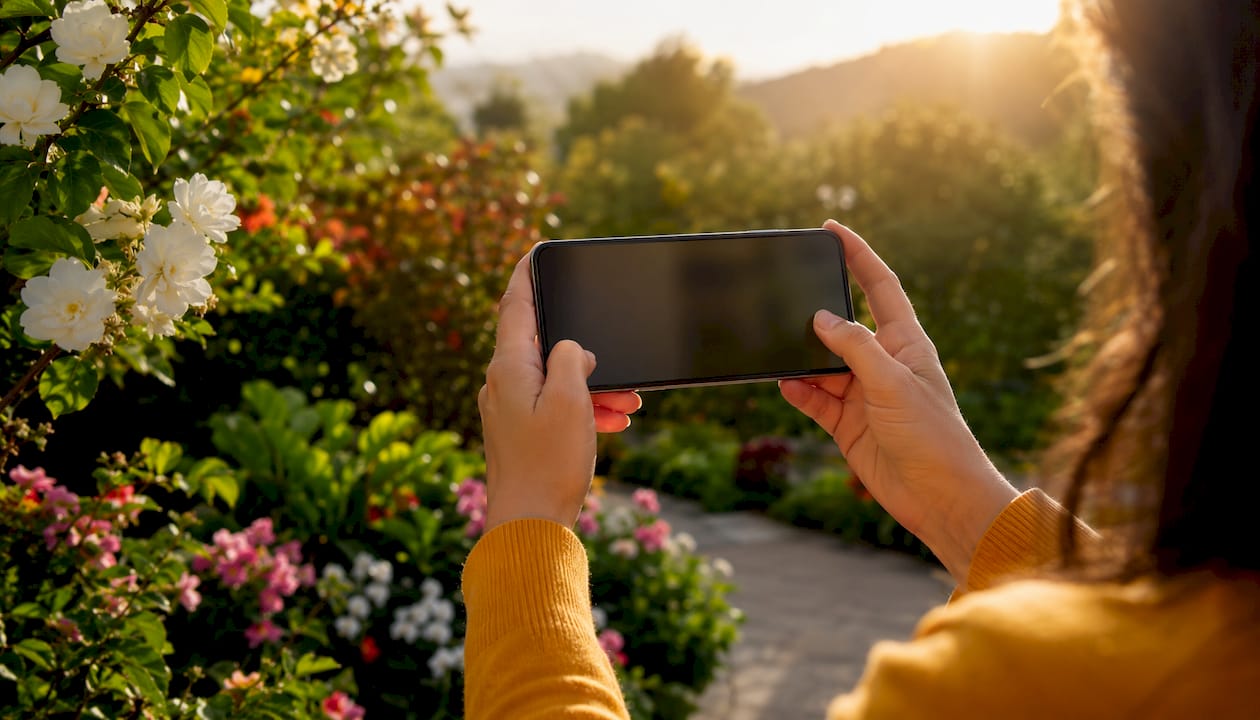
Which rooms and features to photograph in your rental
Every room matters. Tenants grow suspicious when rooms are missing from a listing, and gaps in coverage often cost you inquiries.
- Exterior and facade. Shoot during golden hour from the center and both corners. If the property has a backyard, patio, or parking area, photograph those too.
- Living room. This is your hero shot. Shoot from a corner to capture maximum floor area and show the relationship between seating, windows, and any focal points like a fireplace.
- Kitchen. Wide-angle shots work best here. Highlight the island or countertops as the focal point, and make sure appliances are clean and visible.
- Every bedroom. Shoot from the doorway or entry corner to show the full room. Open closet doors to reveal depth and shelving.
- Every bathroom. Use the widest angle available. Keep towels fresh and folded, and check the mirror carefully for reflections before shooting.
- Outdoor spaces. Patios, balconies, and yards are strong selling points. Stage them with a chair or a potted plant to show usability, not just empty concrete.
- Shared amenities. If your property has a pool, gym, courtyard, or rooftop deck, photograph them. These spaces often tip a tenant's decision.
- Detail shots. Upgraded fixtures, hardwood floors, built-in shelving, and premium appliances all add perceived value. Get close enough to show quality.
Aim for a comprehensive set of images covering interiors, exteriors, and details to satisfy most MLS and rental platform requirements while giving tenants a thorough sense of the property. For guidance on which photo types perform best by listing category, the types of property photos guide breaks it down clearly.
Airbnb hosts should pay extra attention here. Seasonal photo updates, swapping summer patio shots for cozy fall interior setups, can meaningfully lift booking rates when travelers are searching for the right seasonal vibe.
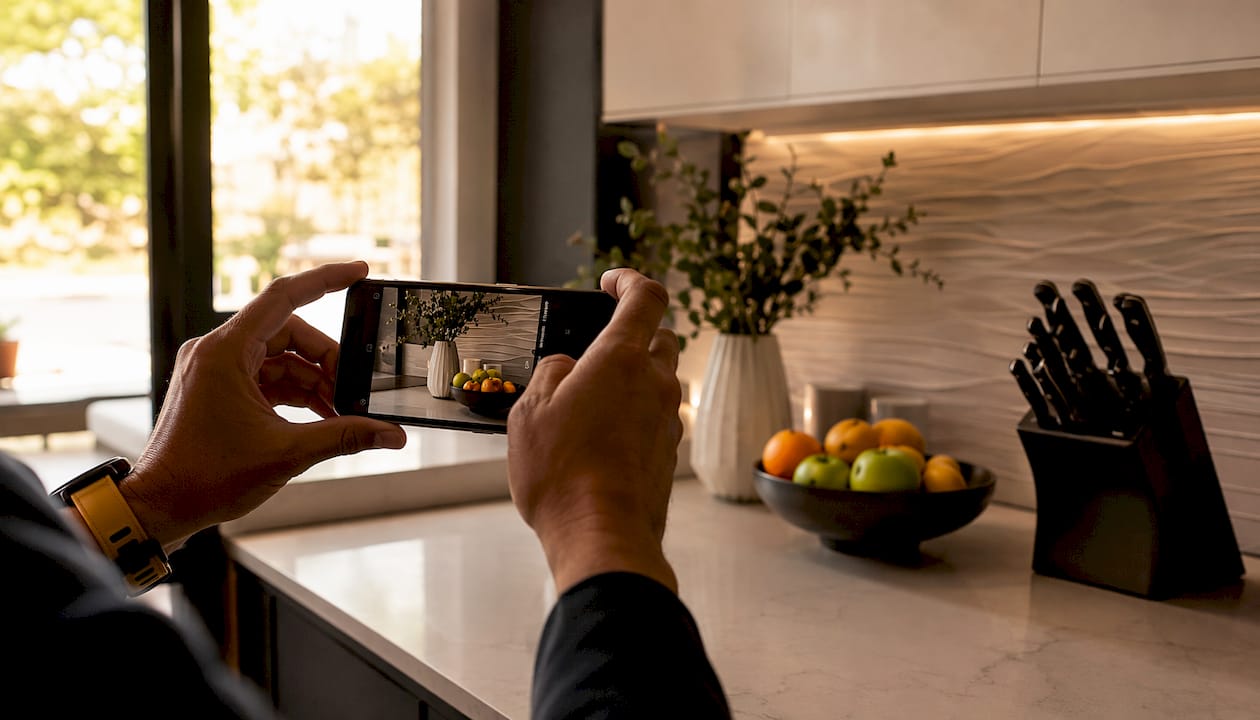
Advanced tips from real estate photography experts
The gap between a decent listing and a great one usually comes down to a handful of technical details most landlords overlook.
Vertical lines are non-negotiable. Converging edges on door frames and walls are the most common technical error in DIY real estate images. Keeping your camera perfectly level, aided by a grid overlay, prevents this entirely.
Lighting quality outweighs camera hardware. Natural light creates emotional warmth that artificial sources struggle to replicate. A well-lit smartphone photo consistently outperforms a poorly lit DSLR shot. Standardize your bulbs to 2700K–3000K across every room to avoid the jarring color shifts that mixed lighting produces.
The numbers back up the investment in quality. Listings with professional-quality photos receive significantly more views, and virtual staging can increase bookings. According to the National Association of Realtors, most guests find it easier to visualize a property as their home when it's staged.
Smartphones rival DSLRs for most rental shoots. Modern smartphone cameras, particularly models from the last three to four years, handle the majority of rental photography needs well. Add a wide-angle clip-on lens and a tripod, and you have a capable setup for under $100.
Edit to correct, not to impress. Adjust exposure, lift shadows, and fix white balance. Tenants who visit a property that looks nothing like its photos feel deceived, and that kills trust before a lease conversation even starts.
Curious how photo quality connects directly to what you can charge? The photo quality and rental price guide makes that case with specifics. For a broader look at attracting tenants with photos, that resource covers platform-specific strategies worth reviewing.
Let Proofe handle the hard part
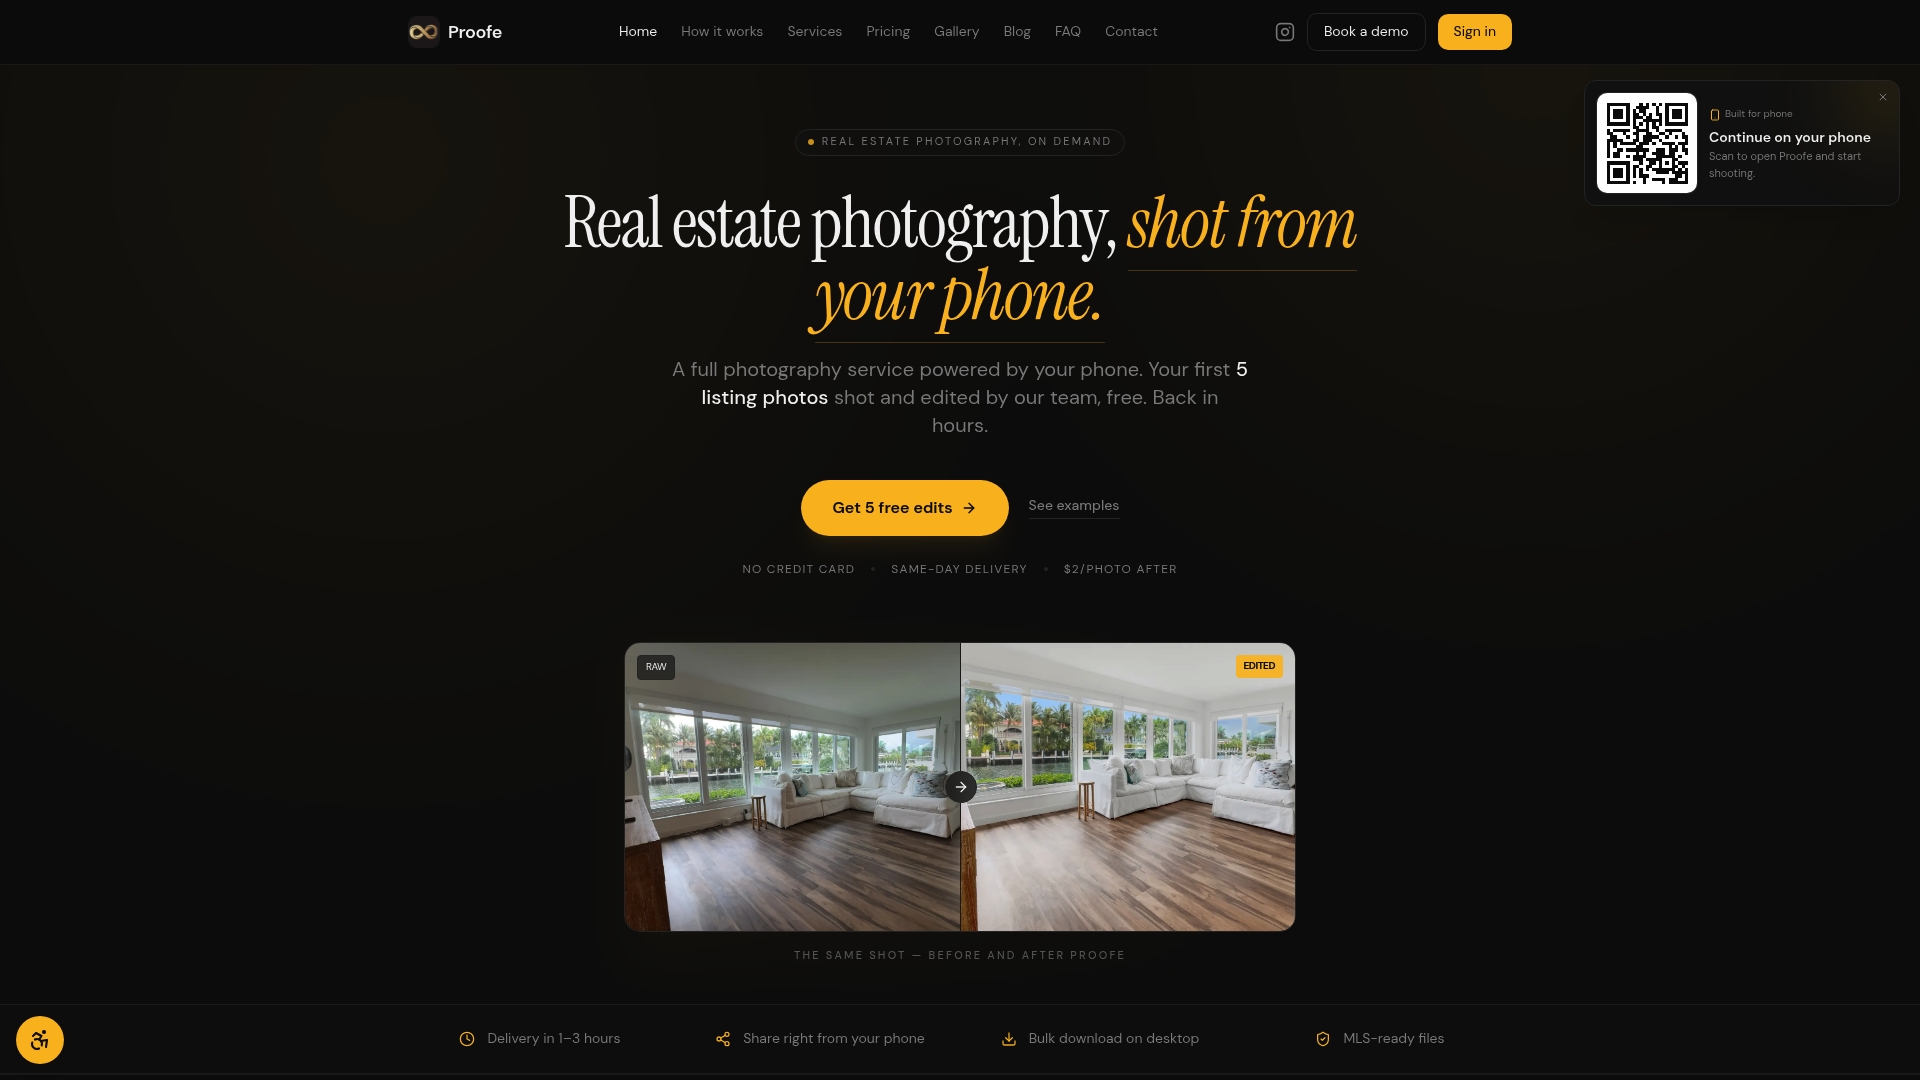
You've done the prep, the staging, and the shoot. Now let Proofe's AI photo enhancement take your smartphone shots to MLS-ready quality in minutes. Shoot, enhance with AI, and download. Same-day delivery, no editing experience needed, and your first five photos are free.
Try Proofe free and see what your listing looks like when the photos actually do the work.
Key Takeaways
Lighting quality and preparation matter more than camera hardware when you photograph your rental property yourself.
| Point | Details |
|---|---|
| Natural light wins | Shoot during late morning or golden hour; avoid flash, which creates harsh, uneven shadows. |
| Chest height is standard | Position your camera at 4–5 feet to replicate natural human perspective and avoid distortion. |
| Stage before you shoot | Declutter, match bulb color temperatures (2700K–3000K), and add fresh linens before picking up a camera. |
| Cover every room | Aim for 20–30 images spanning interiors, exteriors, and detail shots to prevent tenant suspicion. |
| Quality photos drive results | Listings with professional-quality photos receive significantly more views than those without. |