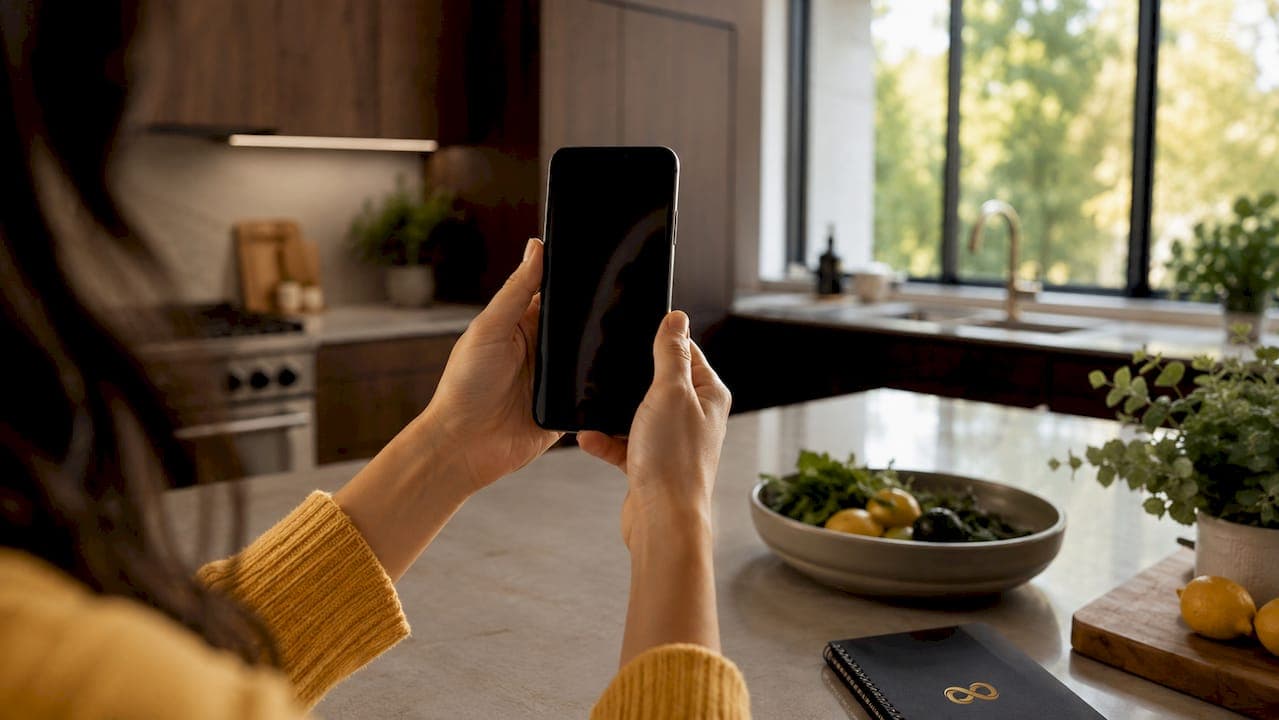
Effective rental property photo lighting is the single biggest factor separating listings that get clicks from those that get ignored. 77% of guests find it easier to visualize a rental space when photos use bright, balanced lighting. That number tells you something direct: lighting is not a cosmetic detail. It is a booking driver. Whether you manage a long-term rental, a short-term Airbnb, or a portfolio of apartments, the techniques in this guide give you a practical framework for capturing photos that make renters stop scrolling and start inquiring.
What are the best rental property photo lighting tips?
Natural light is the foundation of every strong rental photo. The industry standard for interior photography timing is 2 hours after sunrise and 2 hours before sunset. During those windows, sunlight enters at a low angle, creating warm, directional light that adds depth without harsh shadows.
Overcast days are underrated. Clouds act as a giant natural diffuser, producing soft, even, shadowless lighting that is nearly impossible to replicate with artificial gear. Many professional photographers prefer overcast conditions over bright sunny days for this exact reason.
Midday sun is the enemy of interior photography. It creates high-contrast shadows, blows out windows, and makes rooms look smaller. If you must shoot at midday, close blinds on the sun-facing side and rely on interior lighting instead.
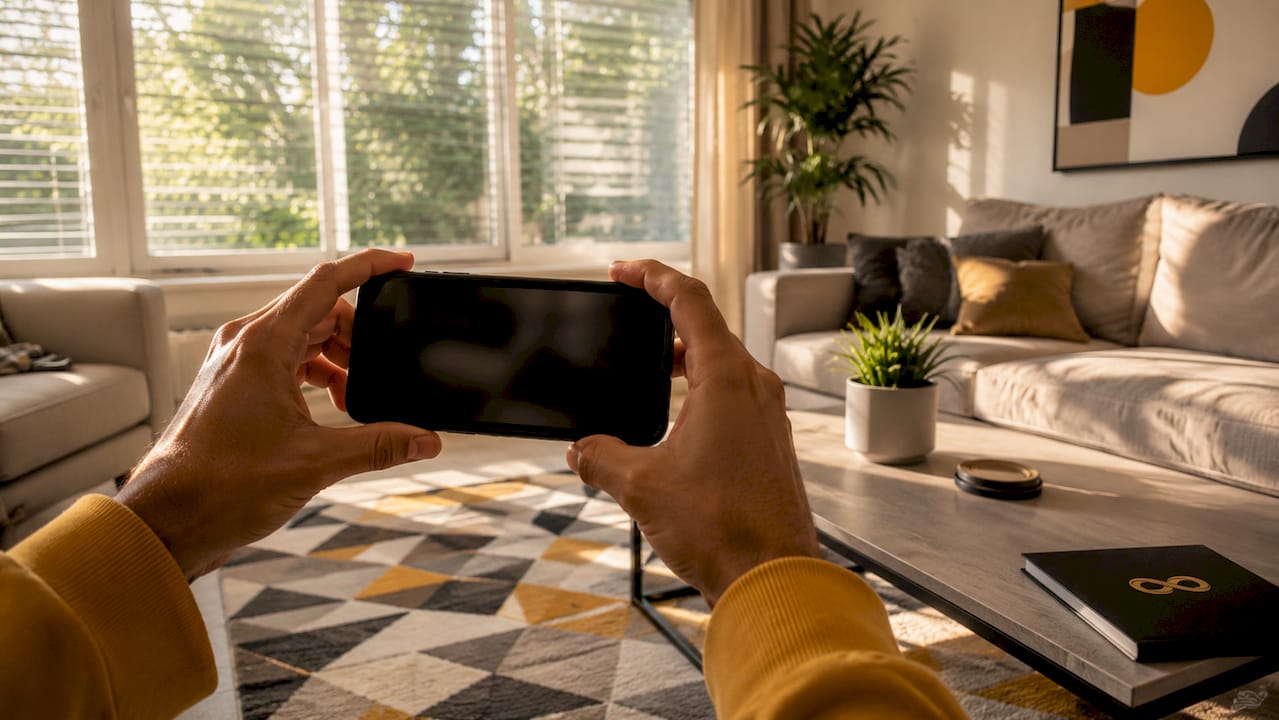
Pro Tip: Shoot toward the light source, not away from it. Positioning windows in front of or beside your camera keeps the room illuminated without silhouetting furniture and walls.
| Time / Condition | Light Quality | Best Use |
|---|---|---|
| 1–2 hours after sunrise | Warm, directional, low angle | Living rooms, east-facing rooms |
| Mid-morning | Bright, moderate contrast | Kitchens, north-facing rooms |
| Midday | Harsh, high contrast | Avoid for interiors |
| 1–2 hours before sunset | Golden, warm, dramatic | Bedrooms, west-facing rooms |
| Overcast any time | Soft, even, shadowless | Any room, ideal for detail shots |
Airbnb hosts should pay special attention to seasonal timing. In winter months, the golden windows shrink significantly. Plan shoots earlier in the afternoon to catch usable light. Refreshing your listing photos each season keeps your property looking current and inviting to guests browsing for their next stay.
How should you use artificial lighting in rental photos?
Artificial lighting supplements natural light. It does not replace it. The most common mistake agents and homeowners make is turning on every light in the room before shooting. Mixed lighting sources with conflicting color temperatures create ugly color casts: yellow incandescent bulbs clash with blue daylight, and the camera cannot reconcile both in a single exposure.
The fix is selective. Turn off overhead lights that conflict with the color temperature of daylight coming through windows. Use table lamps and floor lamps as warm accent sources, not primary illumination. They add a lived-in, cozy quality to the image without overpowering the natural light.
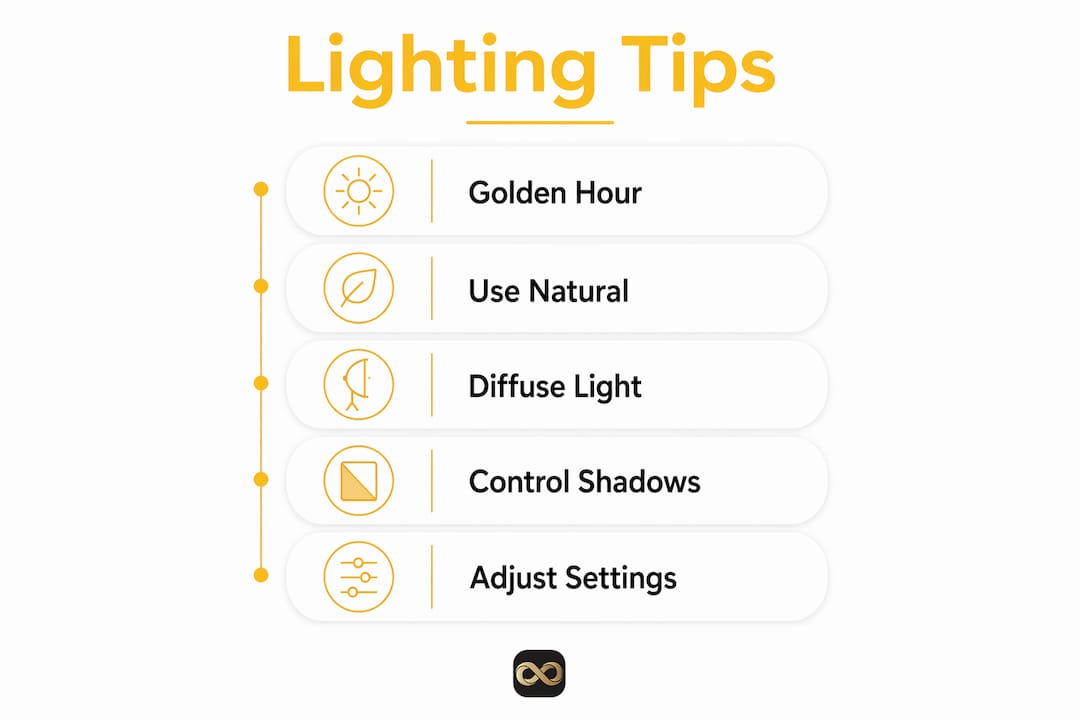
For rooms with no windows or very limited daylight, portable LED panels fill the gap. Set them to a color temperature of 5,500K to match daylight, and position them off-camera at a 45-degree angle to mimic natural window light.
The professional standard in 2026 is flambient lighting, a technique that blends a flash exposure with an ambient exposure in post-processing. Flambient produces clean, magazine-quality results because the flash eliminates shadows while the ambient layer preserves the natural warmth of the room.
- Turn off overhead lights that produce yellow or green color casts
- Use table lamps as warm accents, not as primary light sources
- Match LED panel color temperature to daylight (5,500K) for consistency
- Apply flambient blending for premium listings that need magazine-quality results
- Use HDR bracketing for mid-tier listings when flash equipment is not available
Pro Tip: Before you shoot, walk through the room and switch lights on and off one at a time. Note which ones shift the color toward yellow or green. Turn those off. Keep only the ones that complement the daylight.
What camera settings work best for property lighting?
Camera settings determine how well your gear captures the light you have set up. The recommended aperture range for interior photography is f/8 to f/16. That range keeps the entire room sharp from foreground to background, which is exactly what rental listings need.
Keep ISO between 100 and 400. Higher ISO values introduce digital noise, which makes walls and surfaces look grainy in print and on screen. A tripod is non-negotiable at these settings because slower shutter speeds require a completely still camera.
HDR bracketing at 3 exposures (one stop under, one at metered, one stop over) gives you the dynamic range to balance bright windows against darker interior corners. Merge those exposures carefully in editing. Over-processing HDR images produces flat, oversaturated results that viewers distrust immediately.
| Lighting Scenario | Aperture | ISO | Technique |
|---|---|---|---|
| Bright natural light | f/11 | 100 | Single exposure |
| Mixed natural and lamp | f/8 | 200 | HDR 3-bracket |
| Low light, no windows | f/8 | 400 | Flash or LED panel |
| Overcast exterior light | f/11 | 100–200 | Single or bracket |
Wide-angle lenses above 17mm capture more of the room without the barrel distortion that makes walls curve unnaturally. Manual white balance set to match your dominant light source (daylight, cloudy, or tungsten) prevents the camera from guessing and producing inconsistent color across your shoot.
Pro Tip: Use your camera's self-timer or a remote shutter release when shooting on a tripod. Even pressing the shutter button can introduce enough vibration to blur a long exposure.
How do you edit rental photos to fix lighting issues?
Editing is where good lighting becomes great lighting. The most common challenge in rental photos is balancing a bright window against a darker interior. In editing software like Adobe Lightroom, pull down the highlights slider to recover window detail, then lift the shadows slider to open up dark corners. These two adjustments alone fix the majority of exposure problems.
- Reduce highlights to recover blown-out window detail
- Lift shadows to brighten dark corners without affecting the whole image
- Use HSL (Hue, Saturation, Luminance) adjustments to warm up cool daylight or cool down overly yellow lamp light
- Apply lens correction to remove distortion from wide-angle shots
- Export at full resolution in JPEG format for MLS submissions
Avoid the temptation to push HDR effects too far. Over-processing leads to flat, overly saturated photos that viewers reject as unrealistic. The goal is a photo that looks like the room on its best day, not a rendering.
AI-powered editing tools now handle many of these adjustments automatically. Proofe's bright room edits service, for example, corrects dim interiors and balances exposure without requiring any manual slider work from you. For agents managing multiple listings, that kind of speed matters. You can also learn the full manual process through a detailed real estate photo editing guide if you want to build the skill yourself.
What are the most common lighting mistakes in rental photos?
Lighting errors are predictable. Knowing them in advance saves you a reshoot.
- Mixing color temperatures. Yellow incandescent bulbs and blue daylight in the same frame create a muddy, unprofessional look. Turn off the conflicting source.
- Shooting into backlight. Standing with a bright window behind your subject silhouettes the room. Always shoot toward the window, not away from it.
- Relying on overhead lights as the main source. Overhead lights cast downward shadows that flatten the room and make ceilings look low.
- Ignoring burned-out bulbs. A dark lamp in the corner signals neglect. Verify every light source is functional before you shoot.
- Ignoring room orientation. A north-facing room never gets direct sun. Shooting it at the same time as a south-facing room produces very different results. Adjust your timing and supplement with artificial light accordingly.
- Not timing shots by season. Airbnb hosts who refresh photos in spring and fall consistently outperform those who use the same images year-round. Light quality, foliage, and outdoor views all change with the season.
Each of these mistakes has a simple fix. The real estate photo checklist for agents covers these and other pre-shoot steps that prevent costly errors before you press the shutter.
Key Takeaways
Mastering rental property photo lighting requires combining natural light at optimal times with selective artificial light, correct camera settings, and restrained editing to produce photos that drive genuine renter interest.
| Point | Details |
|---|---|
| Shoot at golden windows | Photograph 1–2 hours after sunrise or before sunset for the best natural light. |
| Turn off conflicting lights | Switch off overhead bulbs that clash with daylight to avoid color casts. |
| Use f/8–f/16 and low ISO | These settings keep the room sharp and noise-free across all lighting conditions. |
| Edit with restraint | Lift shadows and reduce highlights; avoid over-processed HDR that looks fake. |
| Refresh photos seasonally | Updating listing photos each season keeps Airbnb and rental listings competitive. |
What I've learned after years of watching listings succeed and fail
The agents and hosts I've seen consistently outperform their market share one thing: they treat lighting as a decision, not an afterthought. Most people walk into a room, flip every switch, and shoot. The result is a technically exposed photo that still feels wrong. Colors are muddy, shadows point in odd directions, and the room looks smaller than it is.
The real shift happens when you start thinking about light the way a set designer does. You are not documenting a room. You are creating a first impression. Balanced, well-lit photos serve as a non-verbal signal of quality. Renters and guests read them as evidence that the property is well-maintained, even before they read a single word of the listing description.
My honest advice: start with natural light and build from there. Overcast mornings are genuinely your best friend. If you are an Airbnb host, block out one morning each season to reshoot your key spaces. The difference between a february photo and an april photo of the same room can be dramatic, and that freshness shows up in your booking rate.
Lighting techniques should match your investment level. Premium listings benefit from flambient blending, while mid-tier properties do well with careful HDR. Neither approach requires expensive gear. What they both require is patience and a willingness to learn the room before you shoot it.
— Richard Lopez
Proofe makes great rental photos easier to get
Getting the lighting right on location is only half the work. The other half happens in editing, and that is where most agents and homeowners lose time.
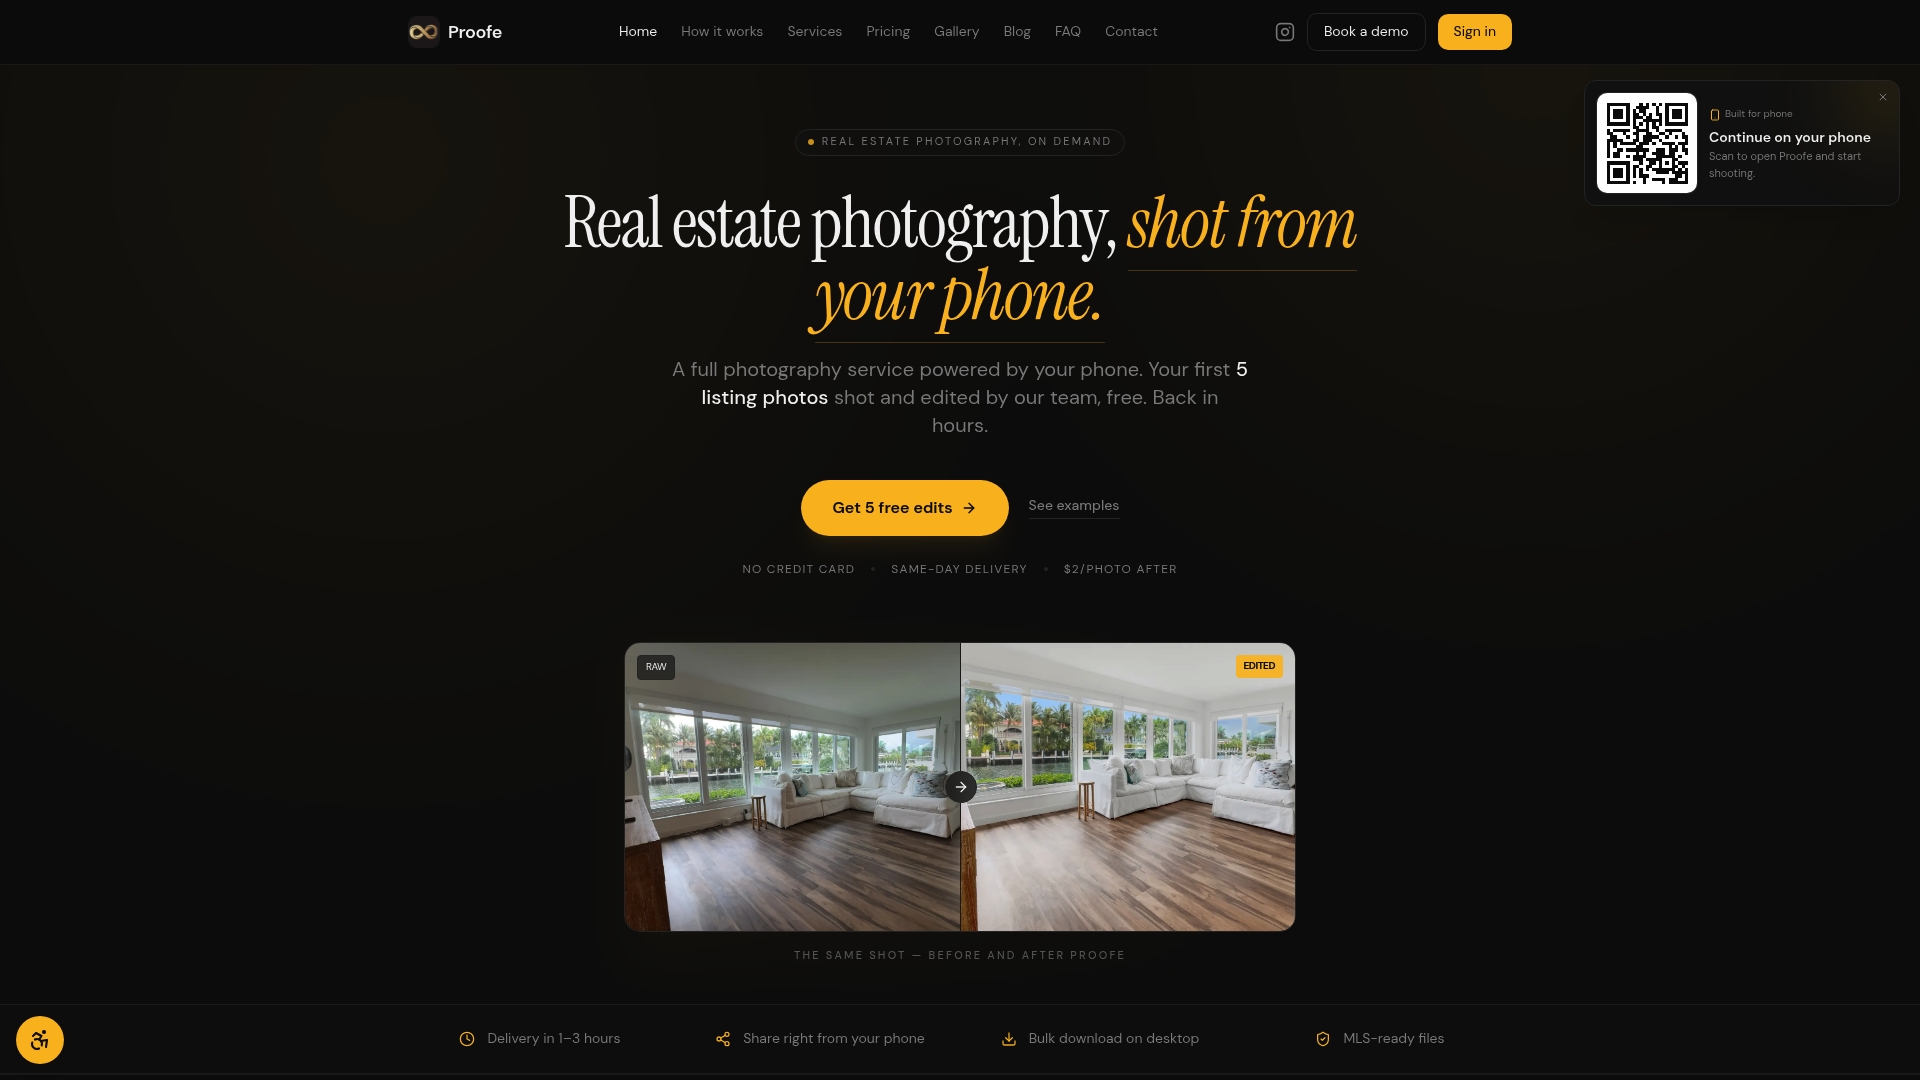
Proofe's real estate photo app lets you shoot directly from your smartphone, then uses AI to enhance brightness, balance exposure, and deliver MLS-ready files the same day. No expensive camera equipment. No editing software subscriptions. The AI photo enhancer corrects dim interiors and color casts automatically, so your photos look polished even when the shoot conditions were not perfect. Airbnb hosts can use Proofe to refresh seasonal listing photos quickly and keep their properties looking their best year-round. Your first five photos are free.
FAQ
What is the best time of day for rental property photos?
The best times are 1–2 hours after sunrise and 1–2 hours before sunset, when sunlight enters at a low angle and creates warm, even light. Overcast days are also ideal because clouds diffuse sunlight and eliminate harsh shadows.
Should I turn on all the lights when photographing a rental?
No. Turning on all lights at once creates conflicting color temperatures that produce muddy color casts. Turn off overhead lights that clash with daylight and use table lamps selectively as warm accents.
What camera settings should I use for interior rental photos?
Use an aperture of f/8 to f/16, ISO 100–400, and a tripod. Shoot 3 bracketed exposures for HDR blending when the room has both bright windows and dark corners.
How do I fix blown-out windows in rental photos?
In editing, pull down the highlights slider to recover window detail, then lift the shadows slider to brighten the interior. Proofe's window pull editing service handles this automatically for agents who prefer not to edit manually.
How often should Airbnb hosts update their listing photos?
Airbnb hosts benefit from refreshing listing photos each season. Light quality, outdoor views, and interior styling all change throughout the year, and updated photos signal an active, well-maintained property to potential guests.