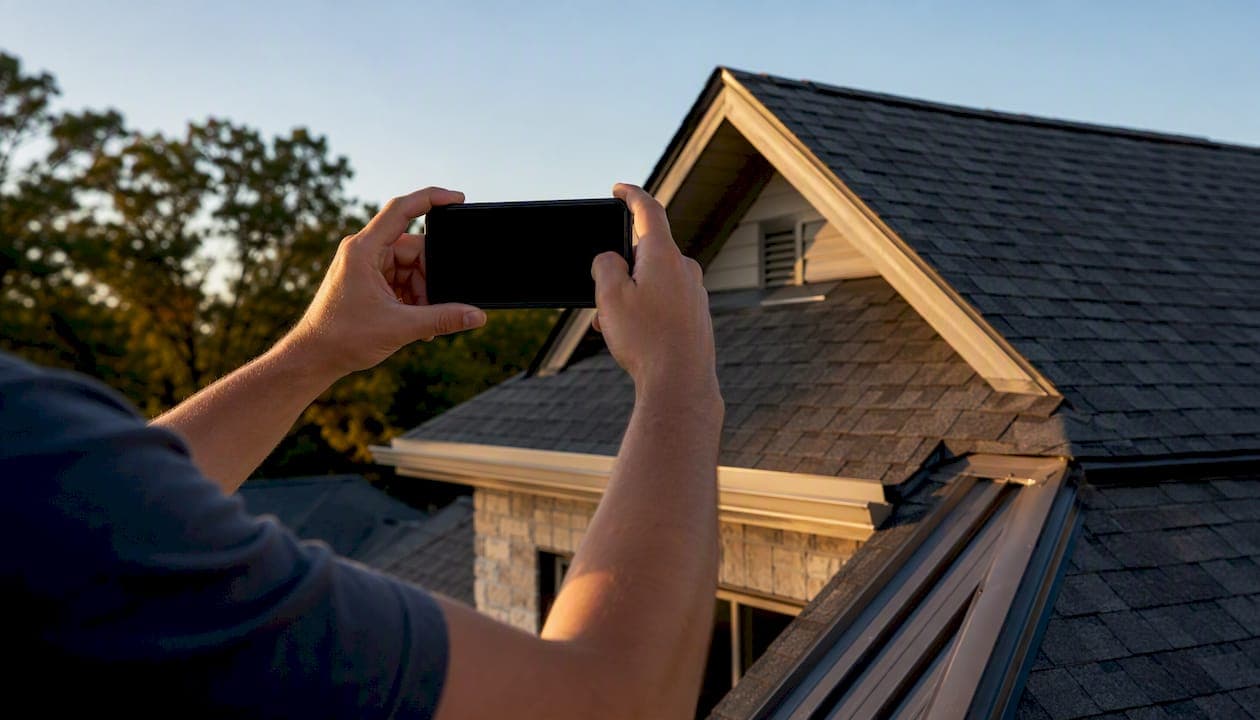
Capture 12 standard shots, run them through a quick edit, and deliver MLS-ready roofing project completion photos the same day. That's the whole workflow. Whether you're a homeowner documenting a new Owens Corning shingle install, a contractor building a portfolio, or an agent prepping a listing, the process is the same: get the right angles, edit for clarity, and deliver files that meet MLS specs. Proofe handles the last mile automatically. Drone shots require an FAA-compliant operator under Part 107 for commercial use.
Your 12 essential shots:
- Front elevation overview (landscape, full roof visible)
- Rear elevation overview (same framing as front)
- Oblique or side-angle overview (shows roof pitch and depth)
- Ridge-to-eave long shot (shows full plane and shingle alignment)
- Close-up of shingle material and profile
- Ridge cap close-up
- Flashing at chimney, walls, and any step flashing
- All penetrations and vents (close-up, one per feature)
- Gutter and soffit detail
- Eave-to-soffit junction
- Attic or underlayment shot (if accessible during or after install)
- Final curb-appeal context shot (street-level, full property)
Table of Contents
- What are the 12 essential shots for a completed roofing project?
- Which phone and camera settings produce the best roofing photos?
- What safety steps and US legal rules apply to roofing photography?
- Quick staging steps to make rooftop photos look professional
- What is the fastest editing workflow for roofing photos?
- How should you name and tag roofing project photo files?
- How long does it take, and what does it cost?
- 3 before-and-after roofing project examples worth studying
- Key takeaways
- Why crisp roofing photos pay off more than most contractors expect
- Proofe makes MLS-ready roofing photos fast and simple
- Useful sources and further reading
What are the 12 essential shots for a completed roofing project?
A numbered checklist keeps you from missing anything on-site. Work through these in order, starting from the ground before you ever climb a ladder.
- Chimney and step flashing — Close-up images of flashing and skylight integration prove watertight installation and are required for warranty documentation.
- Attic or underlayment shot — Capture this during install if possible. Project galleries that include decking repair and staged installation steps provide documentation useful for warranty and insurance claims.
For aerial shots, use a drone only when an FAA-compliant operator is available. Ground-level telephoto covers most of the same angles safely.
Which phone and camera settings produce the best roofing photos?
Consistent settings matter more than expensive gear. A modern smartphone on the right settings will outperform a DSLR used carelessly.
Phone settings:
- Set resolution to maximum (12 MP or higher)
- Turn HDR on for high-contrast scenes (dark shingles against bright sky)
- Use exposure compensation to avoid blown-out skies: dial down by 0.3–0.7 stops
- Lock white balance to "Cloudy" or "Daylight" for consistent color across the shoot
- Use the wide lens (0.5x or 1x) for overviews; switch to 2x for close-ups to avoid distortion
DSLR/mirrorless settings:
- Shoot in RAW for editing flexibility
- ISO 100–400 to keep noise low in daylight
- f/8 for sharp depth of field across the full roof plane
- 1/250s or faster to freeze any wind movement
Equipment checklist:
- Extendable monopod or pole for eave-level shots without ladder access
- Small bubble level or use your phone's built-in grid and level indicator
- Drone (FAA Part 107 operator for commercial jobs)
Pro Tip: Enable your phone's grid overlay and horizon level before every shoot. A tilted roofline looks unprofessional and costs extra time to fix in editing.
What safety steps and US legal rules apply to roofing photography?
If a shot requires roof access or a drone, get professional help first. No photo is worth a fall.
Ladder and fall-protection checklist:
- Inspect the ladder before use. No bent rails, no missing rungs.
- Set ladder angle at roughly 75 degrees (one foot out for every four feet of height).
- Maintain three points of contact at all times when climbing.
- Wear non-slip footwear and a hard hat near active work zones.
- Use a buddy system: one person holds the base.
- Never carry camera gear in both hands while climbing. Use a neck strap or belt clip.
FAA drone rules (US):
- Commercial real estate use requires a Part 107 Remote Pilot Certificate from the FAA.
- Hobbyist rules apply only to purely recreational flights, not contractor or agent marketing use.
- Always check local airspace restrictions (B4UFLY app or FAA LAANC) before flying.
- Some municipalities and HOAs have additional restrictions beyond federal rules.
Image rights: Get written consent from the homeowner before using roofing project photos in any marketing, portfolio, or social media post. A one-page photo release covers you for both print and digital use.
Quick staging steps to make rooftop photos look professional
Ten minutes of prep makes a visible difference in how finished the job looks on camera.
Ground and exterior prep:
- Remove all ladders, tools, and material scraps from the frame
- Move vehicles out of the driveway and street in front of the property
- Close garage doors
- Rake leaves or debris from the lawn and driveway
- Reposition any loose cables or hoses that cross the frame
Roof-level prep (if safe to access):
- Clear any remaining debris, nails, or packaging from the roof surface
- Wipe down visible gutter faces if dusty or streaked
- Confirm all ridge caps are seated and no lifted tabs are visible
Pro Tip: Contractors: leave a small branded placard or ruler near one close-up shot for scale. It can be removed in editing with Proofe's object removal tool, but it adds useful reference during warranty review.
What is the fastest editing workflow for roofing photos?
Follow three stages in order. Skip none of them, but keep each one short.
- AI enhancements: Replace a flat or overcast sky, pull window reflections, or remove objects. For sky replacement and window pulls at scale, a paid service saves significant time.
MLS export settings:
| Setting | Recommended value |
|---|---|
| File format | JPEG |
| Color profile | sRGB |
| File size | Under 10 MB per image |
| Filename | See Section 9 convention |
For resizing guidance specific to MLS platforms, the Proofe blog covers how to resize photos for real estate sites in detail.
When to use a paid service: Single project with minor edits? DIY is fine. Volume orders, same-day deadlines, or advanced enhancements (sky replacement, window pulls, object removal)? Proofe's AI photo enhancer delivers MLS-ready files the same day, with the first five photos free.
How should you name and tag roofing project photo files?
Use a consistent filename pattern from day one. This one works for contractors, agents, and homeowners alike:
PROJ[ID]_[YYYYMMDD]_[PHASE]_[SHOTCODE].jpg
Example: PROJ123_20260315_AFTER_FRONT_OVR.jpg
| Field | Example | Purpose |
|---|---|---|
| Project ID | PROJ123 | Links file to job record |
| Date | 20260315 | Sorts chronologically |
| Phase | BEFORE / AFTER | Pairs before/after sets |
| Shot code | FRONT_OVR, RIDGE_CU | Identifies angle and type |
Minimum metadata to embed (EXIF or sidecar CSV):
- Property address
- Contractor name
- Client name
- Shot description
- GPS coordinates (omit or strip if client requests privacy)
For bulk projects, a sidecar CSV is faster than editing EXIF on every file. Property photo templates that standardize this process are covered in the Proofe guide on photo templates for agents.
How long does it take, and what does it cost?
A single-roof photo session covering all 12 shots typically takes between a short to moderate time on-site, depending on roof access and complexity. Basic DIY editing requires additional time.
| Approach | Time on site | Editing time | Estimated cost |
|---|---|---|---|
| DIY capture + DIY edit | — | 15–45 min | $0 (your time only) |
| Contractor capture + DIY edit | — | 15–45 min | $0 (your time only) |
| Contractor capture + paid AI service | — | Same-day delivery | Varies by volume; first 5 photos free with Proofe |
Pro Tip: Batch multiple jobs into one upload session. Per-photo costs drop when you submit a full project set at once, and same-day delivery applies to the whole batch.
3 before-and-after roofing project examples worth studying
Before-and-after roofing photos strongly influence homeowner decisions and highlight both aesthetic and structural improvements. Owens Corning frames these galleries as conversion tools, not just documentation.
-
Material profile upgrade: A worn, patchworked roof replaced with a uniform architectural shingle system. The key shot is a wide front elevation that shows the full color change and clean ridge line. Caption it with the shingle product name and color for SEO and warranty reference.
-
Decking repair and full replacement: Aerial and context shots that show roof condition and integration with solar-prep or skylights are valuable for resale and future installations. Include the mid-project shot of exposed rotted decking alongside the finished overview. Insurers and adjusters respond to this pairing faster than written descriptions alone.
-
Skylight and solar integration: Show the finished roof with VELUX skylights seated cleanly and any solar-prep conduit run. A close-up of the flashing detail and a drone overview of the completed plane together tell the full story. This set is especially useful for renovations that increase home value when the property goes to market.
Key takeaways
Capturing 12 standard shots, pairing them with consistent before/after framing, and delivering MLS-ready files the same day is the most reliable way to turn roofing project completion photos into marketing and warranty assets.
| Point | Details |
|---|---|
| Shoot all 12 categories | Cover overviews, close-ups, penetrations, flashings, and curb appeal on every project. |
| Match before/after framing | Use identical angles and filenames so before/after pairs are instantly comparable. |
| Follow FAA and safety rules | Commercial drone use requires Part 107 certification; always use a buddy system on ladders. |
| Name files consistently | Use a PROJ[ID][YYYYMMDD][PHASE]_[SHOTCODE].jpg pattern for MLS and insurance compliance. |
| Use Proofe for fast delivery | Upload phone shots to Proofe for same-day, MLS-ready files; first five photos are free. |
Why crisp roofing photos pay off more than most contractors expect
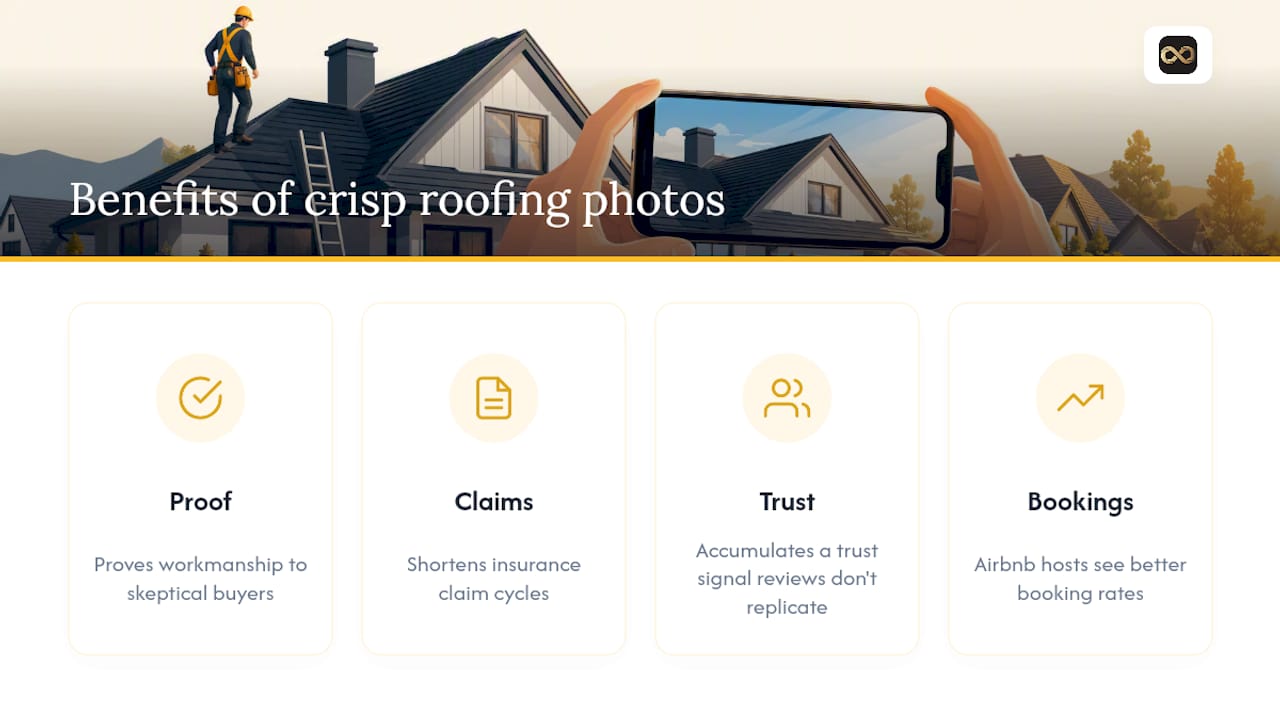
The conventional wisdom is that roofing photos are purely documentary. Contractors shoot them for warranty files, homeowners keep them for insurance, and agents toss one exterior shot into a listing. That framing undersells what a well-executed set of completed roofing project images actually does.
A before/after gallery is one of the few marketing assets that does two jobs at once: it proves workmanship to skeptical buyers and shortens insurance claim cycles by giving adjusters visual evidence they can act on without a site visit. Contractors who build a consistent gallery over time accumulate a trust signal that no review platform fully replicates.
The part most people miss is the seasonal angle. Airbnb hosts and short-term rental owners who update their exterior shots for rental listings after a roof replacement or seasonal cleaning consistently see better booking rates, because the photos signal a well-maintained property. A fresh set of roofing and exterior photos before peak season is one of the lowest-effort, highest-return updates a host can make.
The gap between a mediocre photo set and a professional one is almost never the camera. It's the shot list, the timing, and the edit. Get those right, and the photos work for you long after the job is done.
Proofe makes MLS-ready roofing photos fast and simple
Shoot your 12-shot checklist on your phone, upload to Proofe, and get MLS-ready files back the same day. No expensive camera gear, no waiting on a photographer's schedule.
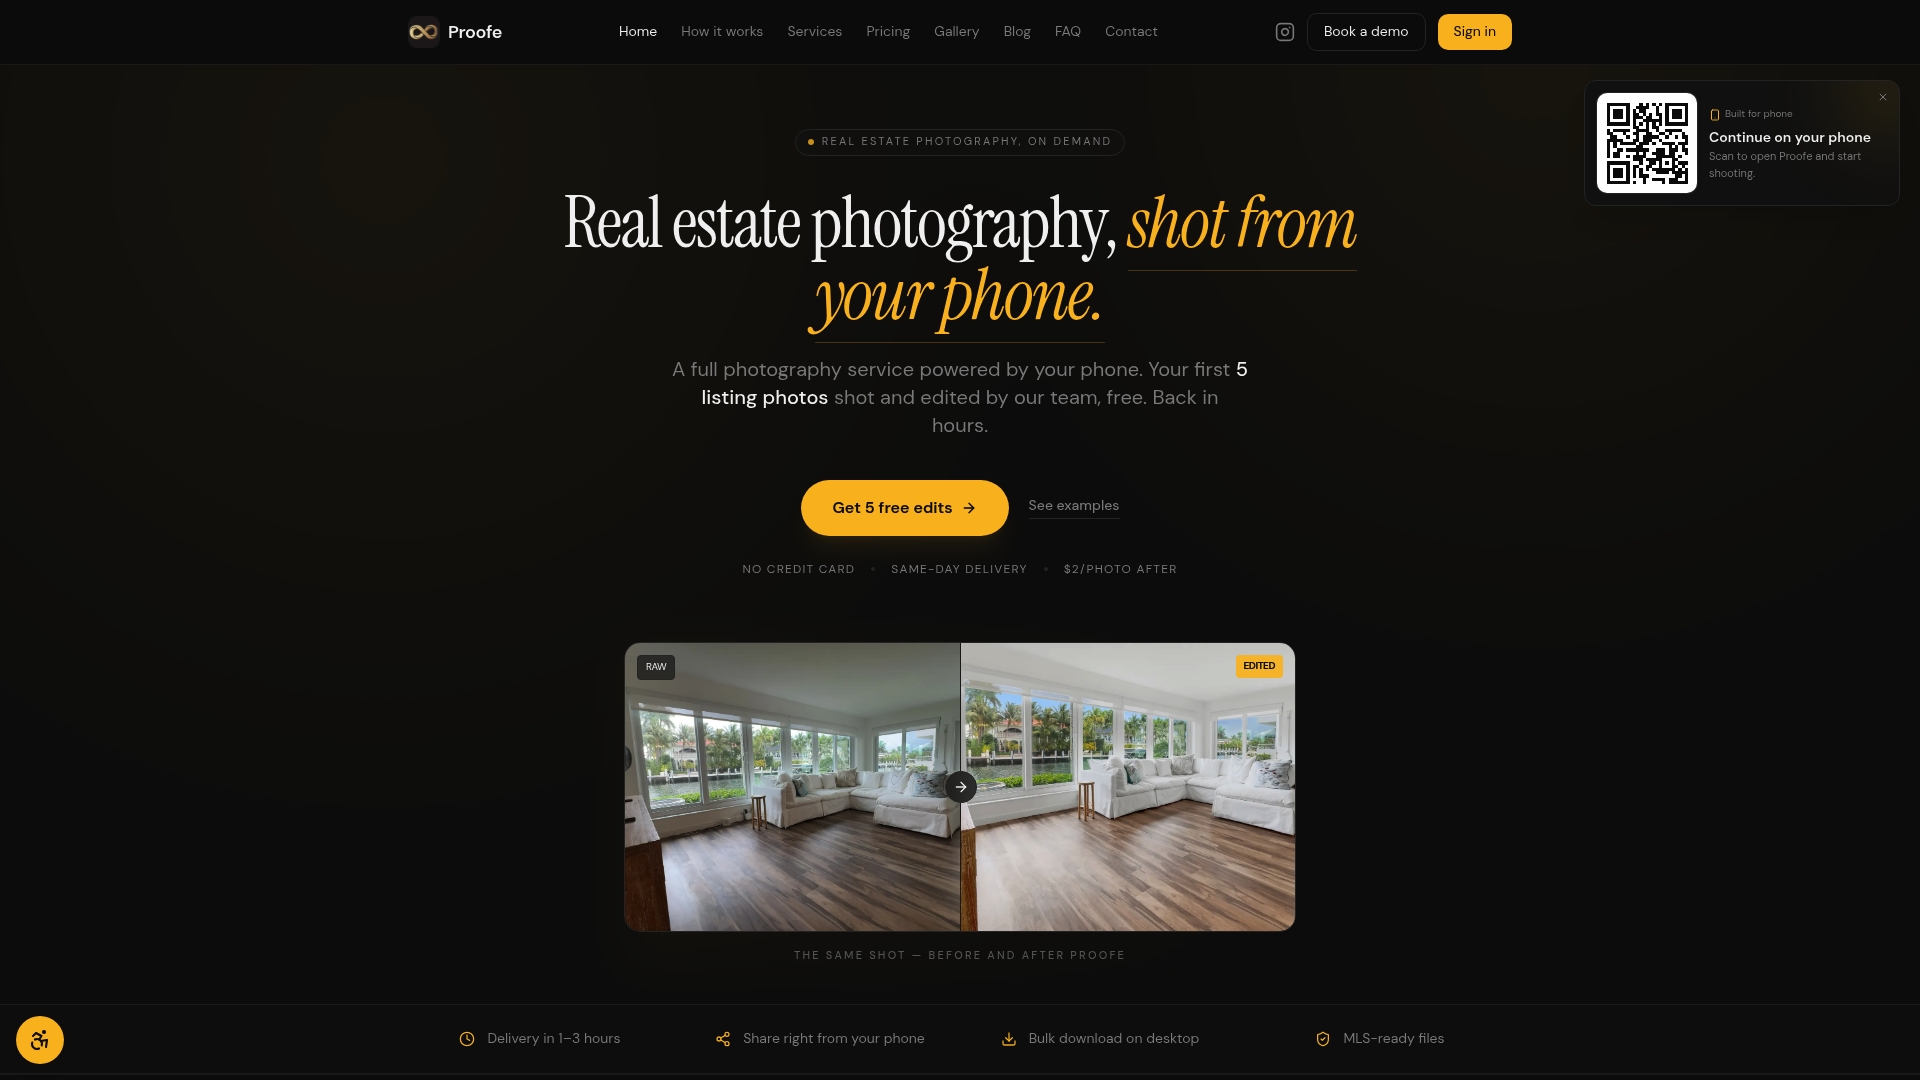
Proofe's AI handles exposure balancing, color correction, lens distortion fixes, sky replacement, window pull, and object removal automatically. Your first five photos are free, so you can test the full workflow on a real project before committing to anything.
For contractors running multiple jobs, Proofe's bulk upload and team pricing keep per-photo costs low. For agents and homeowners who need one polished set fast, same-day delivery means the listing goes live today, not next week.
Start with your free photos at proofe.app/services/listing-photo-editing and see what your next finished roof looks like with professional-grade edits.
Useful sources and further reading
- 3 Incredible Roof Before and Afters to Inspire Your Roofing Project | Owens Corning Roofing
- Before and After Roof Replacement Pictures
- CertainTeed Landmark Charcoal Black Roof Replacement with Deck Repair in Coventry, RI | Pinnacle Roofing & Skylights
- CertainTeed Landmark PRO Heather Blend Roof and VELUX Skylight Replacement in South Kingstown, RI | Pinnacle Roofing & Skylights
- CertainTeed Landmark PRO Moire Black Roof and VELUX Skylight Replacement with Solar Coordination in Warwick, RI | Pinnacle Roofing & Skylights