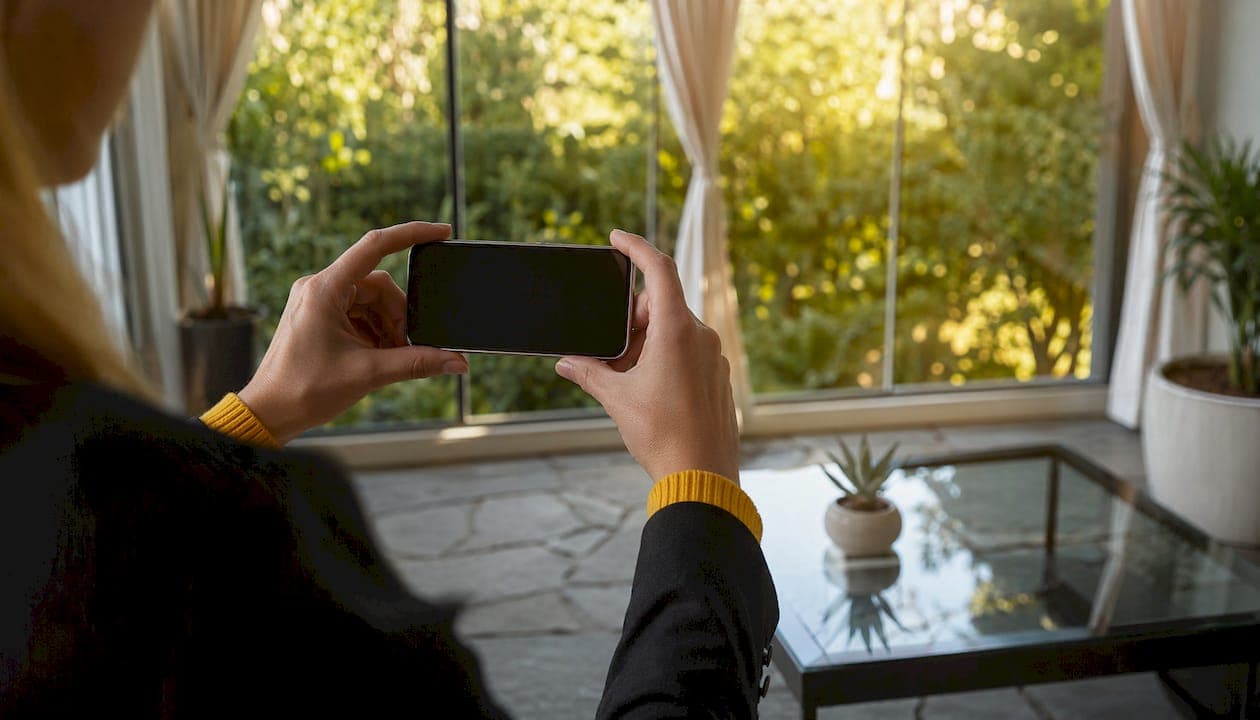
Natural light home photography is defined as the practice of using daylight as the primary illumination source to capture interior and exterior spaces with authentic mood, texture, and depth. The best natural light home photography examples prove one thing clearly: daylight does more for a listing photo than any artificial setup. Natural light enhances textures, adds depth, and makes images feel alive through subtle contrasts and balanced illumination. For homeowners, aspiring photographers, and real estate professionals, understanding how to work with daylight is the single most valuable skill in property photography.
1. How does light direction shape your home photos?
Light direction is the most overlooked variable in home photography. Side lighting emphasizes texture and depth, while front lighting flattens the scene. That difference determines whether a photo feels dimensional and rich or flat and forgettable.
Think about a hardwood floor shot at midday with light coming straight through a front window. The floor looks uniform. Now shift to a side window in the morning, and every grain and knot in the wood pops. The same room, the same floor, two completely different results.
- Side lighting: Reveals texture in wood, stone, brick, and fabric
- Front lighting: Works for clean, minimal spaces where texture is not the focus
- Angled lighting: Creates gradients across walls, adding visual interest to plain surfaces
Pro Tip: Position your camera so the main window is to your left or right, not directly behind you. This single change adds more depth than any editing tool.
2. How does timing change the mood of interior shots?
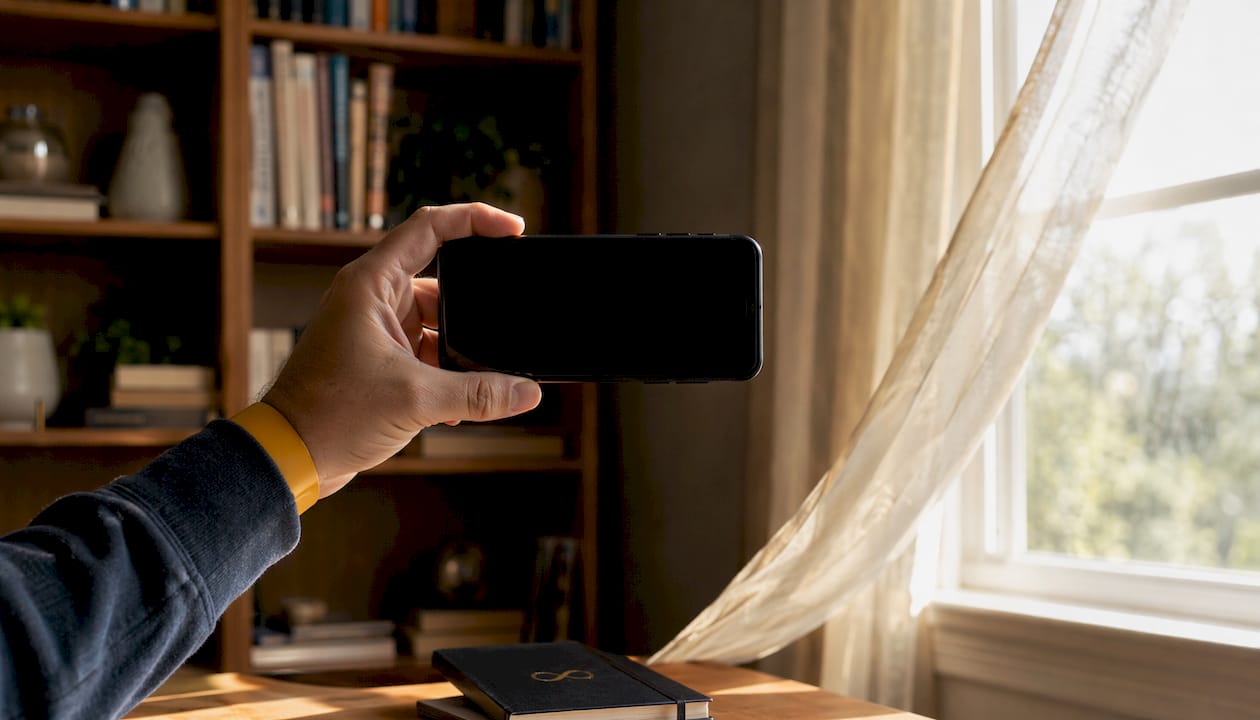
Morning, midday, and evening light each create a distinct emotional tone in home photos. Morning light is gentle and cool, giving rooms a calm, fresh feeling. Midday light is bright and intense, which works well for south-facing rooms with strong architectural lines. Evening light is warm and golden, making living rooms and kitchens feel inviting and cozy.
Photographers who plan sessions around these shifts produce photos that tell a story. A bedroom shot at 7:00 AM reads as peaceful and restful. The same room at noon reads as bright and functional. Neither is wrong. The choice depends on what emotion you want buyers or renters to feel.
The practical takeaway: shoot each room at the time of day when its natural light peaks. East-facing rooms shine in the morning. West-facing rooms are best in the late afternoon. South-facing rooms hold strong light for most of the day.
3. Top natural light setups for interior home shots
The most effective natural light setups for interiors rely on three core principles: window placement, light diffusion, and reflector use.
1. Large window with sheer curtains Soft, diffused light from sheer curtains reduces harsh shadows and creates a calm, balanced look. This setup works for bedrooms, living rooms, and dining areas where warmth and comfort are the selling point.
2. Small window with open blinds Small windows create focused, dramatic beams of light. This works beautifully in bathrooms and home offices where a single shaft of light across a countertop or desk creates a striking visual.
3. Backlighting through a large glass door Position your camera facing a glass door or floor-to-ceiling window. The subject in the foreground goes slightly dark, creating a silhouette effect that emphasizes the space and the view beyond.
4. Reflector bounce Reflectors bounce light into shadowed areas, improving overall illumination without artificial sources. A simple white foam board placed opposite a window fills in dark corners and balances the exposure across the room.
"The size and orientation of windows strongly impact photo quality. Large windows create spacious, airy images. Small windows allow focused, dramatic beams that add character and mood to a shot."
Pro Tip: If you do not own a photography reflector, a white foam board from any craft store works just as well. Position it at a 45-degree angle to the window, facing the shadowed side of the room.
4. Natural light examples that highlight texture and architectural details
Natural light is the best tool for revealing what makes a home distinctive. Side light highlights textures like wood grain, stone surfaces, and woven fabrics in ways that artificial lighting simply cannot replicate.
Consider these real-world examples:
- Exposed brick wall: A morning side light raking across the surface makes every brick edge and mortar line visible. The same wall under overhead artificial light looks flat.
- Herringbone wood floor: Late afternoon light entering from a west window creates long shadows between each plank, turning a standard floor into a visual feature.
- Coffered ceiling: Midday light from a skylight or high window casts shadows into each coffer, making the architectural detail read clearly in photos.
- Stone countertop: Diffused window light from the side reveals the natural veining and depth of marble or granite without the glare that direct flash produces.
| Lighting type | Best for | Effect on texture |
|---|---|---|
| Side light (morning) | Wood, stone, brick | High contrast, strong texture |
| Diffused window light | Fabric, painted walls | Soft, even, flattering |
| Backlight (glass door) | Open floor plans | Silhouette, spaciousness |
| Midday skylight | Ceilings, countertops | Sharp detail, neutral tone |
The contrast between soft and hard light matters here. Soft light flatters surfaces that should look smooth and clean. Hard light celebrates surfaces that should look rich and tactile. Choosing the right type for each room is what separates a good photo from a great one.
5. How natural light boosts real estate listing appeal and rental photos
Natural light photography makes real estate images feel honest and relatable. Buyers and renters connect emotionally when lighting feels authentic, not staged. Artificial lighting often creates color casts and uneven brightness that make spaces look smaller and less appealing.
Listings with natural light photos attract more views and inquiries, which is especially important for Airbnb hosts and landlords competing in crowded markets. That increased engagement translates directly into faster bookings and stronger rental rates.
For Airbnb hosts, seasonal photo updates are a practical strategy. The warm afternoon light of september and october creates a cozy, inviting look that appeals to fall travelers. The bright, clean light of june and july suits a fresh, airy aesthetic that attracts summer bookings. Retaking photos at each season change keeps your listing visually current and competitive.
Practical tips for maximizing natural light in rental and listing photos:
- Open all blinds and curtains fully before shooting
- Remove window screens when possible to increase light clarity
- Shoot on overcast days for soft, even light across the whole room
- Schedule shoots for the time of day when each room gets its best light
- Use rental property lighting tips to plan your shoot around window orientation
Professional home photographers prioritize windows and natural light to keep photos authentic and emotionally engaging. Real estate agents and Airbnb hosts who follow this approach consistently produce listings that stand out.
6. Using camera settings to protect natural light quality
Camera settings determine whether your natural light photos look polished or blown out. Slight underexposure preserves window highlights while shadow detail can be recovered in editing for balanced images. This is the opposite of what most beginners do. Most people expose for the dark interior, which blows out the windows completely.
Set your white balance manually to match the color temperature of the light source. Morning light runs cool (around 5,500K). Evening light runs warm (around 3,000K). Auto white balance shifts between shots and creates inconsistency across a set of listing photos.
Shoot in RAW format whenever your camera or phone allows it. RAW files hold far more highlight and shadow detail than JPEGs. That extra data gives you room to balance the exposure in editing without degrading image quality. For photographers using smartphones, apps that shoot in RAW or ProRAW mode give you the same advantage.
7. Creative natural light photos: artistic techniques worth trying
Creative natural light photography goes beyond standard room shots. These techniques produce images that stop scrollers and make listings memorable.
Light painting with curtains: Partially close sheer curtains to create soft bands of light across a floor or wall. The pattern adds visual interest without any additional equipment.
Shadow play: Shoot in the late morning when the sun is at a low angle. Let window frame shadows fall across a bed, table, or floor. The geometric pattern created by the frame adds a graphic quality to the image.
Lens flare (controlled): Position the camera so the sun just clips the edge of a window frame. A subtle flare adds warmth and energy to the shot. This works best in living rooms and kitchens where a bright, energetic mood is the goal.
Dust and atmosphere: In rooms with older wood floors or textured rugs, a shaft of morning light sometimes catches airborne particles and creates a soft, atmospheric glow. This effect is impossible to fake convincingly in post-processing and gives photos a genuinely lived-in quality.
These techniques are covered in more depth in guides on real estate photography styles that explore how creative lighting choices affect buyer perception.
Key takeaways
Natural light is the most powerful tool in home photography, and using it well requires understanding direction, timing, and diffusion rather than relying on artificial sources.
| Point | Details |
|---|---|
| Light direction matters most | Side lighting reveals texture and depth; front lighting flattens a scene. |
| Timing sets the mood | Morning light feels calm, midday feels bright, and evening light feels warm and inviting. |
| Diffusion improves most shots | Sheer curtains and overcast skies produce soft, balanced light ideal for interiors. |
| Rental photos need seasonal updates | Retaking photos each season keeps listings visually fresh and competitive. |
| Camera settings protect highlights | Slight underexposure and manual white balance preserve natural light quality across a shoot. |
What I've learned from years of watching natural light change a room
The biggest mistake I see photographers and homeowners make is treating natural light as a fixed condition. They show up, see what the room looks like, and shoot. Natural light is not fixed. It changes by the minute, and the difference between 8:00 AM and 9:30 AM in an east-facing kitchen can be the difference between a photo that sells a home and one that gets scrolled past.
The second mistake is chasing perfect light. I have watched people wait for a cloudless sky to shoot a living room, then end up with harsh shadows and blown-out windows. Overcast days produce the most flattering light for interiors. The cloud cover acts as a giant diffuser. The light is even, soft, and forgiving. Some of my favorite before and after home photo examples were shot on gray days that most photographers would have rescheduled.
The third thing I have learned is that imperfection reads as authenticity. A slight shadow across a wall, a warm patch of light on a floor, a soft glow near a window. These are not flaws to fix in editing. They are the details that make a viewer feel like they are standing in the room. Buyers and renters respond to that feeling. They book viewings and schedule tours because the photo made them feel something. That is the real role of natural light in home photography.
— Richard Lopez
How Proofe fits into your natural light photography workflow
Natural light gives you the raw material. What you do with it after the shoot determines the final result.

Proofe makes it easy to capture, enhance, and deliver professional-quality listing photos directly from your smartphone. You shoot using the natural light techniques covered here, then Proofe's AI enhancement tools balance exposure, correct white balance, and bring out the texture and depth that daylight creates. The result is MLS-ready files delivered the same day, with no expensive equipment required. The bright room editing service is especially useful for interiors where window light needs balancing against shadowed areas. Your first five photos are free.
FAQ
What is the best time of day for natural light home photography?
The best time depends on window orientation. East-facing rooms photograph best in the morning, west-facing rooms in the late afternoon, and south-facing rooms hold strong light throughout most of the day.
Do I need special equipment for natural light interior photography?
No special equipment is required. A white foam board used as a reflector and sheer curtains for diffusion are the two most effective tools, and both cost very little.
How does natural light affect rental listing performance?
Listings with natural light photos attract more views and inquiries, giving Airbnb hosts and landlords a clear advantage in competitive markets.
Should I shoot on sunny or cloudy days?
Overcast days produce soft, even light that flatters most interiors. Direct sunlight creates harsh shadows and blown-out windows, which are harder to correct in editing.
How do I photograph a room without blowing out the windows?
Slight underexposure preserves window highlights while keeping shadow detail recoverable in post-processing. Shoot in RAW format to retain the most detail for editing.